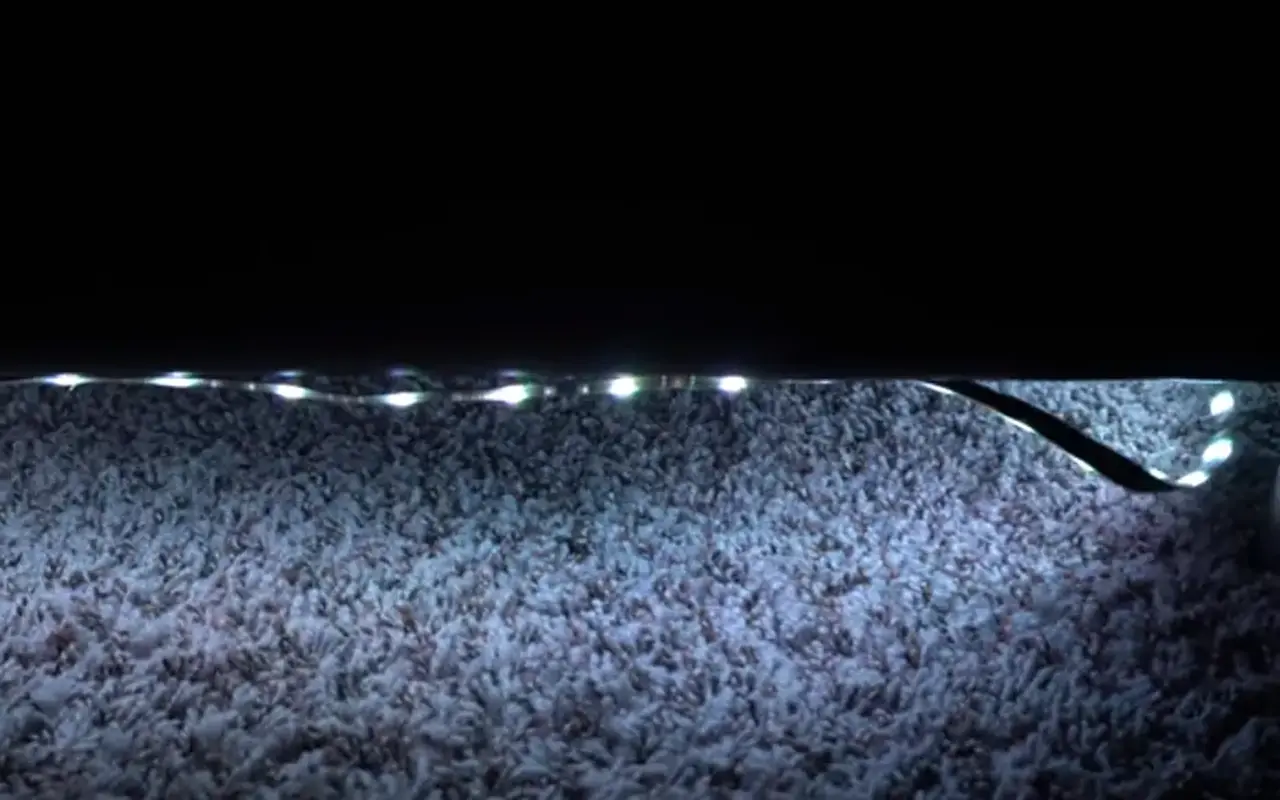
LED-Lichtleisten sind beliebt, weil sie jeden Raum schön und farbenfroh aussehen lassen. Die Menschen lieben es, LED-Leuchtbänder zur Dekoration von Wohnräumen und zur Schaffung einer gemütlichen Atmosphäre in Geschäftsräumen zu verwenden. Aber ein Problem tritt oft auf, wenn die Lichter herunterfallen, was zu Frustration und Schäden führt.
In diesem Leitfaden erklären wir, warum dieses Problem häufig auftritt, und geben Ihnen eine Anleitung, wie Sie verhindern können, dass LED-Lichtleisten herunterfallen.
5 häufige Gründe, warum meine LED-Leuchten immer wieder ausfallen
Staub oder Trümmer auf der Oberfläche
Staub oder Verunreinigungen auf der Oberfläche können die Haftung von LED-Leuchtbändern beeinträchtigen. Schon ein wenig Staub oder andere Partikel können die Haftung des Klebers beeinträchtigen. Staub und kleine Partikel können sich auf verschiedenen Oberflächen ansammeln. Dies ist ein häufiger Grund, warum LED-Leuchtbänder ihre Haftung verlieren.
Wasserschäden
LED-Leuchtbänder können durch Wasser und Feuchtigkeit in ihrer Haftung beeinträchtigt werden. Feuchtigkeit kann den Klebstoff beschädigen, wenn er mit Wasser in Berührung kommt oder Feuchtigkeit ausgesetzt ist. Mit der Zeit wird der Klebstoff schwächer und die Lichtstreifen haften nicht mehr, sodass sie herunterfallen.
Probleme mit Überhitzung
Wir wissen, dass LED-Leuchten Wärme erzeugen, insbesondere wenn sie eingeschlossen oder abgedeckt sind. Wenn sich diese Wärme zu sehr aufstaut, kann der Klebstoff versagen. Die LED-Leuchtbänder können abfallen, weil sie zu heiß werden und nicht mehr gut haften.
Kabel-Problem
Die Verbindungsdrähte der LED-Streifen können unerwartete Probleme verursachen. Wenn sie ziehen, sich verdrehen oder übermäßigen Druck auf die Streifen ausüben, können sie sich ablösen. Wenn die Drähte nicht richtig angeordnet sind oder sich verheddern, können die LED-Streifen aufgrund der von ihnen ausgeübten Kraft herunterfallen.
Umwelt- und chemische Faktoren
Verschiedene Umweltbedingungen können die Wirksamkeit des Klebstoffs von LED-Leuchtbändern beeinträchtigen. Die LED-Leuchten können sich aufgrund von Feuchtigkeit, Temperaturschwankungen oder Chemikalien in der Luft ablösen. Diese umweltbedingten und chemischen Faktoren führen nicht unbedingt zu einer sofortigen Ablösung. Dennoch können sie dazu beitragen, dass die LED-Leuchtbänder mit der Zeit ihre Haftung verlieren.
Vorbereitungen für die Reparatur
Benötigte Werkzeuge
Um LED-Leuchtbänder effizient zu befestigen, brauchen Sie das richtige Werkzeug. Welche Werkzeuge Sie benötigen, hängt von Ihrer LED-Einrichtung und der Oberfläche ab, an der Sie sie befestigen wollen.
Reinigungstücher: Weiche, nicht scheuernde Tücher helfen Ihnen, die Oberfläche zu reinigen, ohne sie zu verkratzen.
Geeignetes Klebeband: Es sind verschiedene Typen erhältlich, die für unterschiedliche Materialien und Umgebungen geeignet sind.
Bürsten oder Schwämme: Zum gleichmäßigen Auftragen des Klebers und zur Reinigung.
Klammern oder Halterungen: Diese können eine zusätzliche Unterstützung für die LED-Streifen bieten.
Handschuhe: Zum Schutz der Hände, insbesondere bei der Arbeit mit Chemikalien oder rauen Oberflächen.
Die Wahl des richtigen Klebebandes
Der Klebstoff ist ein entscheidender Teil des Installationsprozesses. Ein gut gewählter Klebstoff sorgt dafür, dass die LED-Leuchtbänder fest an ihrem Platz bleiben. Hier sind einige Faktoren zu beachten:
Oberfläche Material: Ob es sich um Holz, Metall oder Kunststoff handelt, das Oberflächenmaterial kann die Art des Klebers, den Sie benötigen, erheblich beeinflussen.
Umweltfaktoren: Luftfeuchtigkeit, Temperatur, Sonneneinstrahlung oder Chemikalien können die Leistung des Klebstoffs beeinträchtigen.
LED-Streifen Spezifikationen: Berücksichtigen Sie das Gewicht und die Zusammensetzung der LED-Streifen, da einige Klebstoffe für bestimmte Typen nicht geeignet sind.
Die Wahl des falschen Klebstoffs kann zum Scheitern führen, daher ist es wichtig, den richtigen Klebstoff zu finden.
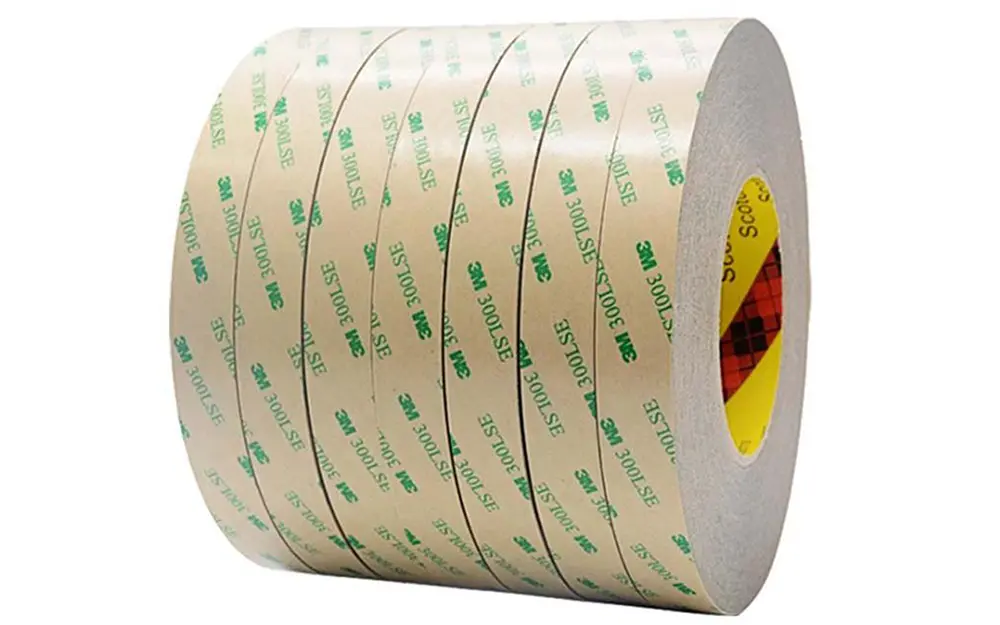
Die Unitop LED-Leuchtbänder sind auf der Rückseite mit echten 3M-Klebebändern versehen, die eine einfache Installation ermöglichen. Der Klebstoff funktioniert in den meisten Umgebungen gut. Wir haben aber auch Kunden, die andere Klebebänder als 3M benötigen; auch das können wir realisieren.
Vorbereiten der LED-Montagefläche
Schritt eins: Staub entfernen
Eine saubere Oberfläche ist für eine gute Haftung unerlässlich. Sie müssen Staub, Öl und Verunreinigungen entfernen. So geht's:
Verwenden Sie ein sanftes Schrubben mit Seifenwasser oder einen speziellen Reiniger, der keine Rückstände hinterlässt.
Bei hartnäckigeren Flecken oder klebrigen Substanzen kann eine Bürste mit weichen Borsten hilfreich sein.
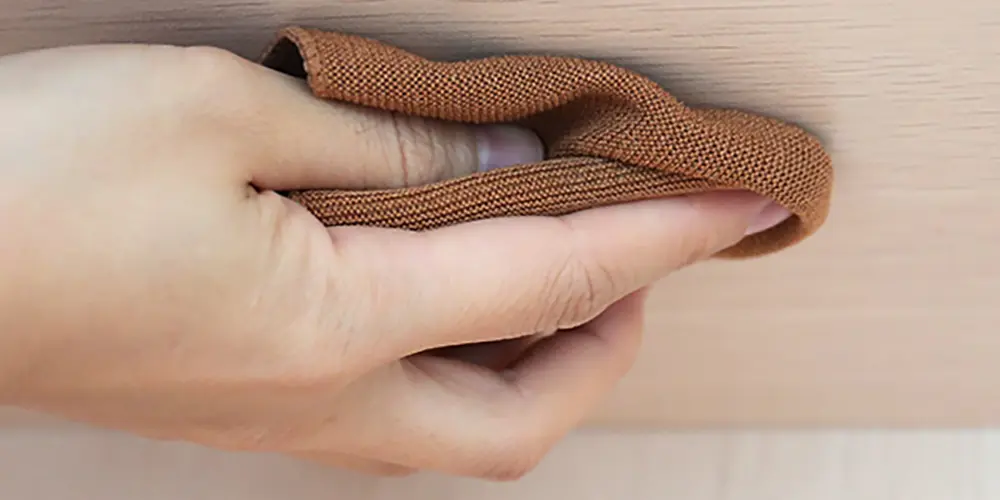
Anschließend trocknen Sie die Oberfläche mit einem sauberen Tuch vollständig ab. Das ist wichtig, weil Restfeuchtigkeit die Klebefähigkeit beeinträchtigen kann.
Schritt zwei: Glättung der Oberfläche
Eine unebene Oberfläche kann zu Schwachstellen bei der Haftung der LED-Streifen führen. Hier ist, was Sie tun können:
Prüfen Sie die Oberfläche auf raue oder unebene Stellen.
Schleifen oder füllen Sie diese Bereiche bei Bedarf vorsichtig ab. Verwenden Sie beim Schleifen feines Schleifpapier, um weitere Schäden zu vermeiden.
Wischen Sie alle Rückstände ab, um eine perfekt glatte Oberfläche zu erhalten, die für die LED-Streifen bereit ist.
Wie installiert man LED-Leuchtbänder richtig, damit sie nicht herunterfallen? Eine Schritt-für-Schritt-Anleitung.
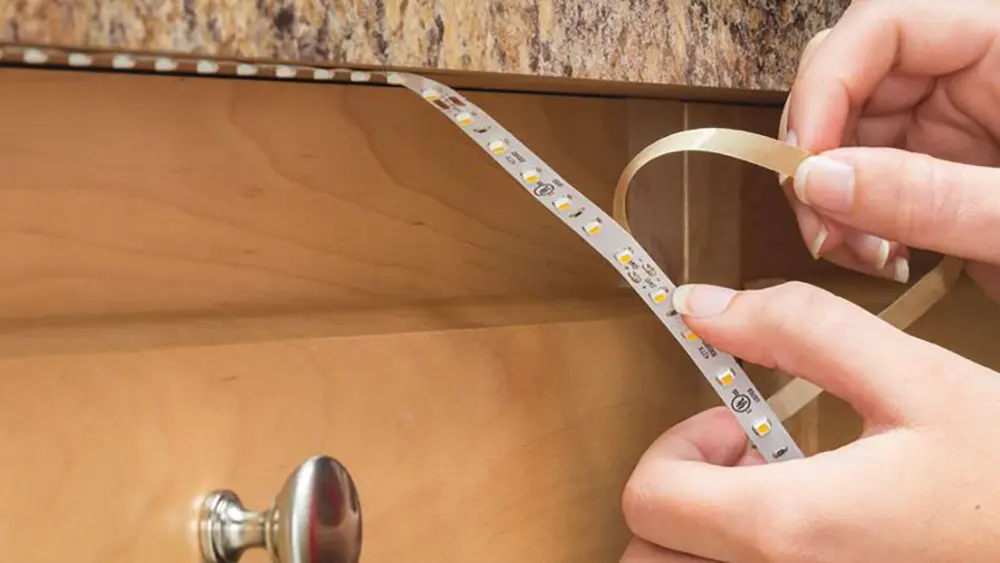
Ziehen Sie das Schutzpapier von der Rückseite des LED-Streifens ab.
Wenn du bereit bist, die LED-Leuchtbänder anzubringen, wirst du sehen, dass das Klebeband von Papier bedeckt ist. Das Abziehen dieses Papiers ist ein wichtiger Schritt, und hier erfahren Sie, wie Sie ihn durchführen:
Halten Sie den LED-Streifen: Using one hand, hold the strip steady.
Peel the Paper: With your other hand, carefully start peeling the protective paper away from the adhesive. Do this slowly and at a consistent angle to prevent any damage.
Smooth Out: Once peeled, smooth the adhesive to ensure it’s ready to stick.
Position in the Right Place
Positioning the LED strip lights requires foresight and careful alignment.
Mark the Position: A soft pencil or non-permanent marker can mark where the LED strips will go, helping in precise placement.
Alignment: Using a level or ruler, ensure the strips are straight, especially over longer distances.
Adjustments: Once positioned, gentle adjustments can be made before the adhesive sets, but avoid repeated repositioning.
Press Down and Let Them Dry
Pressing down and allowing the LED strip lights to dry properly solidifies the bond.
Pressure: Apply uniform pressure along the entire LED strip length, ensuring complete contact with the adhesive.
Drying Time: Different adhesives have different drying times. Patience here is essential; rushing this step can lead to failure.
Additional Support Options: Clips, Brackets, Tape Products
We can think about more ways to help those who want to be extra careful.
Clips and Brackets: These can be discreetly placed at intervals, providing physical support to the LED strips.
Specialized Tape Products: Double-sided 3M tapes designed for LED strips can provide added security and are often used with adhesives.
Environmental Considerations: In areas with high humidity or temperature fluctuations, additional support might be not just an option but a necessity.
Installing LED strip lights is a delicate balance of preparation, precision, and patience. By following these steps, you can make your space look more professional. It will also ensure that your lights stay exactly where you want them. Whether you’re working at home or professionally, these guidelines will help you succeed in your project.
Additional Tips to Prevent LED Strip From Falling Off
Using Hot Glue
Hot glue, an often-overlooked tool, can be more than handy in securing LED strips. It benefits those looking for a quick fix or a short-term solution.
When to Use: Hot glue isn’t a solution for every situation. It works well for temporary setups, such as party decorations or seasonal displays. It doesn’t need to stick for a long time.
Application Tips: A hot glue gun with an appropriate temperature setting can ensure smooth application without damaging the LED strips.
Removal Considerations: It’s worth noting that while effective, hot glue might leave a residue when removed, so careful consideration of the surface material is advised.
Managing Overheating
LED strips, while energy-efficient, can still produce heat. Managing this heat effectively can prevent problems like the weakening of adhesive.
Proper Spacing: Sometimes, all that’s needed is a little space. Proper spacing allows the heat to dissipate, reducing the risk of overheating.
Cooling Solutions: Fans or heat sinks designed to fit LED strip configurations can be a valuable investment, especially for high-intensity lights.
Monitor the Temperature: Regularly checking the strips’ temperature can help detect any potential overheating issues early, enabling timely intervention.
Mounting Techniques: Aluminum Extrusion, U Channel Diffuser
These mounting techniques offer robust solutions for those seeking a more professional touch.
Aluminum Extrusion: This method uses aluminum channels to hold the LED strips, providing a sleek and sturdy framework.
U Channel Diffuser: U Channel Diffusers not only secure the LED strips but also help diffuse the light, creating a softer glow.
Professional Installation: These methods require professional tools and expertise, so consulting or hiring a professional is wise.
How to Conceal and Hang LED Strip Lights
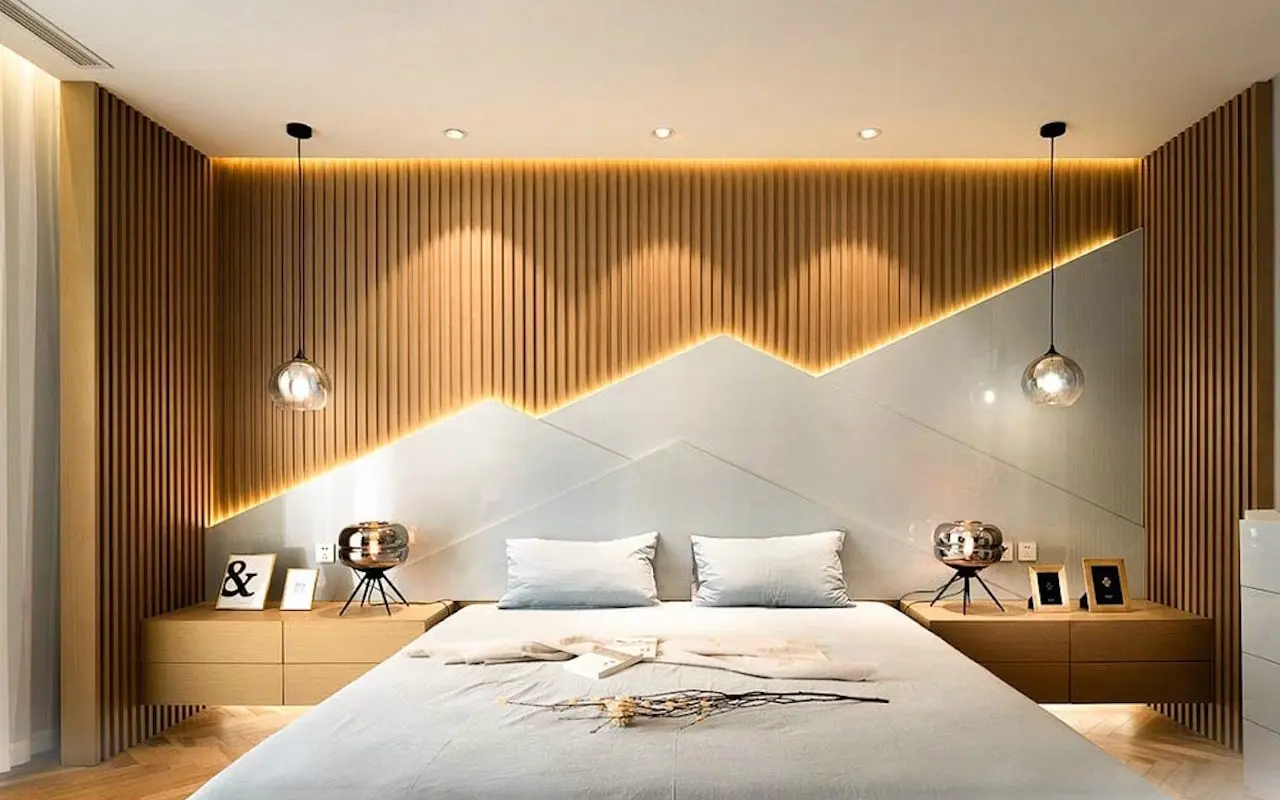
In the Ceiling
LED strips mounted on the ceiling make a room look polished and more attractive.
Recessed Channels: Recessed channels within the ceiling can conceal the LED strips, providing an elegant and seamless appearance.
Aluminum Extrusions: Similar to wall mounting, aluminum extrusions can be used in the ceiling for a durable and professional look.
Considerations: Planning is essential to ensure proper alignment, wiring, and support for the ceiling installation.
On the Wall Without Damaging
A wall-mounted setup should never mean damaging your walls.
Adhesive-backed Hooks: These hooks or clips provide support without needing nails or screws, preserving your wall’s integrity.
Alignment and Spacing: Proper alignment and evenly spaced supports are crucial for a clean, straight look.
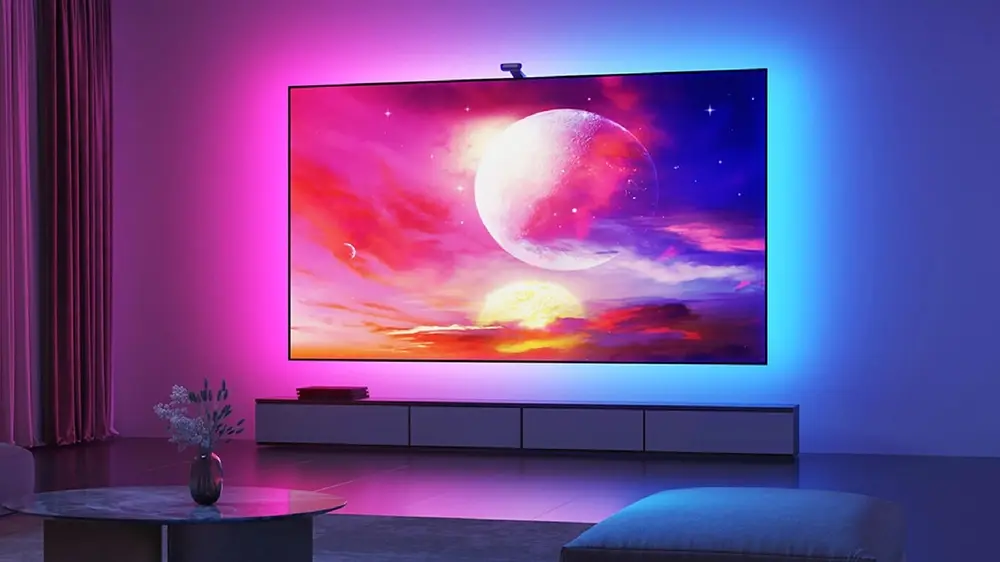
TV or Monitor LED Backlights
This popular setup can transform your entertainment experience.
Specialized Kits: There are kits specifically designed for TV or monitor backlighting, simplifying installation.
Manufacturer Instructions: If a kit is not used, carefully following the manufacturer’s guidelines can lead to optimal results.
Cable Management: Concealing or managing the cables neatly adds to the overall aesthetics, ensuring a clutter-free look.
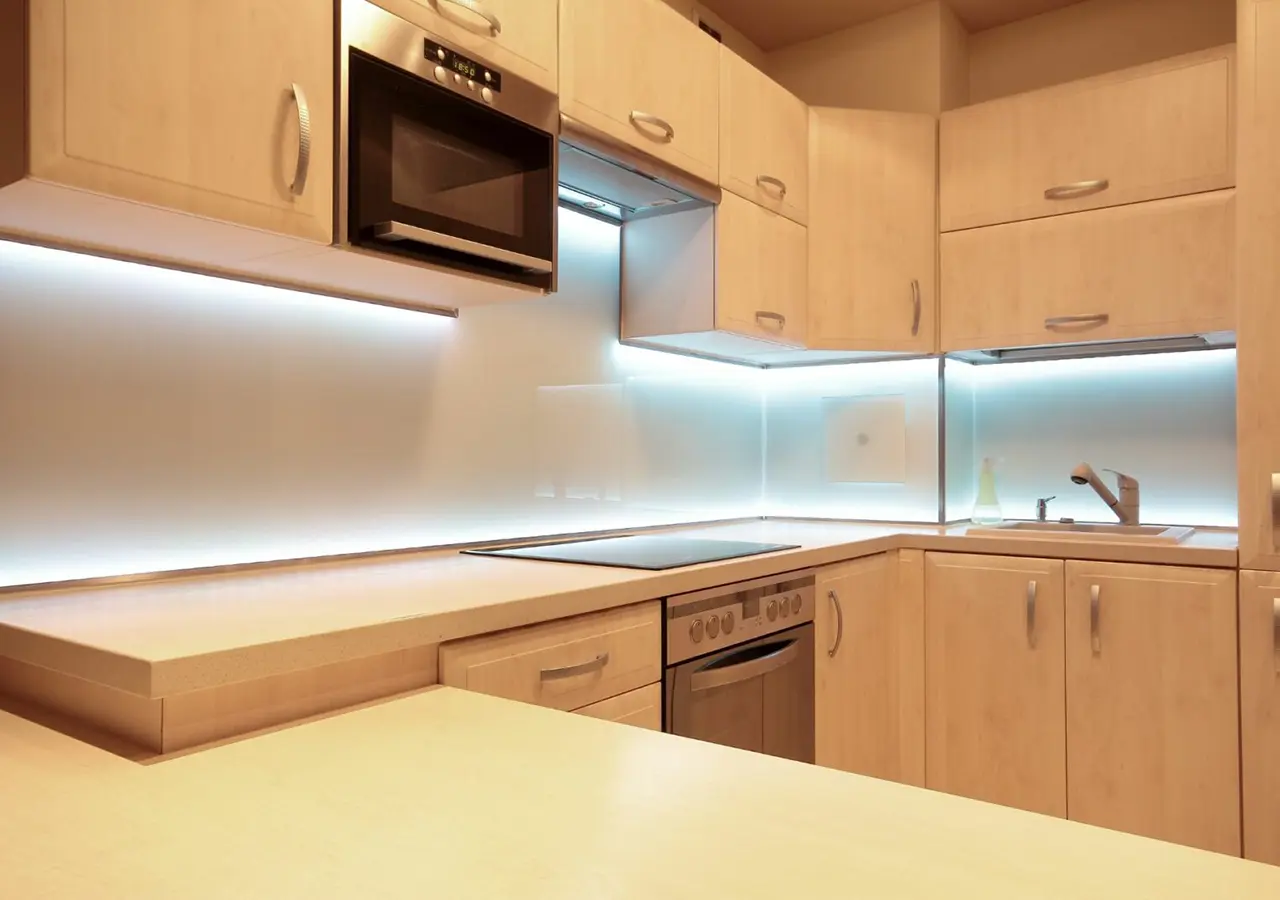
Under Cabinet LED Strips
Under-cabinet lighting adds functionality and style to any kitchen or workspace.
Selection of Adhesives: Different materials might require specific adhesive tapes. Selection based on cabinet material ensures a strong bond.
Additional Support: Depending on the cabinet’s underside surface, extra support, like clips or brackets, may be necessary.
Wiring Considerations: Neatly concealed wiring adds to the professional appearance of the installation.
Common Mistakes to Avoid
Improper installation of LED strip lights can make it hard to enhance your home’s different areas. Here are some common mistakes that can occur and how you can avoid them.
Ignoring Manufacturer Instructions
Manufacturers provide detailed guidelines to ensure proper installation and long-lasting performance. Ignoring these instructions is a common mistake with consequences.
Compatibility Issues: Not all LED strips are created equal, and using them in ways not intended by the manufacturer can lead to compatibility issues.
Potential Damage: Failure to follow the instructions may cause the LED strips to malfunction or even become irreparably damaged.
Warranty Concerns: Many manufacturers require adherence to their guidelines to maintain the warranty on the product. Failure to comply may void the warranty, leading to potential loss.
Rushing the Installation Process
In our fast-paced world, taking the time to do things properly can sometimes be overlooked. But, if you put in LED strip lights too fast, you might make mistakes that affect how long they last and how they look.
Importance of Planning: A proper layout plan ensures you know precisely where the strips must be placed before installation. Skipping this step can lead to alignment issues.
Allowing Time to Dry: If adhesive is used, it requires sufficient time to dry and bond properly. Rushing this step can lead to the strips falling off later.
Checking Connections: Hastily connecting wires and not thoroughly checking connections can result in malfunctions.
Tools and Preparations: Having all necessary tools and preparations done before beginning the installation avoids interruptions and ensures a smooth process.
Frequently Asked Questions (FAQ)
Why Do My LED Strip Lights Keep Falling Off?
LED strip lights falling can be frustrating. It’s often caused by dust, moisture, overheating, or adhesive issues. To prevent this issue, properly prepare the surface and follow the manufacturer’s instructions.
Can You Use Tape to Hold Up LED Lights?
Specialized tape products designed for LED strips can be an effective solution. Regular tape might lack the required hold, leading to detachment over time.
Which type of glue should you use for LED strips?
Choosing suitable glue requires considering the surface material and environmental conditions. To make sure the LED strips stick well, use a special adhesive made for them.
Can I Staple LED Strip Lights?
Stapling is generally not recommended, as it can cause damage to the LED strips. Using the recommended adhesives, clips, or brackets is best to avoid unnecessary harm.
Will LED Strip Lights Catch Fire?
Improper installation or usage can rarely cause overheating and fire hazards. To avoid this, follow the instructions from the manufacturer. You can also use fans or heat sinks to help cool it down.
Can You Hot Glue LED Strips?
Yes, hot glue can be a temporary solution for decorative setups. For long-lasting stickiness, it’s best to use 3M adhesive tape made for LED strips.
How Do I Prevent Overheating of LED Strip Lights?
To prevent overheating, you can use cooling solutions such as spacing, fans, or heat sinks. Following proper installation guidelines also ensure a safe and functional setup.
What Are Some Professional Mounting Techniques for LED Strips?
Techniques like aluminum extrusion or U Channel Diffuser can provide professional-looking results. They ensure your LED strips stay firmly in place, adding an elegant touch to your setup.
Can You Put Thumbtacks on LED Strips?
While it might seem like a quick solution, thumbtacks can cause damage to the LED strips. Instead, opt for specialized clips, brackets, or adhesives to hold LED strips securely.
Will Leaving My LED Strip Lights on All Night Cause Them to Fall Off?
Typically, leaving LED strip lights on all night won’t cause them to fall off. If you use it for a long time without following instructions, it may overheat and damage the bond. Following proper guidelines ensures the longevity and stability of your LED lights.
Fazit
LED strip lights, when installed correctly, can be a stunning addition to any space. This guide explains why your LED lights falling down and how to prepare the surface. It also covers the installation process and offers tips and expert recommendations. Follow this guide, and those falling LED strip lights will be a problem of the past. Please share your success stories, comments, or questions below. Let’s brighten our lives together!
Unitop is your go-to source for top-quality LED-Leuchtbänder und LED-Neon-Flex in China. We’ve built our reputation by delivering reliable, attractive lighting solutions for every need. If you need LED lights for your home or work, we have what you need and can help. Have questions or special requirements? Don’t hesitate to Erreichen Sie uns. At Unitop, we’re here to help you make your lighting ideas shine.
Verwandte Artikel:

Tom ist jetzt der Verkaufsleiter von Unitop (China) Co., Limited. Er war in der LED-Beleuchtung Industrie seit 2005. Er ist Experte für Vertrieb und Marketing sowie für Fabrikmanagement. Er mag Bodybuilding und ist außerdem ein verrückter Apple-Fan! Er ist ein fleißiger Kerl und liebt es, neue Dinge zu lernen und auszuprobieren.
E-Mail: tom@unitopledstrip.com WhatsApp: +86-18680307140




Hinterlasse einen Kommentar
An der Diskussion beteiligen?Hinterlasse uns deinen Kommentar!