Thinking of enhancing your home with LED strip lights but worried about potential damage to your walls? This concern is common among homeowners who value both aesthetics and the integrity of their living spaces.
The impact of LED strip lights on walls largely hinges on three crucial factors: the type of adhesive tape used, the nature of the wall surface, and the precision of the installation process. With the right approach, you can avoid any unwanted damage.
In this guide, we delve into the world of LED strip lights, offering insights into selecting the most suitable adhesive, applying it effectively, and employing methods for damage-free removal. Read on to discover how you can confidently install LED strip lights, ensuring your walls remain in perfect condition.
The Truth About LED Strip Light Adhesive Tape
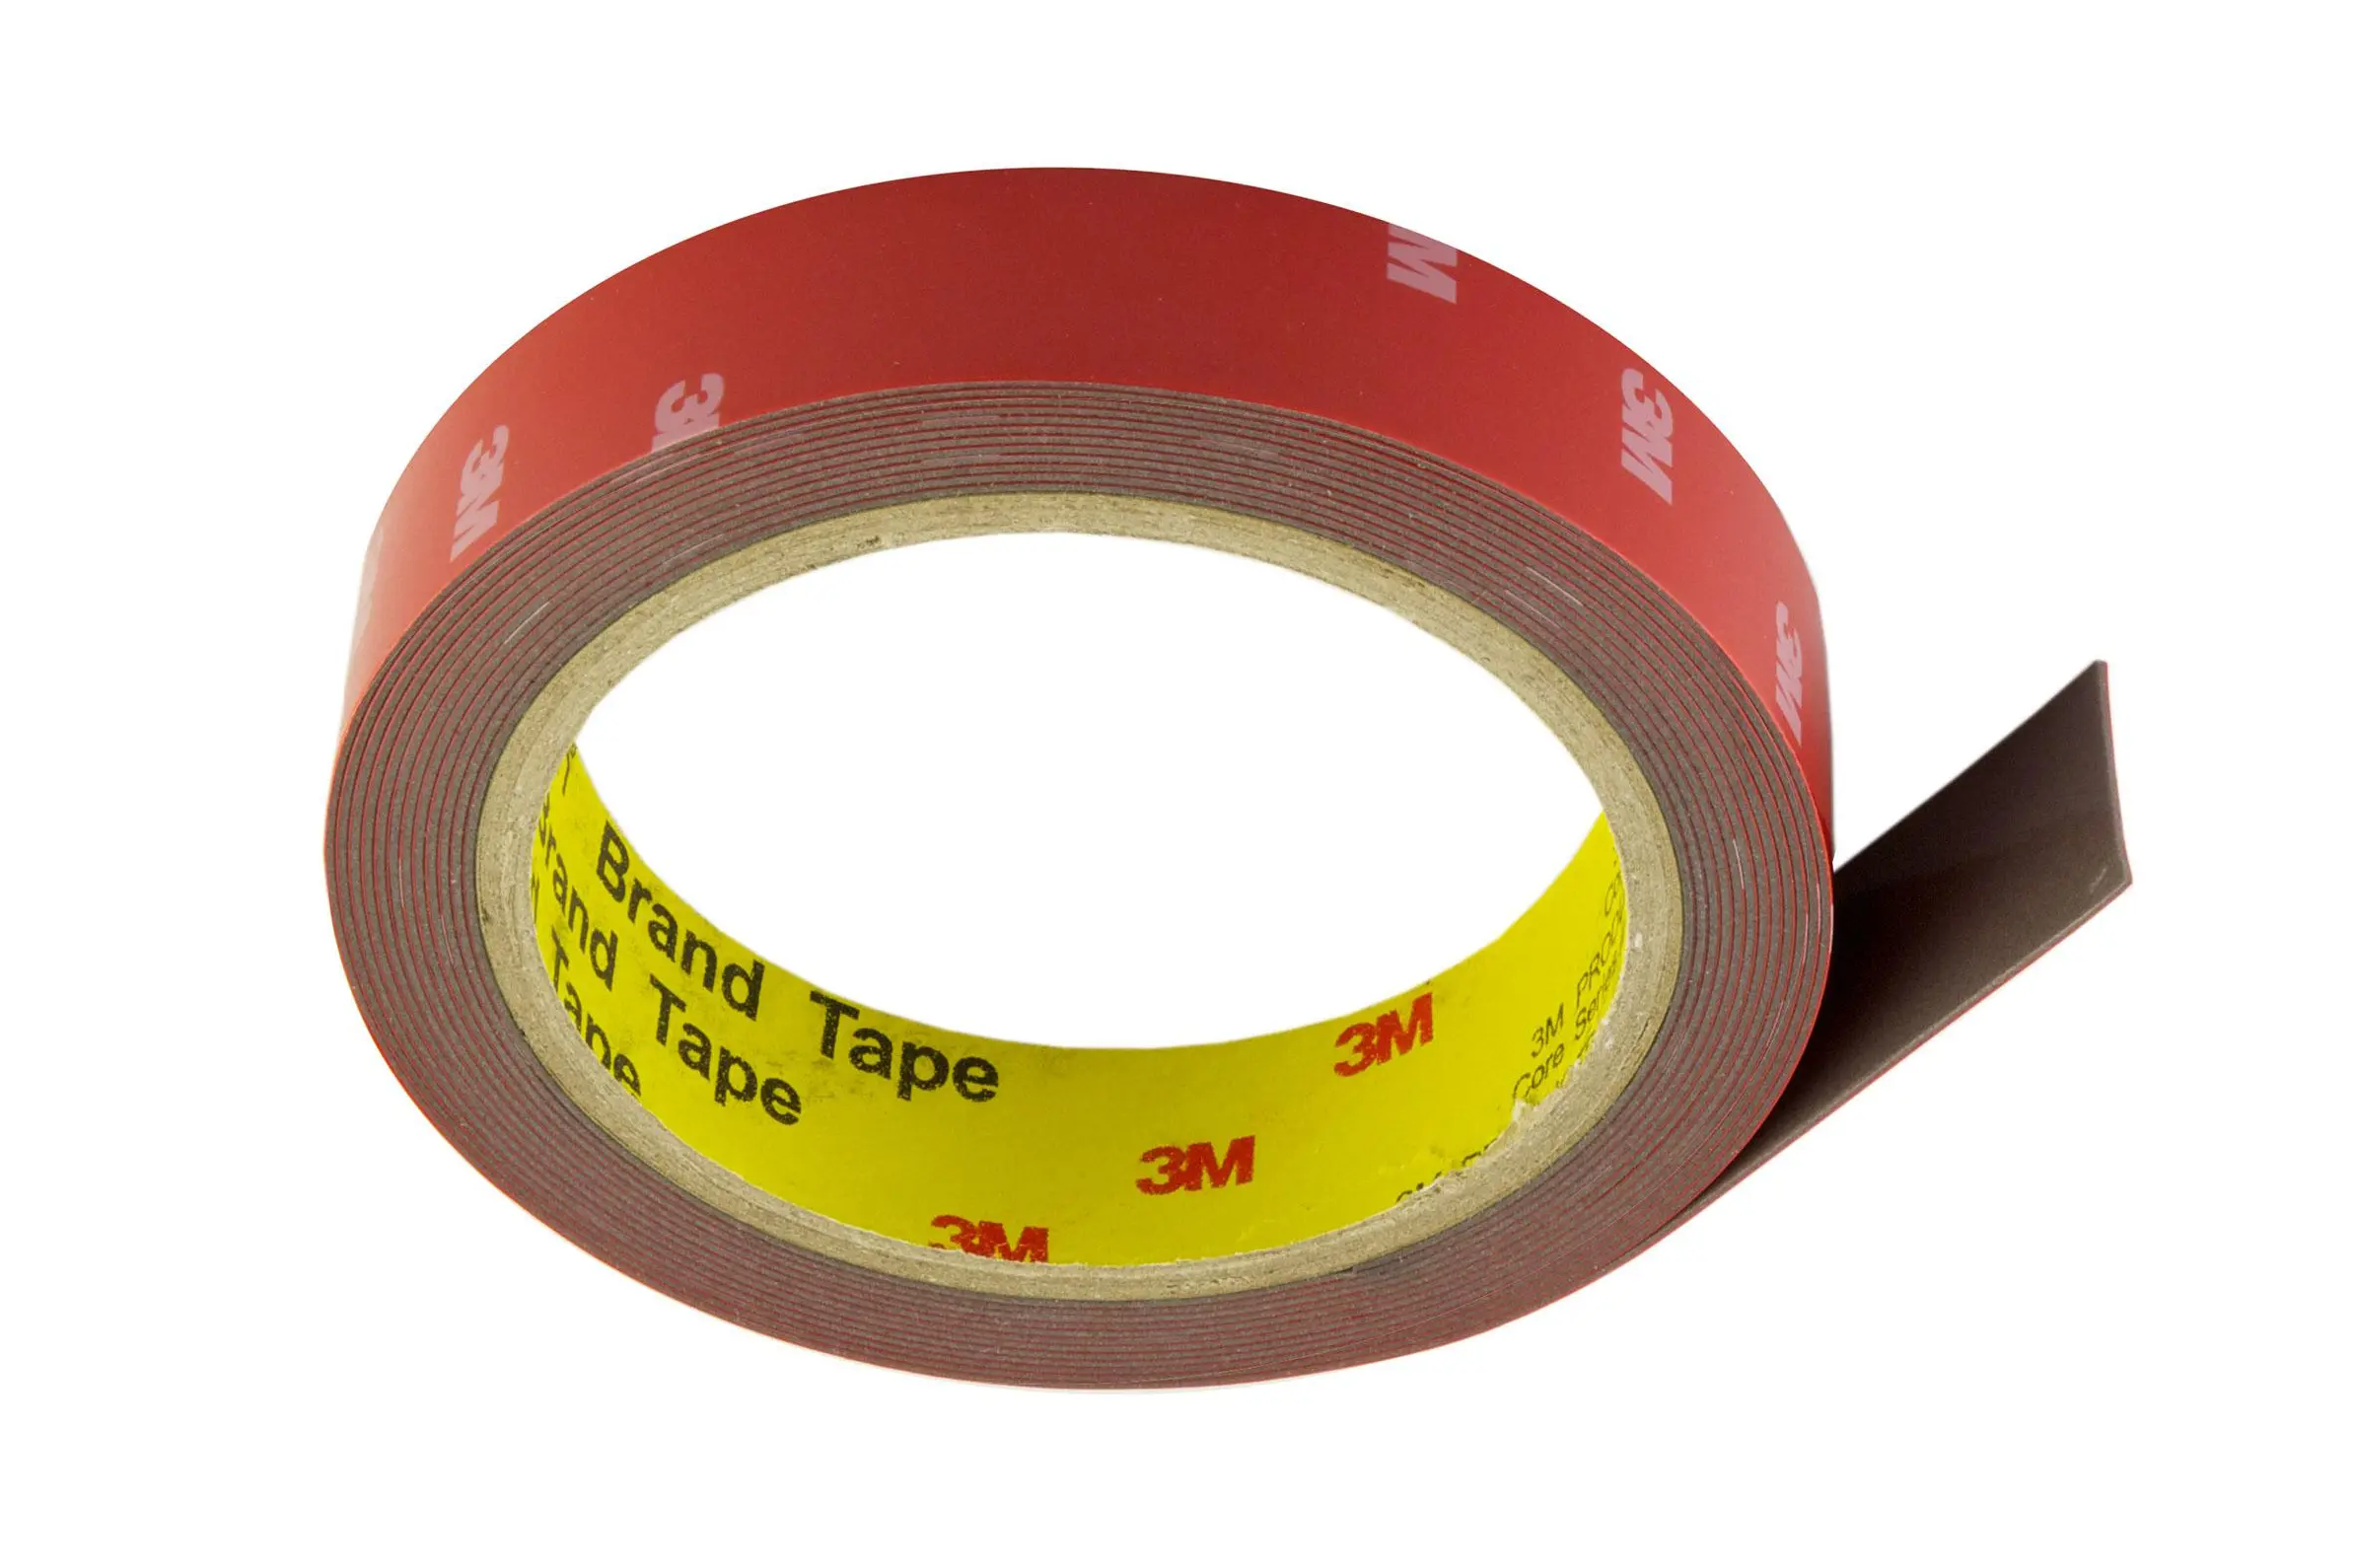
Adhesive tape is the unsung hero in the world of LED strip light installations. Their role goes beyond just sticking the lights to the wall; they are crucial in determining the long-term impact on your wall surfaces. High-quality adhesive tape, such as the renowned 3M tape, is engineered to provide a balance between a stronghold and wall-friendly properties. This adhesive tape adheres robustly to various surfaces yet can be removed with minimal to no damage, leaving behind no sticky residues or paint chips. This feature is especially important in scenarios where you might want to reposition or remove the lights for decor changes or wall maintenance.
Conversely, low-quality adhesive tape can create a host of issues. They may lack the necessary holding power, leading to drooping or detaching LED strips, which can be both unsightly and frustrating. More critically, when removed, this inferior adhesive tape can strip off paint, damage wallpaper, or leave a tacky residue that’s challenging to clean. The key to a seamless and safe installation lies in understanding and choosing the right adhesive tape. It involves considering factors like the adhesive’s composition, bonding strength, and compatibility with your wall surface. By selecting the right adhesive, you can ensure that your LED lighting project enhances your space without the worry of potential wall damage.
Assessing Wall Suitability for LED Strip Lights
The success of LED strip light installation heavily depends on the type of wall surface you’re working with. Each material interacts differently with adhesive tape, which is why it’s essential to assess your wall’s suitability before starting the project. Smooth and non-porous surfaces like painted drywall, ceramic tiles, or polished wood are ideal for LED strip lights. These surfaces allow for a strong and even adhesive tape bond, ensuring that the lights stay in place without damaging the wall’s finish.
However, when it comes to more delicate surfaces, such as wallpaper or textured walls, the approach needs to be more nuanced. These surfaces are not only more vulnerable to damage from adhesive tape but can also present challenges in achieving a secure bond. For wallpaper, there’s the added risk of tearing or discoloring the paper. Textured walls, with their uneven surfaces, might not allow the adhesive tape to make full contact, leading to a weaker bond. In such cases, alternative mounting methods can be a game-changer. Options like mounting clips or aluminum channels provide a secure installation method without the direct application of adhesive tape to the wall. These alternatives not only protect delicate wall surfaces but also add an element of flexibility and ease to the installation process. By carefully evaluating your wall type and considering the most suitable mounting method, you can enjoy the ambiance and aesthetic appeal of LED strip lights without compromising the integrity of your walls.
Step-by-Step Guide to Installing LED Strip Lights
In this detailed guide, we’ve walked you through each critical step of installing LED strip lights, ensuring a smooth and successful process that beautifies your space without compromising the safety and integrity of your walls.
Preparing Your Wall for LED Strips
The first and perhaps most crucial step in your LED strip light installation is preparing the wall. Start by ensuring the area is impeccably clean. Dust, grease, and grime can significantly hinder the effectiveness of the adhesive tape. Use a gentle, non-abrasive cleaner and a soft cloth to wipe down the wall. It’s important to be thorough in this step – any residue left behind can create weak spots in the adhesive tape bond. After cleaning, give the wall enough time to dry completely. This not only promotes better adhesion but also prevents potential water damage to your LED strips. Remember, a well-prepared surface sets the stage for a successful and long-lasting installation.
Cutting and Customizing LED Strip Length
The beauty of LED strip lights lies in their flexibility and customizability. To ensure a perfect fit, measure the intended area carefully and plan the layout of your strips. When it’s time to cut, locate the designated cut lines on the strip – these are usually marked with a scissor icon or line. Using sharp scissors or a utility knife, cut precisely along these lines. Cutting accurately is vital, as improper cuts can disrupt the circuitry of the strip, leading to malfunctions or even rendering sections of the strip inoperable. By cutting along the designated lines, you maintain the functionality and integrity of the strip lights, ensuring a seamless and effective installation.
Choosing and Applying the Right Adhesive Tape
The choice of adhesive tape can make or break your LED strip installation. It’s essential to select an adhesive tape that matches both the weight of the strip and the type of wall surface. For heavier strips or delicate wall surfaces, a stronger adhesive tape or additional mounting supports like brackets or clips may be necessary. When applying the adhesive, strive for an even, consistent layer along the entire length of the strip. Be mindful to avoid creases or air bubbles, as these can weaken the bond over time, leading to sagging or detachment of the strip. A smooth, well-applied adhesive tape layer is key to a secure and durable installation.
Aligning and Attaching the LED Strips
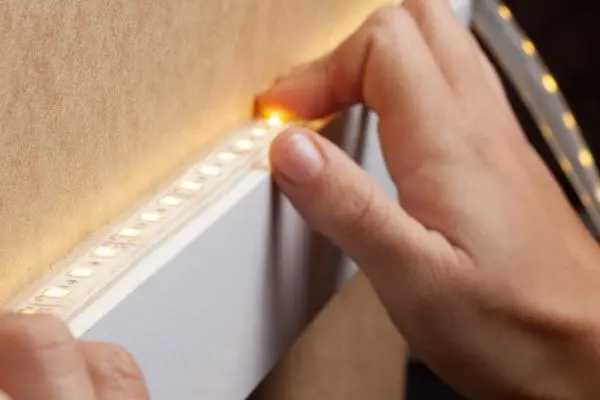
With your adhesive tape applied, it’s time to mount the LED strip. Begin by aligning the strip with the marks you’ve made on the wall. Gently peel back the adhesive tape backing and press the strip onto the wall, starting from one end and working your way to the other. It’s crucial to keep the strip straight and avoid any stretching or bending, as this can distort the lighting effect and potentially damage the strip. A well-aligned installation not only looks professional but also ensures even lighting distribution across the area.
Testing and Adjusting for Optimal Lighting
The final step in your installation is to test the LED strip lights. Turn them on and examine the length of the strip for uniform brightness and consistent color. If you notice any dim spots or uneven lighting, carefully adjust the positioning of the strip. This step is important for both functional and aesthetic reasons. Properly functioning LED strip lights enhance the ambiance of a room, creating the desired mood and effect. By taking the time to test and adjust your lights, you ensure that they not only work well but also contribute positively to the space’s overall atmosphere.
How to Remove LED Strip Lights Without Wall Damage
Removing LED strip lights requires a delicate touch to ensure your walls remain pristine. The use of gentle heat, such as from a standard hairdryer, is a practical method to loosen the adhesive tape bond without causing damage. Aim the hairdryer at one end of the strip and gradually heat along its length. This softens the adhesive, allowing you to slowly and carefully peel the strip away from the wall. It’s important to peel at a consistent, controlled pace to prevent the adhesive tape from tearing off paint or wallpaper.
If you find adhesive tape residue left on the wall, address it with a mild solvent or a specialized adhesive tape remover. Apply the solvent gently with a soft cloth, using a circular motion to lift the residue. This method is particularly effective for ensuring that your walls are left clean and unmarred. Always test the solvent on a small, inconspicuous area first to ensure it doesn’t discolor or damage the wall’s finish.
Tips for Maintaining and Cleaning LED Strip Lights
Maintaining your LED strip lights is key to ensuring their longevity and luminosity. Regular dusting should be part of your routine. Use a soft, dry cloth to gently wipe away any dust or dirt accumulated on the strips. This prevents build-up that can dim the lights and affect their appearance.
For a deeper clean, slightly dampen a cloth with water and a mild detergent. Gently wipe down the strips, taking care not to allow any moisture to seep into the electrical components. It’s crucial to avoid the use of harsh chemicals or abrasive materials, as these can damage the LED strips and potentially shorten their lifespan. Regular maintenance checks are also advisable. Inspect the strips for any signs of wear, tear, or damage. Promptly addressing any issues not only ensures the safety of your LED installation but also maintains the aesthetic appeal of your lighting.
Innovations in LED Strip Light Mounting: Beyond Adhesive Tape
The evolution in LED strip light mounting technologies offers exciting alternatives to traditional adhesive tape methods. Light clips are a game-changer for those seeking a temporary or non-permanent installation solution. These clips are easy to install and remove, making them ideal for renters or those who like to change their space frequently. They securely hold the LED strips in place without leaving any residue or damage on the wall surfaces.
Aluminum mounting channels represent another innovative approach. These channels provide a sleek, more finished look, enhancing the overall aesthetic of your LED strip installation. They not only protect the LED strips but also ensure a more stable and secure installation. This method is particularly beneficial for installations in high-traffic areas or where the strips might be subject to disturbance. Both light clips and aluminum channels are especially useful for sensitive surfaces, providing secure mounting solutions that preserve the integrity of your walls.
Incorporating these advanced mounting techniques into your LED strip light installation can elevate the functionality and style of your lighting, while also offering the flexibility and wall protection you need.
FAQs on LED Strip Lights and Wall Safety
Can LED strip lights damage wall paint upon removal?
If removed incorrectly, LED strip lights can potentially damage wall paint. Using a gentle heat source like a hairdryer to soften the adhesive tape can minimize this risk. For more tips, refer to our removal guide in the blog.
Are certain wall surfaces more prone to damage from LED strip lights?
Yes, surfaces like wallpaper or textured walls are more susceptible to damage. For these types of surfaces, consider using alternative mounting methods as discussed in our blog.
Why do my new LED strip lights flicker?
Flickering can result from incompatible parts, poor connections, or an incorrect power supply. Ensure all components are compatible and properly connected for optimal performance.
Can flickering LED strip lights cause any harm?
Continuous flickering can shorten the lifespan of the LEDs and might indicate underlying electrical issues. It’s best to address this problem promptly to avoid potential damage.
How to stick LED strip lights on wall without damaging paint?
Use adhesive clips or hooks specifically designed for LED strips that can stick to walls without damaging paint. These often come with a removable adhesive backing. Alternatively, use double-sided tape designed for temporary placement and easy removal to prevent paint damage.
What should I do if adhesive tape residue is left on the wall after removing LED strips?
Mild solvent or adhesive tape remover can be used to gently clean away any residue. Apply the solvent with a soft cloth and gently rub the area.
How do I choose the right adhesive tape for my LED strip lights?
Select an adhesive tape based on the type of wall surface and the weight of the LED strip. High-quality adhesive tape like 3M tape is generally a safe choice. Our blog offers detailed insights into choosing adhesive tape.
Can LED strip lights be reused after removal?
Yes, LED strip lights can often be reused if removed carefully and the adhesive tape is still effective. If the adhesive tape has weakened, you can apply new adhesive tape for reinstallation.
Are LED strip lights energy-efficient?
Absolutely! LED strip lights are known for their energy efficiency, consuming less power compared to traditional lighting options. This makes them both cost-effective and environmentally friendly.
Can I install LED strip lights outdoors?
Yes, but ensure the LED strips are rated for outdoor use and properly protected against weather elements. Our blog discusses considerations for outdoor LED strip light installation.
Fazit
In wrapping up our exploration into the safe use of LED strip lights, it’s evident that with the right knowledge and materials, you can bring a new light into your home without risking the beauty of your walls. Remember, the secret to a successful installation lies in choosing the right adhesive tape, understanding your wall surface, and following proper installation techniques. If you’re looking to enhance your space with the vibrant, efficient glow of LED lights but still have questions or unique requirements, don’t hesitate to reach out for expert advice.
As we conclude our journey through the safe and effective use of LED strip lights, it’s worth noting the expertise of Unitop, China’s renowned leader in LED lighting solutions. With a steadfast commitment to quality and innovation, Unitop excels in producing top-tier LED-Leuchtbänder und LED-Neon-Flex, meeting diverse lighting needs with cutting-edge technology and design. Whether you’re navigating the intricacies of LED strip light installation or seeking advanced lighting solutions, Unitop stands as your go-to expert. If you have any further questions, or specific requirements, or are seeking tailored advice, don’t hesitate to reach out to us. Embrace the brilliance and expertise of Unitop, and let us illuminate your space with the perfect LED lighting solutions. Kontaktieren Sie uns immediately to experience the exceptional quality and service that sets Unitop apart in the LED industry.
Verwandte Beiträge

Tom ist jetzt der Verkaufsleiter von Unitop (China) Co., Limited. Er war in der LED-Beleuchtung Industrie seit 2005. Er ist Experte für Vertrieb und Marketing sowie für Fabrikmanagement. Er mag Bodybuilding und ist außerdem ein verrückter Apple-Fan! Er ist ein fleißiger Kerl und liebt es, neue Dinge zu lernen und auszuprobieren.
E-Mail: tom@unitopledstrip.com WhatsApp: +86-18680307140


Hinterlasse einen Kommentar
An der Diskussion beteiligen?Hinterlasse uns deinen Kommentar!