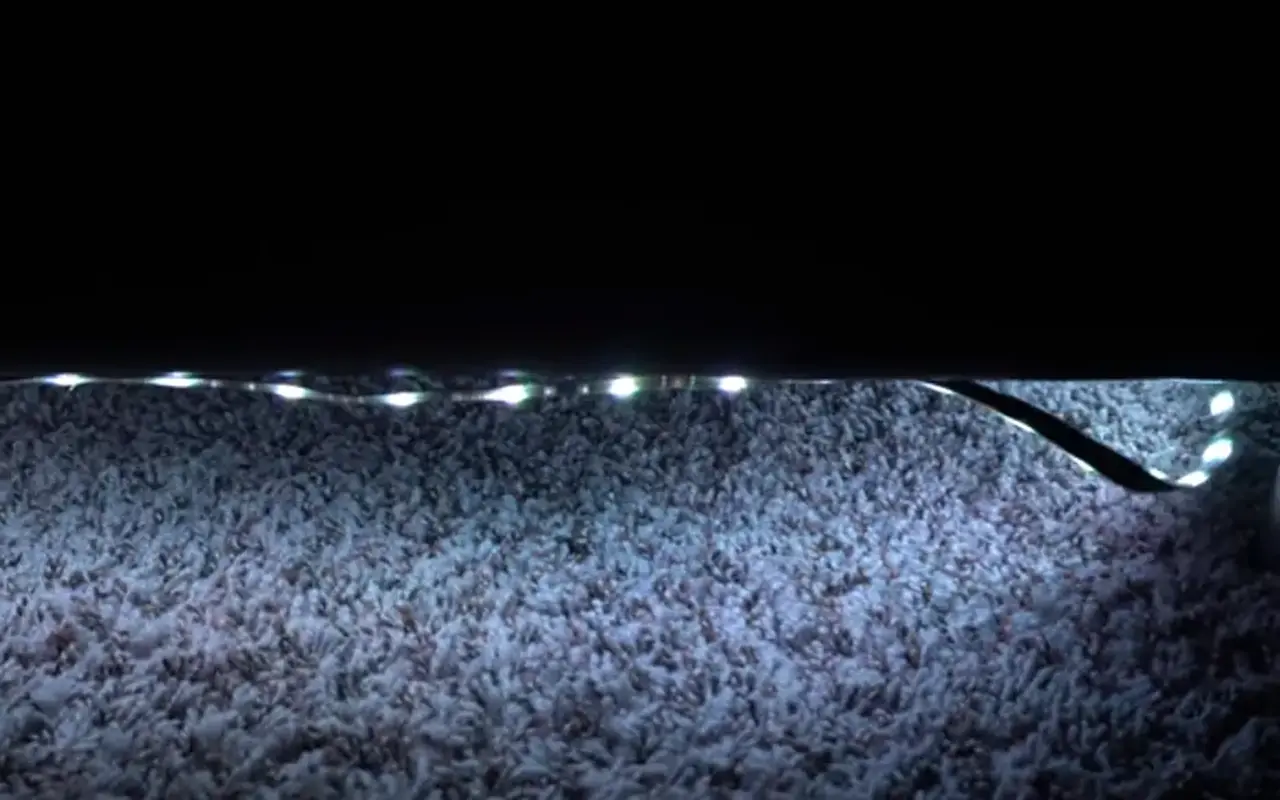
Las tiras de luz LED son populares porque hacen que cualquier espacio parezca bonito y colorido. A la gente le encanta utilizar tiras de luces LED para decorar salones y crear un ambiente acogedor en espacios comerciales. Pero a menudo se produce un problema cuando las luces se caen, causando frustración y daños.
In this guide, we will explain why this problem happens a lot and give you instructions on how to keep LED light strips from falling off.
5 Common Reasons Why do My LED Lights Keep Falling Off
Polvo o residuos en la superficie
El polvo o los restos en la superficie pueden alterar la adherencia de las tiras de luces LED. Incluso un poco de polvo u otras partículas pueden impedir que el adhesivo se pegue bien. El polvo y las partículas diminutas pueden acumularse en distintas superficies. Esta es una razón habitual por la que las tiras de luces LED pierden adherencia.
Daños por agua
La adhesión de las tiras de luces LED puede verse afectada por el agua y la humedad. La humedad puede dañar el adhesivo cuando entra en contacto con el agua o está expuesto a la humedad. Con el tiempo, el adhesivo se debilita y las tiras de luz dejan de pegarse, por lo que se caen.
Problemas de sobrecalentamiento
Sabemos que las luces LED generan calor, sobre todo cuando están cerradas o cubiertas. Si este calor se acumula en exceso, puede hacer que el adhesivo se rompa. Las tiras de luces LED pueden caerse porque se calientan demasiado y no se pegan bien.
Problema del cable
Los cables que conectan las tiras de LED pueden crear problemas inesperados. Si tiran, se retuercen o ejercen una presión indebida sobre las tiras, pueden provocar desprendimientos. Si los cables no están bien dispuestos o se enredan, las tiras de LED pueden caerse debido a la fuerza que ejercen.
Factores medioambientales y químicos
Diversas condiciones ambientales pueden afectar sutilmente a la eficacia del adhesivo de las tiras de luces LED. Las luces LED pueden desprenderse a causa de la humedad, los cambios de temperatura o las sustancias químicas presentes en el aire. Es posible que estos factores ambientales y químicos no provoquen un desprendimiento inmediato. Aun así, pueden contribuir a que las tiras de LED pierdan su adherencia con el tiempo.
Preparativos para el arreglo
Herramientas necesarias
Para fijar las tiras de luces LED de forma eficaz, necesitas las herramientas adecuadas. Las herramientas que necesites variarán en función de tu instalación de LED y de la superficie a la que las vayas a fijar.
Paños de limpieza: Los paños suaves y no abrasivos le ayudarán a limpiar la superficie sin rayarla.
Cinta adhesiva adecuada: Existen varios tipos, adaptados a diferentes materiales y entornos.
Cepillos o esponjas: Para aplicar el adhesivo uniformemente y para la limpieza.
Clips o soportes: Pueden servir de soporte adicional para las tiras de LED.
Guantes: Para proteger las manos, especialmente cuando se trabaja con productos químicos o superficies rugosas.
Elegir la cinta adhesiva adecuada
El adhesivo es una parte crucial del proceso de instalación. Un adhesivo bien seleccionado garantiza que las tiras de luces LED permanezcan firmemente en su sitio. He aquí algunos factores a tener en cuenta:
Superficie Material: Ya sea madera, metal o plástico, el material de la superficie puede influir significativamente en el tipo de adhesivo que necesitarás.
Factores medioambientales: La humedad, la temperatura y la exposición a la luz solar o a productos químicos pueden afectar al rendimiento del adhesivo.
Especificaciones de la tira de LED: Tenga en cuenta el peso y la composición de las tiras de LED, ya que algunos adhesivos pueden no ser adecuados para determinados tipos.
Elegir el adhesivo equivocado puede llevar al fracaso, por lo que encontrar el adecuado es esencial.
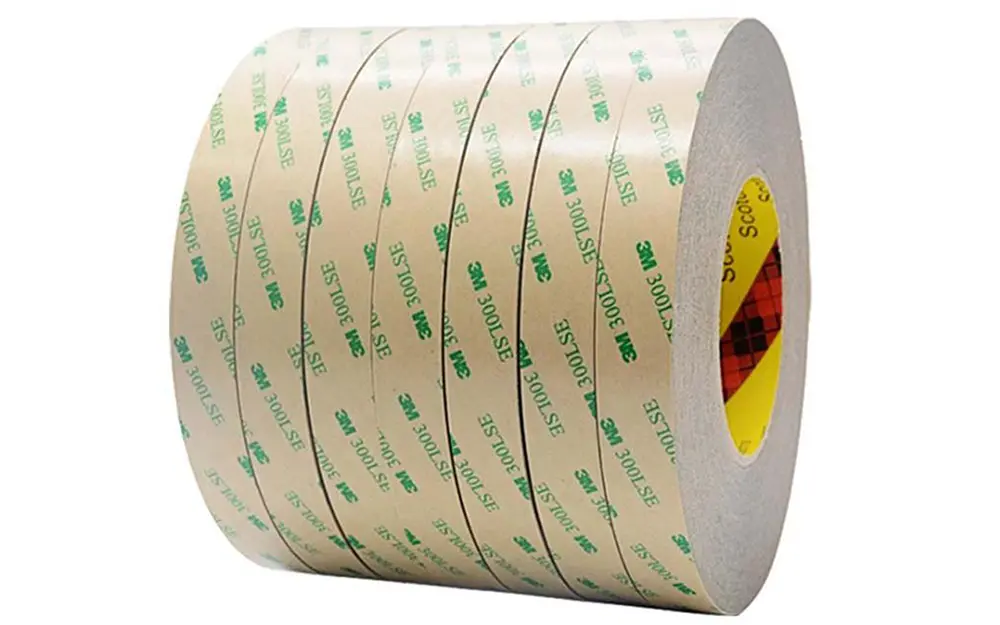
Las tiras de luces LED Unitop tienen auténticas cintas adhesivas 3M en la parte posterior para facilitar su instalación. El adhesivo funciona bien en la mayoría de los entornos. Sin embargo, también tenemos clientes que necesitan cintas adhesivas especiales distintas de 3M; también podemos conseguirlo.
Preparar la superficie de montaje del LED
Primer paso: quitar el polvo
Una superficie limpia es vital para una adherencia fuerte. Debe eliminar cualquier resto de polvo, aceite o suciedad. He aquí cómo:
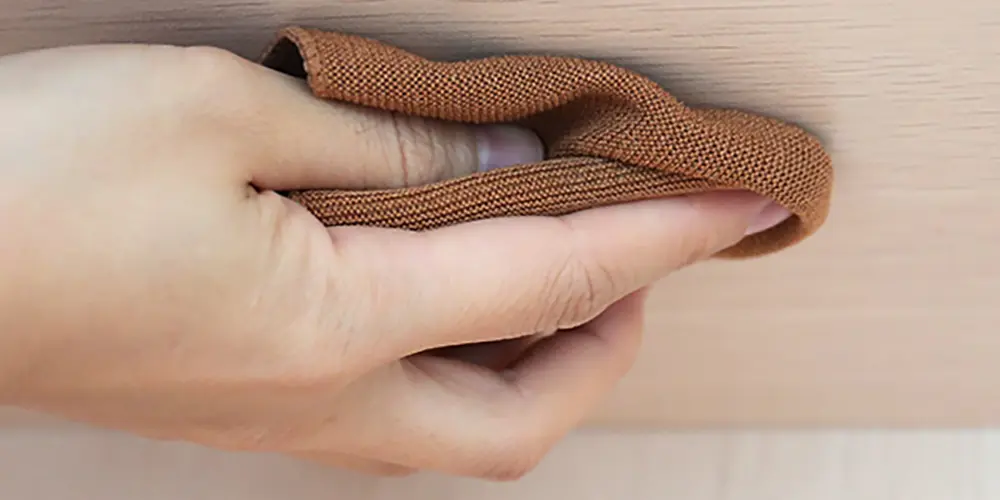
Frota suavemente con agua jabonosa o con un limpiador especializado que no deje residuos.
Para manchas más difíciles o sustancias pegajosas, puede ser útil un cepillo de cerdas suaves.
Después, utiliza un paño limpio para secar completamente la superficie. Esto es importante porque cualquier resto de humedad podría afectar a la adherencia.
Segundo paso: igualar la superficie
Una superficie irregular puede provocar puntos débiles en la adherencia de las tiras de LED. Esto es lo que puedes hacer:
Inspeccione la superficie en busca de puntos rugosos o irregulares.
Lije o rellene suavemente estas zonas según sea necesario. Si lija, utilice papel de lija de grano fino para evitar daños mayores.
Limpia cualquier residuo para dejar una superficie perfectamente lisa, lista para las tiras de LED.
¿Cómo instalar correctamente las tiras de LED para que no se caigan? Guía paso a paso.
Despegue el papel protector de la parte posterior de la tira LED
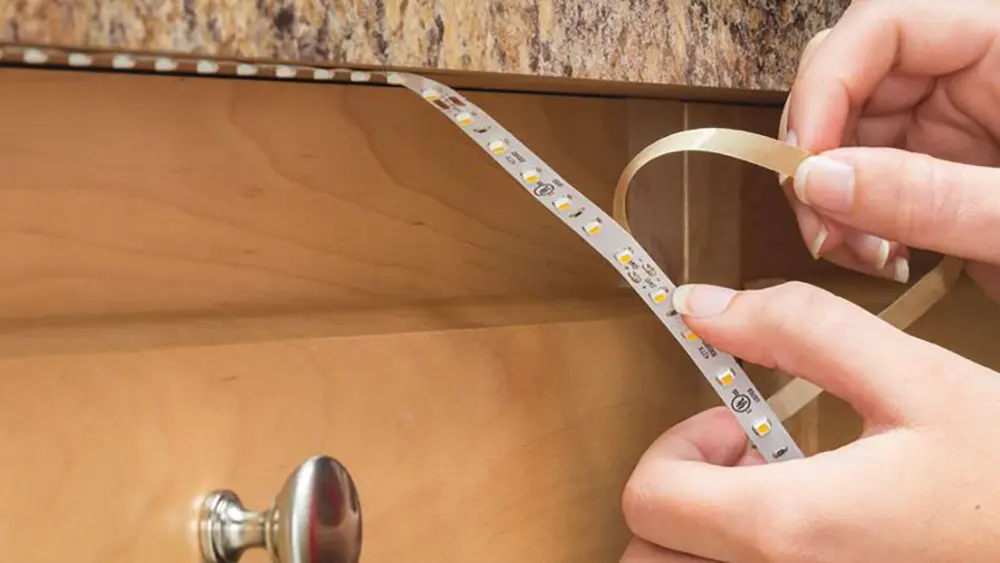
Cuando estés listo para colocar las tiras de luces LED, verás que hay un papel que cubre la cinta adhesiva. Despegar este papel es un paso importante, y aquí te explicamos cómo hacerlo:
Sujete la tira de LED: Using one hand, hold the strip steady.
Peel the Paper: With your other hand, carefully start peeling the protective paper away from the adhesive. Do this slowly and at a consistent angle to prevent any damage.
Smooth Out: Once peeled, smooth the adhesive to ensure it’s ready to stick.
Position in the Right Place
Positioning the LED strip lights requires foresight and careful alignment.
Mark the Position: A soft pencil or non-permanent marker can mark where the LED strips will go, helping in precise placement.
Alignment: Using a level or ruler, ensure the strips are straight, especially over longer distances.
Adjustments: Once positioned, gentle adjustments can be made before the adhesive sets, but avoid repeated repositioning.
Press Down and Let Them Dry
Pressing down and allowing the LED strip lights to dry properly solidifies the bond.
Pressure: Apply uniform pressure along the entire LED strip length, ensuring complete contact with the adhesive.
Drying Time: Different adhesives have different drying times. Patience here is essential; rushing this step can lead to failure.
Additional Support Options: Clips, Brackets, Tape Products
We can think about more ways to help those who want to be extra careful.
Clips and Brackets: These can be discreetly placed at intervals, providing physical support to the LED strips.
Specialized Tape Products: Double-sided 3M tapes designed for LED strips can provide added security and are often used with adhesives.
Environmental Considerations: In areas with high humidity or temperature fluctuations, additional support might be not just an option but a necessity.
Installing LED strip lights is a delicate balance of preparation, precision, and patience. By following these steps, you can make your space look more professional. It will also ensure that your lights stay exactly where you want them. Whether you’re working at home or professionally, these guidelines will help you succeed in your project.
Additional Tips to Prevent LED Strip From Falling Off
Using Hot Glue
Hot glue, an often-overlooked tool, can be more than handy in securing LED strips. It benefits those looking for a quick fix or a short-term solution.
When to Use: Hot glue isn’t a solution for every situation. It works well for temporary setups, such as party decorations or seasonal displays. It doesn’t need to stick for a long time.
Application Tips: A hot glue gun with an appropriate temperature setting can ensure smooth application without damaging the LED strips.
Removal Considerations: It’s worth noting that while effective, hot glue might leave a residue when removed, so careful consideration of the surface material is advised.
Managing Overheating
LED strips, while energy-efficient, can still produce heat. Managing this heat effectively can prevent problems like the weakening of adhesive.
Proper Spacing: Sometimes, all that’s needed is a little space. Proper spacing allows the heat to dissipate, reducing the risk of overheating.
Cooling Solutions: Fans or heat sinks designed to fit LED strip configurations can be a valuable investment, especially for high-intensity lights.
Monitor the Temperature: Regularly checking the strips’ temperature can help detect any potential overheating issues early, enabling timely intervention.
Mounting Techniques: Aluminum Extrusion, U Channel Diffuser
These mounting techniques offer robust solutions for those seeking a more professional touch.
Aluminum Extrusion: This method uses aluminum channels to hold the LED strips, providing a sleek and sturdy framework.
U Channel Diffuser: U Channel Diffusers not only secure the LED strips but also help diffuse the light, creating a softer glow.
Professional Installation: These methods require professional tools and expertise, so consulting or hiring a professional is wise.
How to Conceal and Hang LED Strip Lights
In the Ceiling
LED strips mounted on the ceiling make a room look polished and more attractive.
Recessed Channels: Recessed channels within the ceiling can conceal the LED strips, providing an elegant and seamless appearance.
Aluminum Extrusions: Similar to wall mounting, aluminum extrusions can be used in the ceiling for a durable and professional look.
Considerations: Planning is essential to ensure proper alignment, wiring, and support for the ceiling installation.
On the Wall Without Damaging
A wall-mounted setup should never mean damaging your walls.
Adhesive-backed Hooks: These hooks or clips provide support without needing nails or screws, preserving your wall’s integrity.
Alignment and Spacing: Proper alignment and evenly spaced supports are crucial for a clean, straight look.
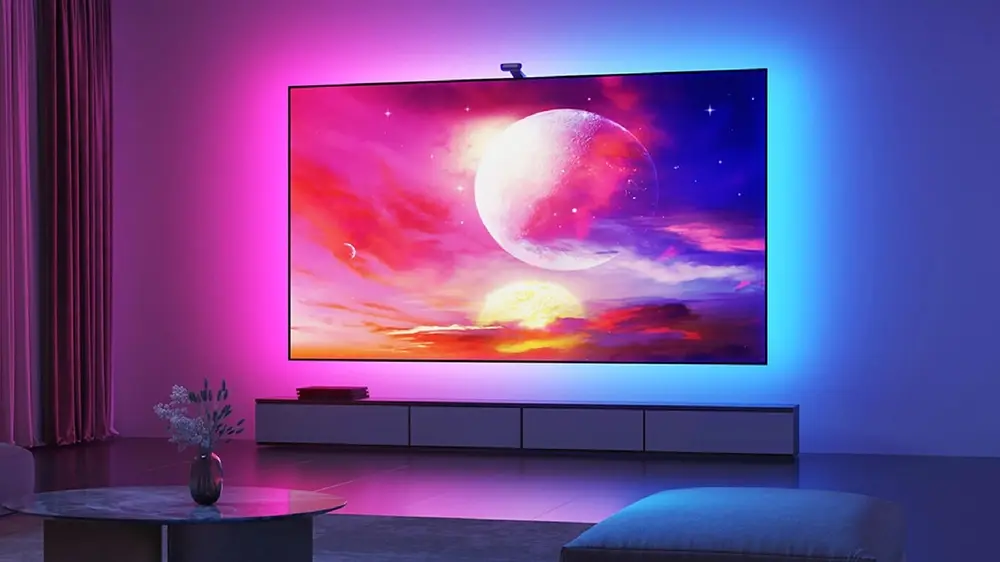
TV or Monitor LED Backlights
This popular setup can transform your entertainment experience.
Specialized Kits: There are kits specifically designed for TV or monitor backlighting, simplifying installation.
Manufacturer Instructions: If a kit is not used, carefully following the manufacturer’s guidelines can lead to optimal results.
Cable Management: Concealing or managing the cables neatly adds to the overall aesthetics, ensuring a clutter-free look.
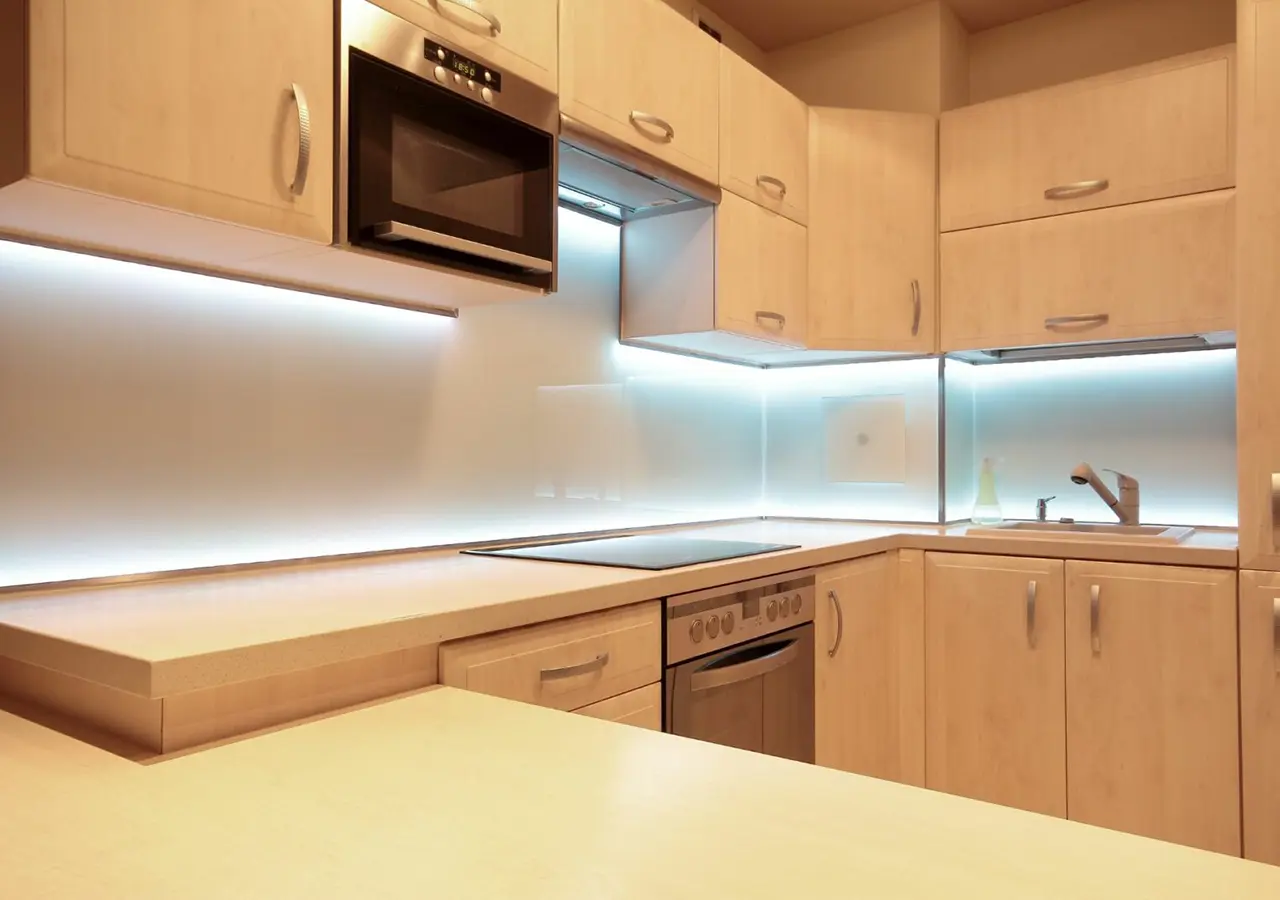
Under Cabinet LED Strips
Under-cabinet lighting adds functionality and style to any kitchen or workspace.
Selection of Adhesives: Different materials might require specific adhesive tapes. Selection based on cabinet material ensures a strong bond.
Additional Support: Depending on the cabinet’s underside surface, extra support, like clips or brackets, may be necessary.
Wiring Considerations: Neatly concealed wiring adds to the professional appearance of the installation.
Common Mistakes to Avoid
Improper installation of LED strip lights can make it hard to enhance your home’s different areas. Here are some common mistakes that can occur and how you can avoid them.
Ignoring Manufacturer Instructions
Manufacturers provide detailed guidelines to ensure proper installation and long-lasting performance. Ignoring these instructions is a common mistake with consequences.
Compatibility Issues: Not all LED strips are created equal, and using them in ways not intended by the manufacturer can lead to compatibility issues.
Potential Damage: Failure to follow the instructions may cause the LED strips to malfunction or even become irreparably damaged.
Warranty Concerns: Many manufacturers require adherence to their guidelines to maintain the warranty on the product. Failure to comply may void the warranty, leading to potential loss.
Rushing the Installation Process
In our fast-paced world, taking the time to do things properly can sometimes be overlooked. But, if you put in LED strip lights too fast, you might make mistakes that affect how long they last and how they look.
Importance of Planning: A proper layout plan ensures you know precisely where the strips must be placed before installation. Skipping this step can lead to alignment issues.
Allowing Time to Dry: If adhesive is used, it requires sufficient time to dry and bond properly. Rushing this step can lead to the strips falling off later.
Checking Connections: Hastily connecting wires and not thoroughly checking connections can result in malfunctions.
Tools and Preparations: Having all necessary tools and preparations done before beginning the installation avoids interruptions and ensures a smooth process.
Frequently Asked Questions (FAQ)
Why Do My LED Strip Lights Keep Falling Off?
LED strip lights falling can be frustrating. It’s often caused by dust, moisture, overheating, or adhesive issues. To prevent this issue, properly prepare the surface and follow the manufacturer’s instructions.
Can You Use Tape to Hold Up LED Lights?
Specialized tape products designed for LED strips can be an effective solution. Regular tape might lack the required hold, leading to detachment over time.
Which type of glue should you use for LED strips?
Choosing suitable glue requires considering the surface material and environmental conditions. To make sure the LED strips stick well, use a special adhesive made for them.
Can I Staple LED Strip Lights?
Stapling is generally not recommended, as it can cause damage to the LED strips. Using the recommended adhesives, clips, or brackets is best to avoid unnecessary harm.
Will LED Strip Lights Catch Fire?
Improper installation or usage can rarely cause overheating and fire hazards. To avoid this, follow the instructions from the manufacturer. You can also use fans or heat sinks to help cool it down.
Can You Hot Glue LED Strips?
Yes, hot glue can be a temporary solution for decorative setups. For long-lasting stickiness, it’s best to use 3M adhesive tape made for LED strips.
How Do I Prevent Overheating of LED Strip Lights?
To prevent overheating, you can use cooling solutions such as spacing, fans, or heat sinks. Following proper installation guidelines also ensure a safe and functional setup.
What Are Some Professional Mounting Techniques for LED Strips?
Techniques like aluminum extrusion or U Channel Diffuser can provide professional-looking results. They ensure your LED strips stay firmly in place, adding an elegant touch to your setup.
Can You Put Thumbtacks on LED Strips?
While it might seem like a quick solution, thumbtacks can cause damage to the LED strips. Instead, opt for specialized clips, brackets, or adhesives to hold LED strips securely.
Will Leaving My LED Strip Lights on All Night Cause Them to Fall Off?
Typically, leaving LED strip lights on all night won’t cause them to fall off. If you use it for a long time without following instructions, it may overheat and damage the bond. Following proper guidelines ensures the longevity and stability of your LED lights.
Conclusión
LED strip lights, when installed correctly, can be a stunning addition to any space. This guide explains why your LED lights falling down and how to prepare the surface. It also covers the installation process and offers tips and expert recommendations. Follow this guide, and those falling LED strip lights will be a problem of the past. Please share your success stories, comments, or questions below. Let’s brighten our lives together!
Unitop is your go-to source for top-quality Tiras de luces LED y Flexo de neón LED in China. We’ve built our reputation by delivering reliable, attractive lighting solutions for every need. If you need LED lights for your home or work, we have what you need and can help. Have questions or special requirements? Don’t hesitate to contacte con nosotros. At Unitop, we’re here to help you make your lighting ideas shine.
Artículos relacionados:

Tom es ahora el Director de Ventas de Unitop (China) Co., Limited. Ha estado en el Iluminación LED industria desde 2005. Es experto en ventas y marketing, y en gestión de fábricas. Le gusta el culturismo, ¡y también es un fan loco de Apple! Es un tipo muy trabajador y le encanta aprender y probar cosas nuevas.
Correo electrónico: tom@unitopledstrip.com WhatsApp: +86-18680307140





Dejar un comentario
¿Quieres unirte a la conversación?Siéntete libre de contribuir!