Maintaining your LED strip lights is crucial for ensuring they perform optimally, providing bright, consistent lighting to enhance your space. Over time, dust and grime can accumulate, dimming the brilliance that makes these lights so appealing. Cleaning your LED strips is not only essential for aesthetic appeal but also extends their lifespan and functionality.
This guide offers a straightforward, step-by-step approach to cleaning LED strip lights, ensuring they continue to illuminate your environment effectively. We’ll cover everything from the materials you need to a detailed cleaning process that’s easy to follow.
Sumerjámonos de lleno.
Why Clean Your LED Strip Lights?
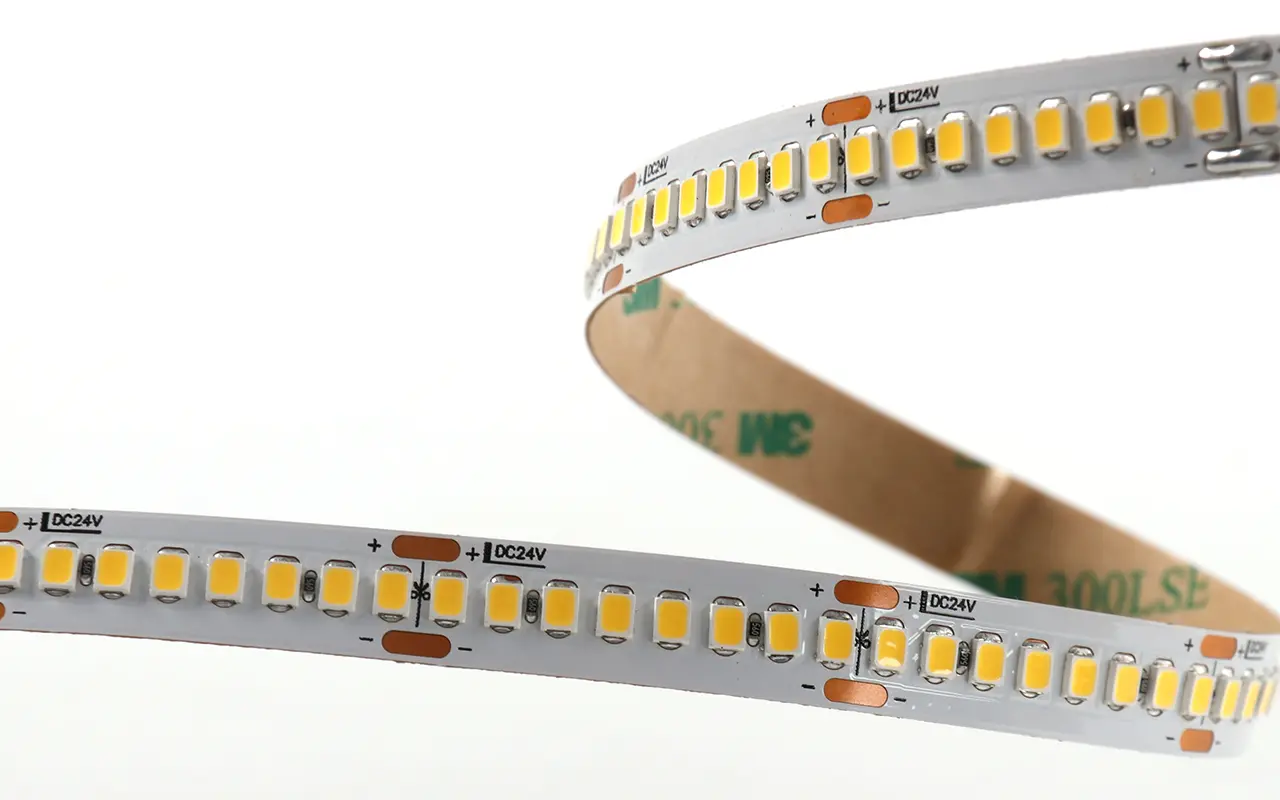
LED strip lights are celebrated for their energy efficiency and powerful brightness, making them a favorite in residential and commercial settings. However, like any other lighting fixture, they are susceptible to dust and debris accumulation. When dust gathers on the surface of LED strips, it can obstruct the light output, causing the lights to appear dimmer than they are. More critically, dust can insulate heat around the LEDs, increasing the risk of overheating. This can affect the electronic components, reducing efficiency and potentially shortening the lights’ lifespan.
Regular cleaning is essential to maintain your LED strip lights’ pristine condition and functionality. By keeping them clean, you not only preserve their brightness and color accuracy but also prevent the buildup of heat, which is crucial for the longevity of electronic devices. The process of cleaning your LED strips is straightforward. It requires minimal tools, making it an easy yet essential task for optimal lighting performance.
What You’ll Need
Cleaning your LED strip lights effectively doesn’t require expensive or specialized equipment; a few basic household items will do the job perfectly. Here’s what you should gather before beginning the cleaning process:
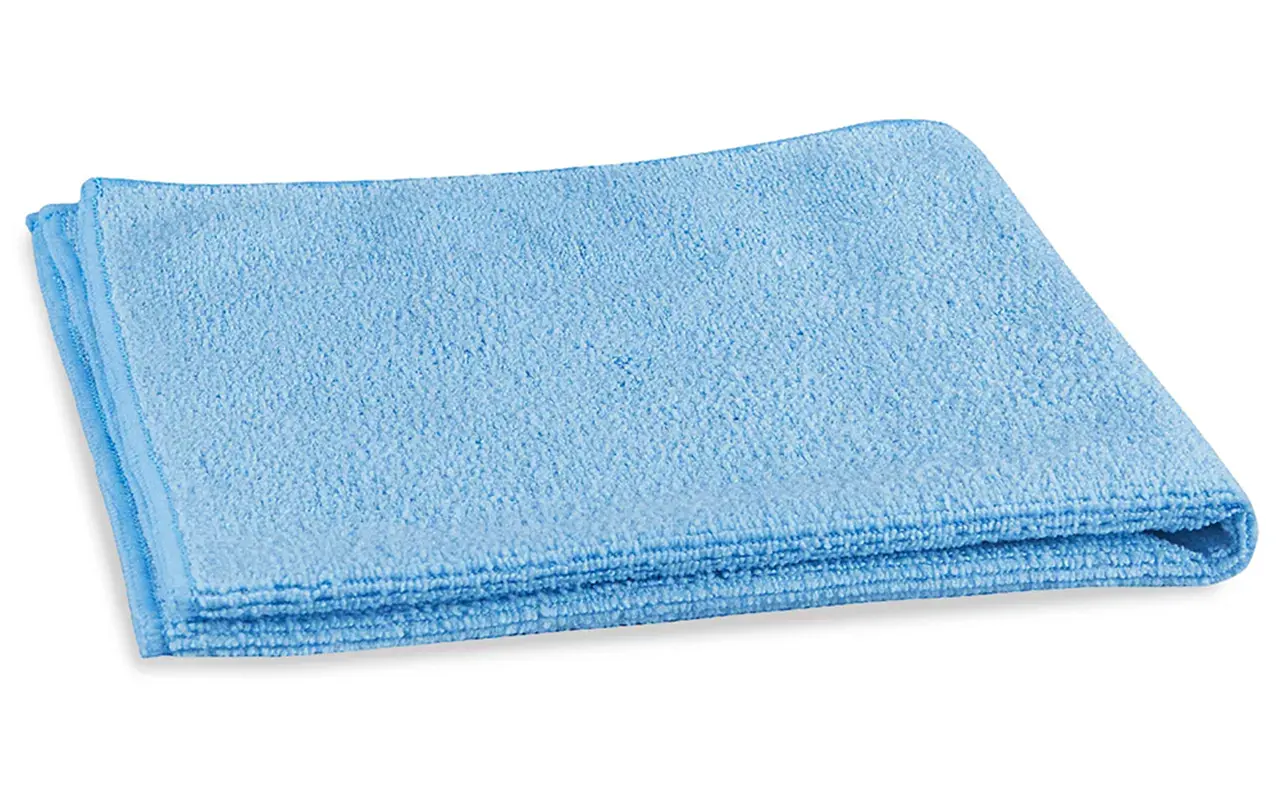
1. Microfiber Cloths
Opt for microfiber cloths for their ability to trap dust and particles without leaving any residue or scratches on the surface of your LED strips. These cloths are gentle yet effective, ideal for cleaning delicate electronics prone to scratching.
2. Soft Brush
A soft-bristled brush, such as a paintbrush or a makeup brush, is perfect for gently removing dust from the LED strips and hard-to-reach areas. The soft bristles ensure you can clean effectively without damaging the LEDs or the circuitry.
3. Isopropyl Alcohol
Isopropyl alcohol is an excellent choice for deeper cleaning, as it evaporates quickly and doesn’t leave moisture behind, which could damage the electronics. Use it to remove stubborn stains or stickiness from the surface of the LED strips. Always use it sparingly and ensure it is suitably diluted to avoid potential harm to the strip’s coating.
4. Cotton Swabs
Cotton swabs are indispensable for precision cleaning around connectors and difficult-to-reach spots. Dampen a swab with isopropyl alcohol to clean these areas thoroughly without risking any liquid seeping into the connections, which could cause damage.
Gathering these items beforehand will streamline the cleaning process, ensuring you have everything at hand to effectively maintain and restore the luminosity of your LED strip lights. Each tool plays a crucial role in tackling different aspects of the cleaning task, from dust removal to addressing more tenacious grime, all while preserving the integrity of your LED lighting is delicate components.
Step-by-Step Cleaning Process
Cleaning your LED strip lights is a simple but crucial task to ensure their longevity and optimal performance. Here’s a detailed guide to help you clean your lights safely and effectively.
1. Turn Off and Unplug: The first step is always safety. Before starting the cleaning process, it is essential to turn off the LED strips and unplug them from any power sources. This precaution prevents any chance of electrical shock and protects the electronic components of the LED strips during cleaning.
2. Initial Dusting: Begin by gently brushing off any loose dust from the surface of the LED strips using a soft brush or a dry microfiber cloth. This step is crucial as removing surface debris prevents scratching the LEDs when applying wet cleaning solutions. A soft brush can get into the crevices and along the length of the strips, ensuring that all dust particles are removed without damaging the surface.
3. Detailed Cleaning: Address any remaining stains or sticky residue after dusting. Moisten a microfiber cloth slightly with water or isopropyl alcohol for effective cleaning. It’s important to wring out the cloth well to ensure it’s only damp and not wet, as excess moisture can damage the LEDs. Gently wipe down the strips, paying special attention to areas with visible grime. Avoid harsh scrubbing motions, which can scratch or dislodge the LED bulbs. For very stubborn grime, a small amount of isopropyl alcohol can help break down the residue without harming the strip’s surface.
4. Drying: Once you’ve cleaned the strips, it’s crucial to ensure they are completely dry before reconnecting them to any power source. Use a clean, dry microfiber cloth to gently pat down the strips, absorbing residual moisture. Allowing the strips to air dry completely can also prevent any risk of short circuits when they are powered back on.
5. Reinstallation Tips: If you must remove or reposition the LED strips for cleaning, take extra care during reinstallation. Ensure the strips are aligned correctly and securely fastened in their designated positions. Tighten all connections and double-check that no part of the strip is loose, which could affect light distribution or cause a hazard. Proper installation will ensure that your LED strips function efficiently and safely.
Following these steps will help you maintain your LED strip lights in top condition, ensuring they last longer and continue to brighten your space effectively.
Additional Tips for Maintaining Your LED Strip Lights
Maintaining your LED strip lights extends beyond regular cleaning. To ensure they function optimally and last as long as possible, consider these additional maintenance tips:
Regular Dusting
Frequent dusting is one of the simplest yet most effective ways to maintain LED strips. By regularly removing dust, you reduce the risk of it building up to levels that can impede the light’s brightness and lead to overheating. Use a soft brush or a dry microfiber cloth every few weeks, depending on the environment. Areas with higher dust levels, like workshops or kitchens, might need more frequent attention.
Consider Placement
The location of your LED strip lights can significantly affect how often they need cleaning. Install them in areas where dust and debris are less likely to accumulate. Avoid placing strips near ventilation ducts, kitchen ranges, or other areas prone to airborne particles. Additionally, ensure that the strips are mounted to minimize exposure to direct handling or accidental contact, which can transfer oils and other contaminants onto the lights.
Protective Measures
Consider using a light diffuser or a protective cover over your LED strips. These help distribute the light more evenly and protect the strips from dust and direct physical contact. Protective covers can be particularly beneficial in high-traffic areas or environments where exposure to more significant dust and debris is inevitable.
Monitor Humidity and Temperature
LED strip lights perform best in controlled environments. Excessive humidity can lead to moisture accumulation, which might damage the circuitry. Similarly, high temperatures can reduce the lifespan of the LEDs. Ensure that the room where the lights are installed is well-ventilated and kept at a moderate temperature to enhance the performance and durability of your lighting.
Troubleshooting Common Issues After Cleaning
Sometimes, even after a thorough cleaning, you might encounter issues with your LED strip lights not functioning as expected. Here’s how to troubleshoot some common problems:
Check All Connections:
Loose connections are a frequent culprit behind LED strip lights failing to turn on or flickering after cleaning. Examine all connection points along the strip, especially at joints and ends where connectors meet the strips. Ensure that everything is tightly secured and that no pins are bent or misaligned.
Ensure Proper Alignment and Installation:
If the LED strips were moved or reinstalled, double-check their alignment. Incorrect installation can cause uneven lighting or sections not working. Ensure the strips are straight and uniformly adhered to the surface. Check that the adhesive backing has not come loose, which could cause the strip to hang away from the surface and disrupt the connection.
Test the Power Supply:
A faulty power supply or one not delivering adequate voltage can cause your LED strips to malfunction. Test the power supply with a multimeter or connect it to another LED strip to ensure it works correctly. Replacing the power supply may resolve the issue if you find the power supply is defective.
Inspect for Damage:
Sometimes, cleaning can inadvertently damage LEDs, especially if too much pressure is applied or if harsh chemicals are used. Look closely for any physical signs of damage to the LEDs or strip coating. If damage is observed, that strip section may need to be replaced.
Following these maintenance and troubleshooting steps, you can ensure your LED strip lights function efficiently and light up your space effectively.
Preguntas frecuentes
Can I use any kind of alcohol to clean my LED strip lights?
It’s best to use isopropyl alcohol because it evaporates quickly and is less likely to leave behind a residue that could damage the LEDs. Avoid using other types of alcohol like ethyl or methyl, which may be more abrasive and harmful to the delicate surfaces of your lights.
How often should I clean my LED strip lights to maintain optimal performance?
The frequency of cleaning depends on the environment where the LED strips are installed. A monthly cleaning is recommended in areas prone to dust, such as kitchens or workshops. For less dusty environments, cleaning every three to six months should suffice.
What’s the best way to dry LED strip lights after cleaning?
After cleaning, gently pat the LED strips dry with a soft, lint-free cloth. Allow them to air dry completely before reconnecting to power. This ensures all moisture has evaporated and helps prevent any electrical short circuits.
Can I clean my LED strip lights while plugged in?
No, always ensure your LED strip lights are unplugged and all power sources are disconnected before you begin cleaning. This is a crucial safety step to prevent electrical shock or damage to the strips.
Are there any specific materials to avoid when cleaning LED strip lights?
Yes, avoid using abrasive materials like paper towels or rough sponges, which can scratch the surface of the LEDs. Also, avoid harsh cleaning chemicals, which can damage the strips’ coating and circuitry.
What should I do if my LED strip lights are not working after I clean them?
Check all connections and ensure the strips have dried completely before reconnecting power. If they still don’t work, inspect for any visible damage or misalignment. Refer to our troubleshooting section for detailed solutions.
Is it safe to use water to clean LED strip lights?
Yes, but only if used sparingly and the cloth is well-wrung out to prevent dripping. Water can be used for light cleaning, but make sure the LED strips are completely dry before reconnecting to power.
How do I handle stubborn stains on my LED strip lights?
For stubborn stains, dampen a microfiber cloth with a small amount of isopropyl alcohol and gently wipe the affected area. Always test this on a small, inconspicuous part of the strip first to ensure it doesn’t damage the finish.
Can the cleaning process differ for waterproof LED strip lights?
Waterproof LED strips are more resilient against moisture but should still be handled carefully. Due to their water-resistant coating, you can similarly clean them but feel more confident about using a slightly damp cloth.
How can I prevent dust from accumulating on my LED strip lights?
Regular dusting is key. Additionally, installing LED strips away from high-traffic areas and avoiding placement near ventilation systems can significantly reduce dust accumulation. Using protective coverings can also help keep dust at bay.
Conclusión
Keeping your LED strip lights clean is more than just an aesthetic choice—it’s a practical one that ensures your lighting continues functioning at its best. Regularly cleaning your strips preserves their brightness and extends their operational lifespan. This simple maintenance task can prevent common issues such as dimming and color inconsistency, ensuring that your environment remains brightly lit with reliable and efficient lighting. By incorporating the cleaning steps outlined in this guide into your regular maintenance routine, you can enjoy the vibrant and consistent lighting that LED strips are known for.
Now that you know how to keep your LED strip lights in top condition, we’d love to hear about your experiences. Have you tried any of the cleaning techniques mentioned in this guide? Did you find them effective? Share your stories in the comments below to help others learn from your experience. Don’t hesitate to ask if you have any questions or need further advice on maintaining your LED lights. We’re here to help ensure your home or office lighting is as brilliant as possible. Don’t forget to subscribe to our newsletter for more practical DIY guides, tips, and updates to help you master the art of maintaining your home’s lighting solutions.

Tom es ahora el Director de Ventas de Unitop (China) Co., Limited. Ha estado en el Iluminación LED industria desde 2005. Es experto en ventas y marketing, y en gestión de fábricas. Le gusta el culturismo, ¡y también es un fan loco de Apple! Es un tipo muy trabajador y le encanta aprender y probar cosas nuevas.
Correo electrónico: tom@unitopledstrip.com WhatsApp: +86-18680307140


Dejar un comentario
¿Quieres unirte a la conversación?Siéntete libre de contribuir!