Unlock the mystery of LED strip testing with our definitive guide. Master the use of a multimeter with confidence and precision, ensuring your LED strips shine bright and perform optimally.
Discover the essential steps to test LED strips accurately using a multimeter. From preparation to execution, our guide lays out a clear, detailed process to check continuity and voltage and identify any issues effectively.
Embark on a detailed journey through each testing phase with us. Gain the expertise to tackle any LED strip testing challenge, enhancing your troubleshooting skills and technical know-how.
Essential Multimeter Knowledge for LED Testing
Understanding Multimeter Functions
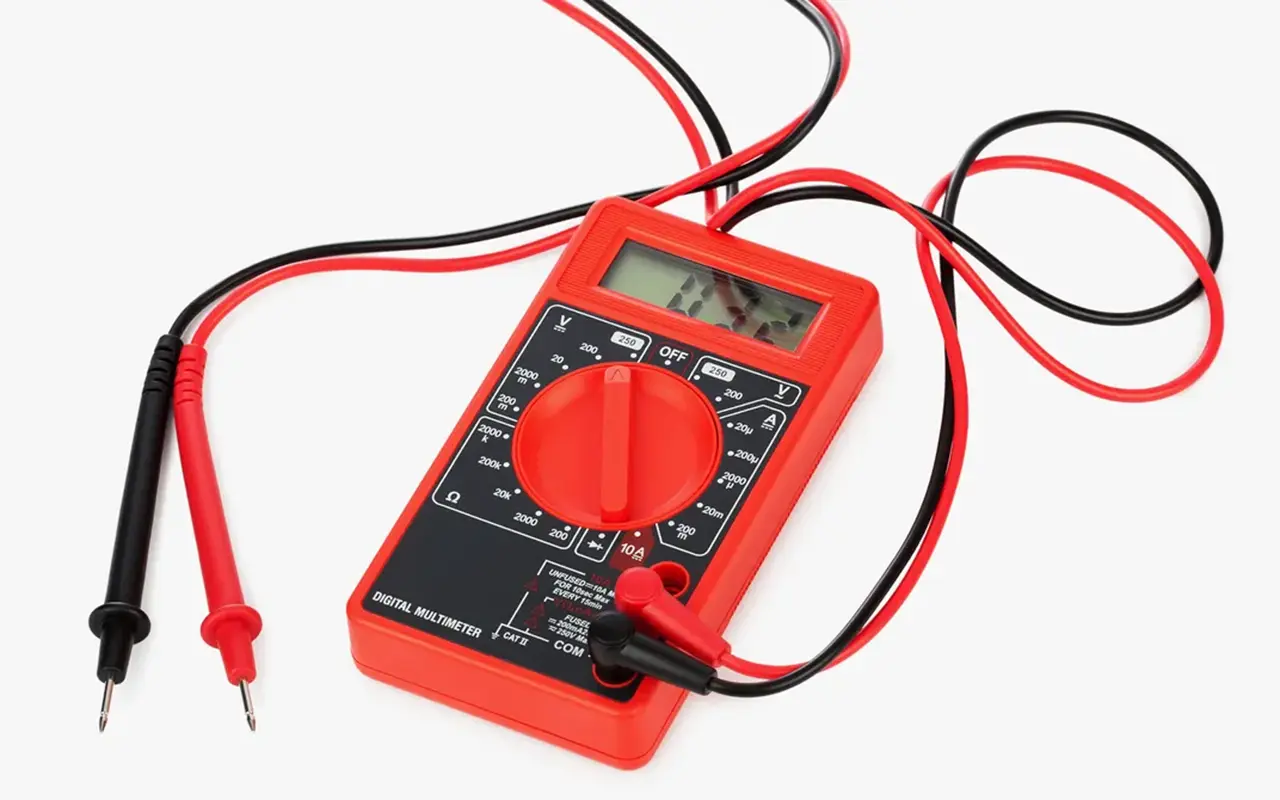
A multimeter, often considered the electrician’s best friend, serves as a critical diagnostic tool, especially when working with LED strips. This versatile device can measure various electrical properties, including voltage (volts), current (amps), and resistance (ohms), which are fundamental for ensuring your LED setup is functioning correctly.
When testing LED strips, understanding how to toggle between AC (alternating current) and DC (direct current) settings on your multimeter is crucial, as LED strips typically operate on DC. Furthermore, familiarizing yourself with the multimeter’s continuity function can help you identify any breaks or shorts in the circuit. This function emits a tone when a complete path (continuity) is detected, simplifying the process of troubleshooting LED strip connections.
To accurately assess the health of your LED strips, you’ll also need to understand how to measure resistance and verify the integrity of resistors within the strip, ensuring they are providing the correct level of current to the LEDs. By mastering these multimeter functions, you can effectively diagnose, maintain, and optimize your LED lighting, enhancing its longevity and performance.
Safety Protocols with Multimeters
Safety should always be your top priority when conducting any form of electrical testing. When using a multimeter, it is imperative to observe the following safety protocols to prevent accidents and damage to your equipment:
Correct Setting: Always double-check that your multimeter is set to the correct measurement for what you’re testing (voltage, current, resistance, or continuity). Using the wrong setting can lead to inaccurate readings or potentially harm the multimeter or the circuit you’re testing.
Proper Range Selection: Ensure that the measurement range is appropriate for the circuit you’re testing. Selecting a range that is too low for the voltage or current can overload and damage the multimeter.
Insulated Handling: Always hold the multimeter and probe handles, not the metal probe tips, to avoid accidental shocks.
Regular Inspection: Regularly inspect your multimeter and probes for any signs of damage, such as cracked casings or frayed wires. Damaged equipment can be a serious safety hazard.
Device Off: Ensure the circuit power is off before connecting your multimeter for resistance or continuity tests to avoid electric shock or damage to the multimeter.
By adhering to these safety protocols, you can safely and effectively use your multimeter to test and troubleshoot LED strips, ensuring they operate safely and efficiently.
Pre-Test Preparation: Setting Up for Success
Workspace and LED Strip Arrangement
A well-prepared workspace is key to successful LED strip testing. Your testing area should be clean, organized, and spacious enough to accommodate all your tools and the LED strips you’ll be working on. Adequate lighting is essential to clearly see the components and readings, and a static-free environment will prevent any potential damage to the LED strip’s electronic components.
When arranging your workspace:
Surface Cleaning: Ensure your work surface is free of dust, moisture, and any other contaminants that could affect the testing process.
Tool Organization: Lay out your tools and components methodically so everything you need is within easy reach. This organization minimizes the risk of interruptions and can significantly speed up the testing process.
LED Strip Handling: Handle the LED strips gently and lay them out flat on your work surface. Avoid bending or twisting the strips, as this can damage the LEDs or the circuitry.
Ensuring Correct Equipment and Settings
Before commencing any tests, it’s imperative to ensure that your multimeter is in perfect working order and correctly calibrated. This verification process might include checking the battery level, ensuring the display is clear and functional, and verifying that all the dial settings and input jacks are correctly labeled and operational.
Additionally, you’ll want to:
Select the Right Probes: Confirm you have the appropriate probes for your testing needs—standard probes for most measurements and specialized ones like clamp probes for measuring current without breaking the circuit.
Gather Auxiliary Tools: Besides the multimeter, ensure you have other necessary tools on hand, such as wire strippers, needle-nose pliers, and perhaps a magnifying glass for inspecting small components.
Check LED Strip Specifications: Familiarize yourself with the LED strip’s voltage and current requirements, which can usually be found in the manufacturer’s documentation. This knowledge will guide you in setting the correct measurement ranges on your multimeter.
By meticulously preparing your workspace and verifying that your equipment is correctly set up, you’ll be well-positioned to conduct accurate and effective LED strip testing.
Detailed Guide: Testing LED Strips Step by Step
Step-by-Step Continuity Checking
Continuity checking is a fundamental yet powerful process in ensuring the integrity of your LED strips. A break or fault in the strip can prevent it from illuminating correctly and identifying these issues early can save you time and effort in the long run. When performing a continuity check:
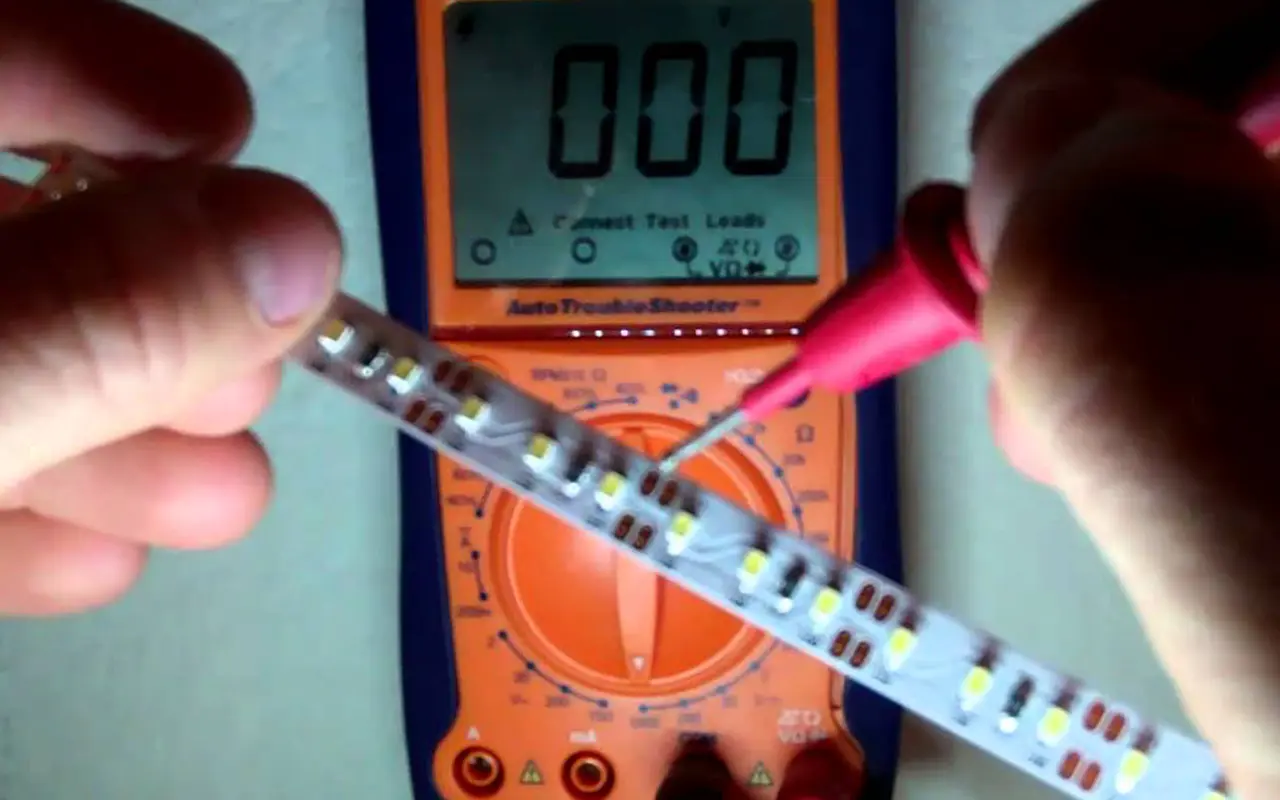
Set the Multimeter: Ensure your multimeter is set to the continuity setting, usually indicated by an icon resembling a sound wave or diode symbol. This setting will allow the multimeter to emit a beep when a complete circuit is detected.
Test Each Segment: Most LED strips are segmented, with clearly marked lines indicating where each segment begins and ends. Test each segment individually by placing the multimeter probes on the corresponding positive and negative pads at the end of each segment.
Listen for the Beep: A continuous tone indicates a complete circuit, confirming the segment is good. If you don’t hear a beep, there may be a break in the circuit within that segment.
Inspect Visually: If a break is detected, visually inspect the segment for any visible signs of damage, such as cuts or burns, which could be the cause of the issue.
Record Your Findings: Keeping a log of which segments pass or fail can be helpful, especially if you are working with multiple strips or a larger installation.
Voltage Measurement and Analysis
Voltage measurement is crucial to ensure your LED strip is receiving the correct power level for optimal performance. An incorrect voltage can lead to dim lighting or, conversely, can overdrive the LEDs, reducing their lifespan. To measure voltage effectively:
Preparation: Ensure your LED strip is connected to its power source but is not powered on until you are ready to measure.
Set the Multimeter: Switch your multimeter to measure DC voltage, ensuring it can handle the voltage range you expect from your LED strip.
Measure at Different Points: Start measuring at the beginning of the strip and then at various points along its length. Voltage drop is a common issue in longer strips, where the voltage at the end of the strip may be significantly lower than at the beginning.
Analyze Readings: Compare your measurements against the manufacturer’s specifications. Any significant discrepancies could indicate an issue with the power supply or the strip itself.
Investigate Anomalies: If any segment shows a voltage outside the expected range, further investigation is needed to determine whether the issue is with the strip or its power source.
Navigating Common LED Strip Challenges
Identifying and Resolving Typical Issues
Even with proper installation and care, LED strips can encounter various issues that affect their performance. Some common challenges include:
Voltage Drops: Particularly in longer LED strips, voltage drops can lead to the far end of the strip appearing dimmer. Ensuring you have an adequate power supply and using power injection at various points can mitigate this issue.
LEDs defectuosos: Occasionally, individual LEDs may fail, which can often be replaced or bypassed depending on the strip’s design.
Color Inconsistencies: If your LED strip displays inconsistent colors, this may be due to color binning differences or voltage variations. Ensuring a consistent power supply and using LEDs from the same bin can help.
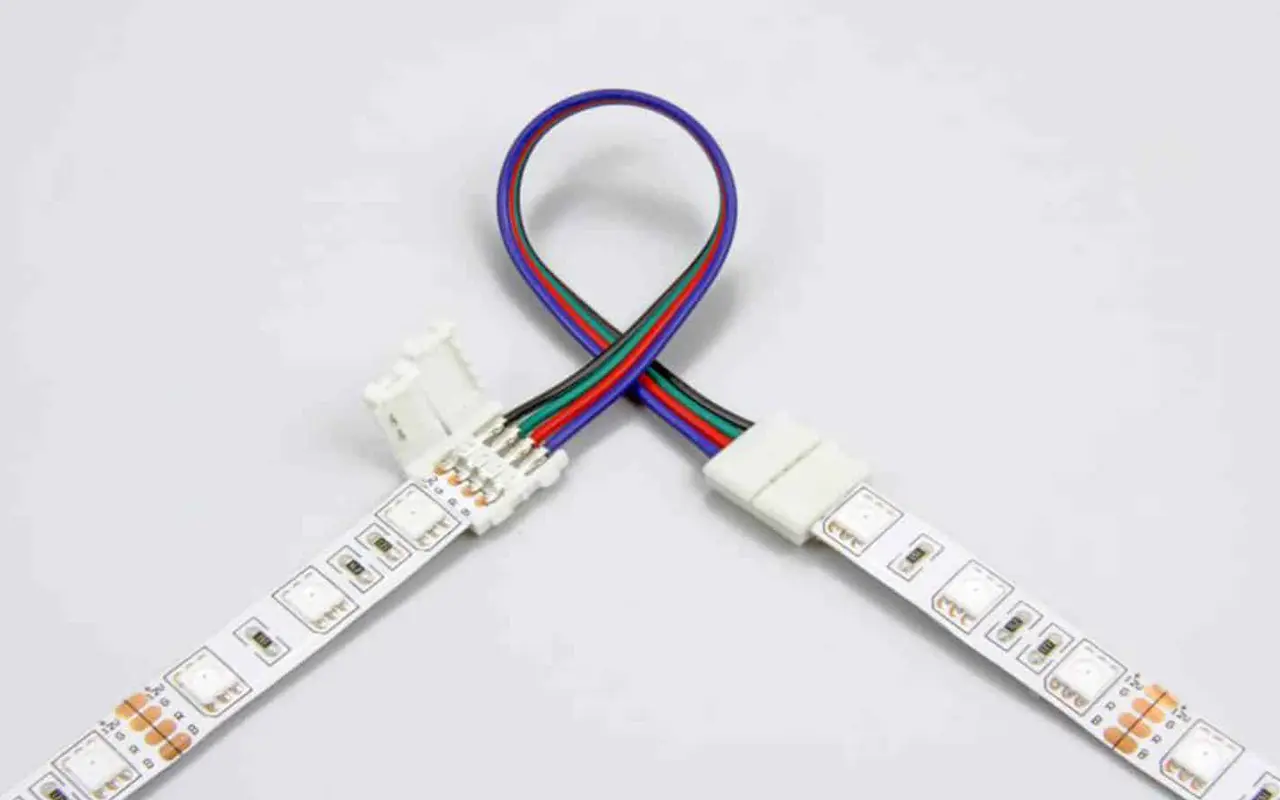
Connection Issues: Poorly connected segments can cause flickering or complete outages. Checking and securing all connections is crucial, especially at joints and power inputs.
Advanced Troubleshooting Techniques
When the basic troubleshooting methods are insufficient, it’s time to employ more advanced techniques:
Segment Isolation: If a particular segment is problematic, isolate it and test it independently to determine if the issue is localized or systemic.
Thermal Imaging: Overheating can cause LED failure. Using a thermal camera can help identify hot spots that indicate electrical issues or poor heat management.
Driver Testing: The driver converts power for the LEDs and can be a failure point. Testing its output ensures it provides a stable and correct voltage.
Oscilloscope Analysis: For flickering or unstable lighting, an oscilloscope can help identify if there are fluctuations or spikes in the power supply that may not be evident from a standard multimeter reading.
By systematically applying these techniques, you can diagnose and resolve even the most stubborn issues with your LED strips, ensuring they provide long-lasting, reliable illumination.
Post-Testing: Maintaining Optimal LED Strip Health
Regular Maintenance Tips
Proper maintenance is the key to prolonging the life of your LED strips and ensuring they continue to illuminate beautifully. Here are some essential tips to keep your LED strips in top condition:
Regular Cleaning: Dust and debris can accumulate on LED strips over time, diminishing their brightness and potentially causing overheating. Use a soft, dry cloth to wipe the strips gently. Avoid using water or harsh cleaning agents, which could damage the components.
Periodic Inspections: Regularly inspect your LED strips for any signs of wear and tear, such as fraying wires, discoloration, or loose connections. Early detection of these issues can prevent more significant problems down the line.
Avoiding Excessive Bending: While many LED strips are flexible, repeatedly bending or twisting them can lead to internal damage. Handle them with care, especially during installation or when making adjustments.
Temperature Monitoring: Ensure that your LED strips are not exposed to excessive heat, which can shorten their lifespan. Check that they are installed away from heat sources and that there is adequate ventilation.
Effective Storage Solutions
When your LED strips are not in use, storing them correctly is crucial to maintaining their functionality. Here’s how to store your LED strips properly:
Cool, Dry Place: Store your LED strips in a cool, dry environment to prevent moisture damage or overheating.
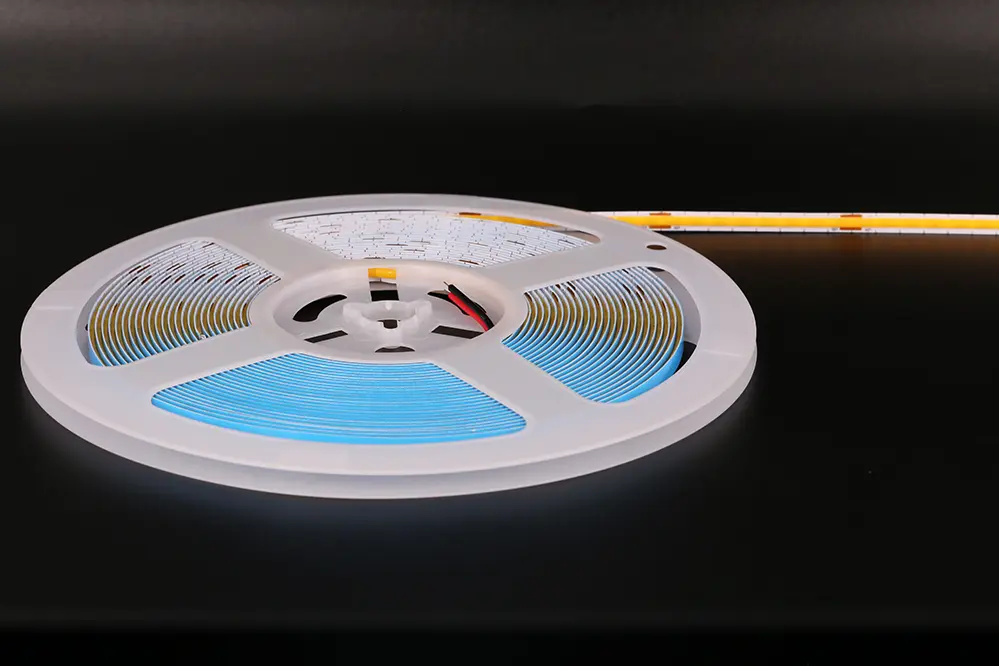
Reel Storage: If possible, keep your LED strips on a reel. This prevents them from getting tangled or kinked, which could cause physical damage.
Avoid Compression: Do not place heavy objects on top of stored LED strips. Compression can damage the LEDs and circuitry.
Anti-Static Bags: For added protection, especially for longer-term storage, consider placing your LED strips in anti-static bags to shield them from electrostatic discharges.
Conclusión
Testing LED strips with a multimeter is a skill that enhances not only the performance and longevity of your lighting but also ensures safety and efficiency. By following this comprehensive guide, you’ll gain the knowledge and confidence to perform thorough tests on your LED strips, ensuring they operate at their best. Whether you’re a hobbyist or a professional, mastering these techniques will elevate your LED strip projects to the next level, guaranteeing optimal lighting results for years to come.
In wrapping up our comprehensive guide on LED strip testing, we’d like to introduce you to Unitopuno de los principales fabricantes chinos de Tiras de luces LED y Flexo de neón LED. With a steadfast commitment to quality and innovation, Unitop has established itself as a luminary in the LED industry, providing cutting-edge solutions that illuminate spaces worldwide. If you have any further questions or specific requirements, we warmly invite you to reach out to us. Partnering with Unitop not only ensures access to top-tier LED products but also guarantees the support of seasoned experts eager to assist you in achieving optimal lighting outcomes. Don’t hesitate to póngase en contacto con nosotros and take the first step towards enhancing your LED experience with Unitop’s professional excellence and industry-leading expertise.

Tom es ahora el Director de Ventas de Unitop (China) Co., Limited. Ha estado en el Iluminación LED industria desde 2005. Es experto en ventas y marketing, y en gestión de fábricas. Le gusta el culturismo, ¡y también es un fan loco de Apple! Es un tipo muy trabajador y le encanta aprender y probar cosas nuevas.
Correo electrónico: tom@unitopledstrip.com WhatsApp: +86-18680307140


Dejar un comentario
¿Quieres unirte a la conversación?Siéntete libre de contribuir!