Embarking on a DIY lighting project can transform an ordinary space into a spectacle of light and color, and LED strip lights are at the forefront of this transformation. They are not just versatile and energy-efficient; they are the artisans of ambiance, capable of bending light to your will, quite literally, when it comes to corners. However, mastering the art of installing LED strip lights around corners can seem daunting. Fear not, for this guide is crafted to navigate you through the intricacies of corner installations, ensuring a seamless and stylish result that complements both the functionality and aesthetics of your space.
LED strip lights, with their myriad applications, can elevate any environment, be it under kitchen cabinets, along architectural features, or even lining the pathways of a lush garden. Yet, their true test unfolds at the corners, where precision and technique play pivotal roles. Our comprehensive guide delves deep into the types of LED strip lights best suited for corner installations, shedding light on the considerations necessary for achieving that perfect bend without compromising on the luminosity or integrity of your setup.
Enter Tom, a luminary in the realm of LED lighting whose expertise has illuminated the industry since 2005. With a wealth of knowledge spanning various LED technologies and a keen eye for innovative solutions, Tom has meticulously developed this guide to demystify the process of corner installations. Whether you’re a novice embarking on your first lighting project or a seasoned professional seeking advanced tips, Tom’s insights, distilled from years of experience, promise to elevate your lighting installations to new heights of excellence.
So, let’s dive right in! Armed with this guide, you’re set to navigate the bends and turns of LED strip light installations with confidence and creativity. Discover the joy of transforming your spaces with light, and let the corners no longer confine your imagination but instead become canvases for your luminosity. Engage with this guide, apply the knowledge, and watch as your spaces come alive with the vibrant energy of well-installed LED strip lights.
Understanding LED Strip Lights: A Comprehensive Guide
LED strip lights, a cornerstone of modern lighting design, are celebrated for their versatility and ability to infuse any space with vibrancy and depth. To harness their full potential, especially around challenging corners, one must first grasp the array of options available and their specific applications. This understanding ensures that your selection aligns seamlessly with your installation space and design intent.
Firstly, we delve into the world of LED strip lights by categorizing them based on their brightness levels, color options, and waterproof ratings. Whether you seek subtle ambiance or striking visual effects, there’s a spectrum of choices, from warm whites for cozy interiors to dynamic RGBs for vibrant, color-changing displays. For corner installations, flexibility and bend radius are crucial, guiding you toward strips that promise both adaptability and resilience.
Furthermore, the guide will explore the significance of LED density—measured in LEDs per meter—and its impact on illumination consistency, particularly vital when bending strips around corners. You’ll learn to balance brightness with flexibility, ensuring your corners are lit uniformly without straining the strips. Additionally, we’ll touch upon power requirements and control options, offering a holistic view that empowers you to make informed decisions tailored to your project’s scale and complexity.
Preparing for Your LED Strip Light Installation
The preparation phase is where your project begins to take shape. Ensuring you have all the necessary components at hand not only streamlines the installation process but also mitigates the risk of interruptions or compromises in quality.
The guide will offer a curated checklist, enumerating tools like precision cutters for clean modifications, appropriate adhesives or mounting clips for secure attachment, and compatible connectors that facilitate seamless corner transitions. Emphasizing the value of preparation, we’ll guide you through inventorying these essentials, preparing you for a smooth installation journey.
Additionally, meticulous planning cannot be overstated. We’ll walk you through the process of mapping your installation path, detailing how to measure lengths accurately and anticipate the nuances of corner placements. This planning phase is crucial for determining cut points, aligning with strip specifications, and strategizing the distribution of power sources and control units for optimal functionality.
When it comes to enhancing the corners of your space with LED strip lights, precision is key. The beauty of LED strip lights lies in their flexibility and adaptability, yet when we reach a corner, a bit of technique and know-how is required to maintain a continuous, seamless lighting effect. In this detailed exploration, we will cover the essential methods and strategies to ensure your LED strip lights conform beautifully to corners, enhancing both their functional and aesthetic appeal.
Firstly, accurate measurement is non-negotiable. Before you even think about bending or cutting, you must measure the lengths required meticulously, accounting for each corner’s angle and ensuring you have enough strip length to cover the area without stretching or compressing the strip. Cutting your LED strips requires a steady hand and an eye for detail; always cut at the designated points to avoid damaging the internal circuitry.
Bending your LED strips is where art meets science. Not all LED strips are created equal; some are more flexible, while others may be more rigid. Understanding the material composition and flexibility of your strip is crucial before attempting any bends.
Bending Techniques for Flexible Installation
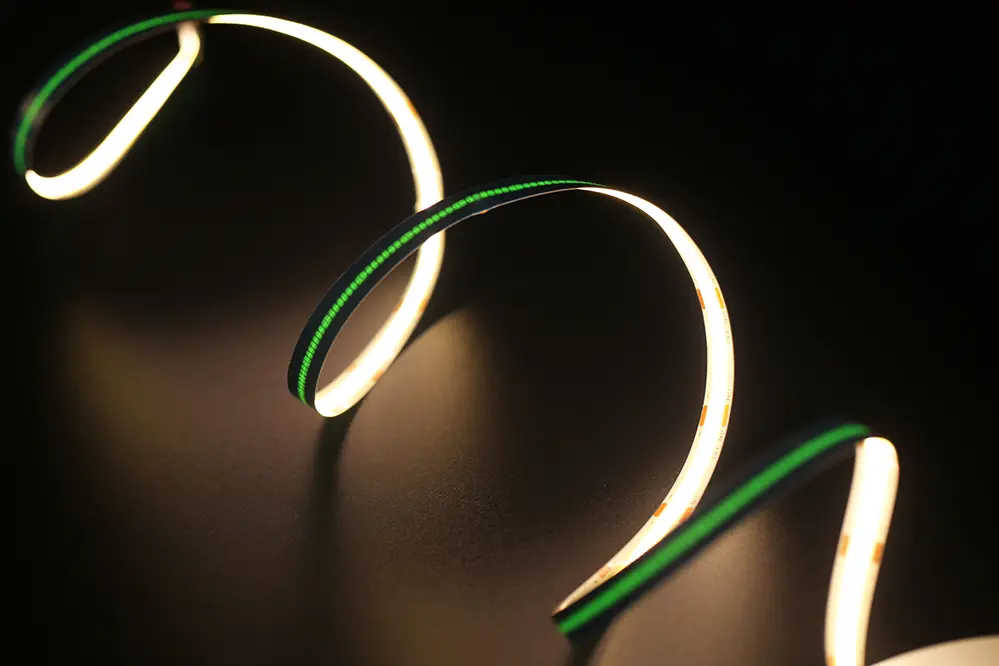
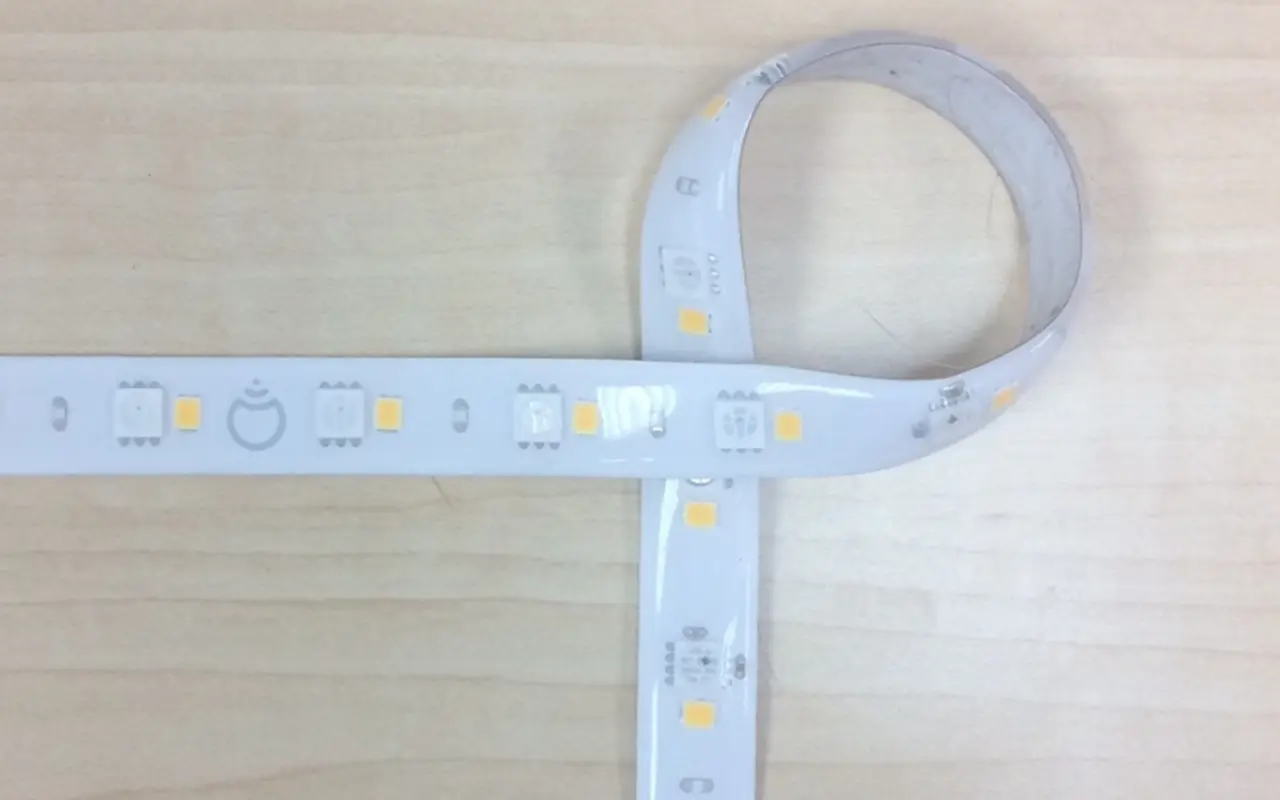
When it comes to bending LED strip lights for corner installations, understanding the right technique is crucial to maintaining the visual continuity and performance of your lighting. The ribbon bend technique is particularly effective for softer or more gradual turns. To execute this method, gently twist the strip into a loop, being mindful to avoid any pinching or over-tightening that could damage the LEDs or the circuitry. This method is perfect for creating a fluid transition around corners or curved surfaces, ensuring that the light distribution remains consistent and uninterrupted.
In contrast, the corner fold method is designed for creating sharp, precise angles, which is particularly useful in geometric or more structured designs. To perform a corner fold, pinpoint the exact location where the strip needs to bend and carefully fold it at a right angle, taking care not to crease the LEDs themselves. This method requires a delicate balance: the fold must be firm enough to hold its shape but gentle enough to prevent any damage to the strip’s components. While this approach is ideal for 90-degree turns, it’s essential to practice it beforehand to ensure a clean, crisp fold that enhances the installation’s overall appearance.
Both bending techniques, when applied correctly, can significantly elevate the quality of your installation, enabling your LED strip lights to navigate corners gracefully while preserving their luminosity and longevity.
Harnessing Connectors for Enhanced Aesthetics
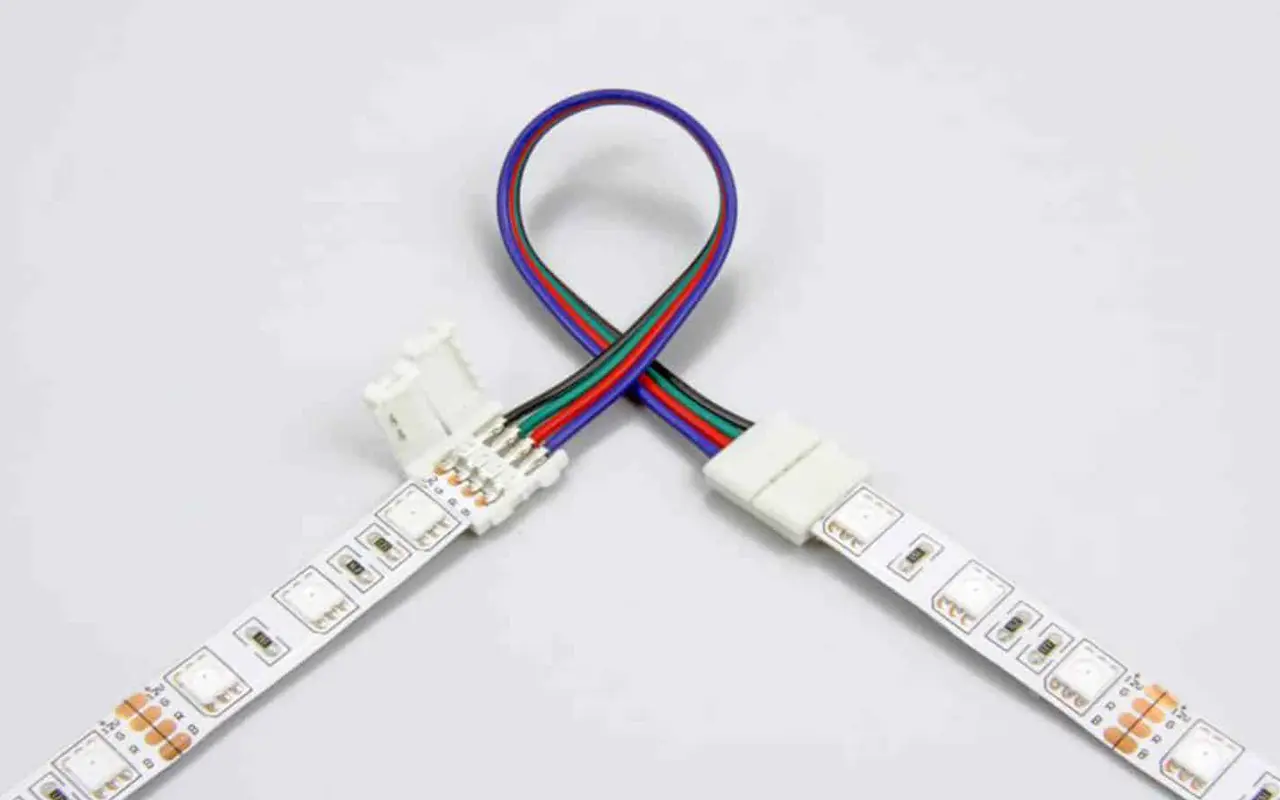
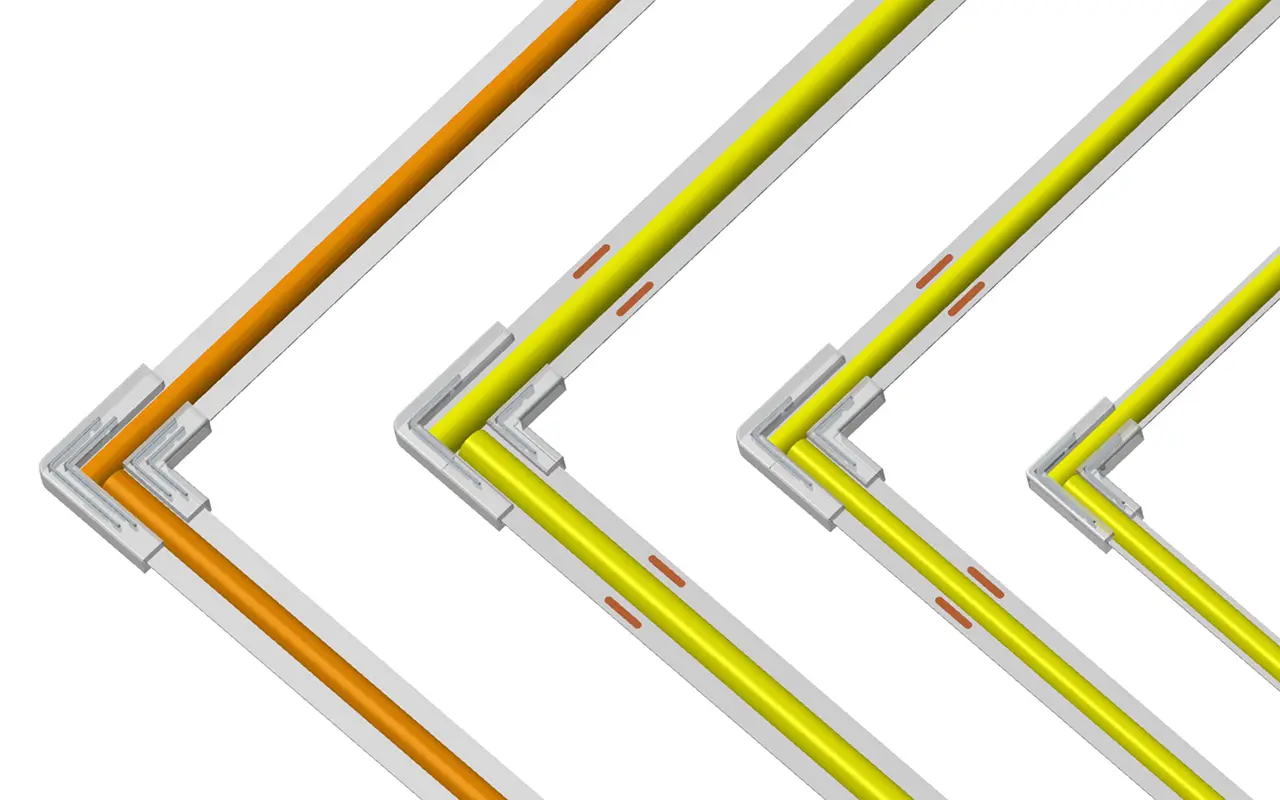
In installations where bending might not be the ideal solution or where a more polished finish is desired, connectors offer a practical and visually appealing alternative. L-shape connectors, for instance, are specifically designed for seamless 90-degree turns, ensuring that the transition between two strip sections is smooth and consistent. They are particularly useful in settings where the strips are exposed and form part of the room’s decor, requiring a more refined finish.
T-shape connectors, on the other hand, provide versatility for installations that branch out in different directions, allowing for a single power source to illuminate multiple strip sections efficiently. Flexible connectors come into play when dealing with irregular angles or more complex configurations, offering the adaptability to conform to various shapes and angles while ensuring a secure and reliable connection.
Selecting the appropriate connector involves considering not only the angle and direction of your installation but also the specific characteristics of your LED strips, such as their width, pin configuration, and voltage. Proper alignment and connection are paramount to avoid any disruptions in the lighting effect and to ensure the longevity of your installation. By strategically incorporating connectors into your design, you can achieve a professional-grade finish that not only looks great but also maintains the functional integrity of your LED lighting.
Securing and Testing Your LED Strip Lights
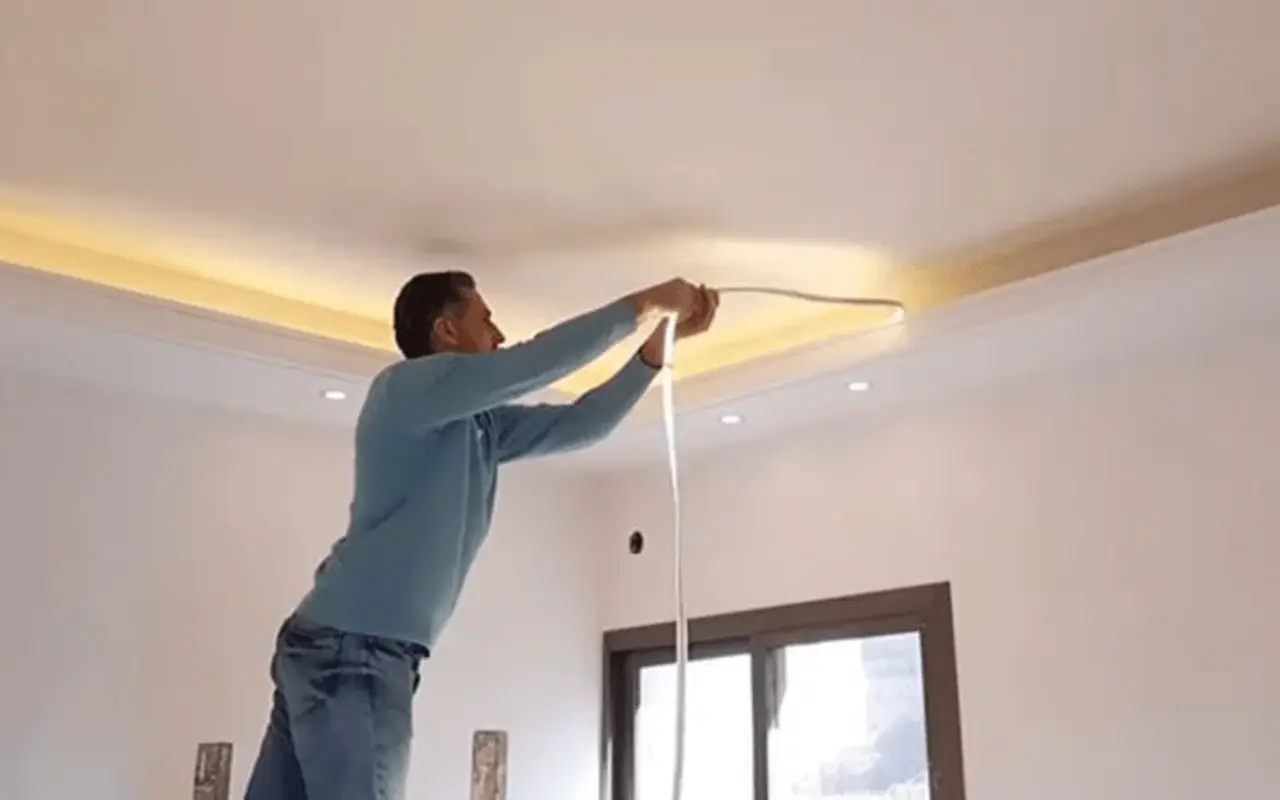
Securing your LED strip lights is a critical step that ensures they stay in place and function correctly over time. After meticulously installing your LED strips around corners, it’s imperative to affix them securely to prevent any movement that could disrupt the electrical connections or damage the LEDs. Use high-quality mounting clips or strong adhesive backing provided with your LED strips to secure them firmly to the surface. Ensure that the surface is clean and dry before applying the strips to enhance adhesion and longevity.
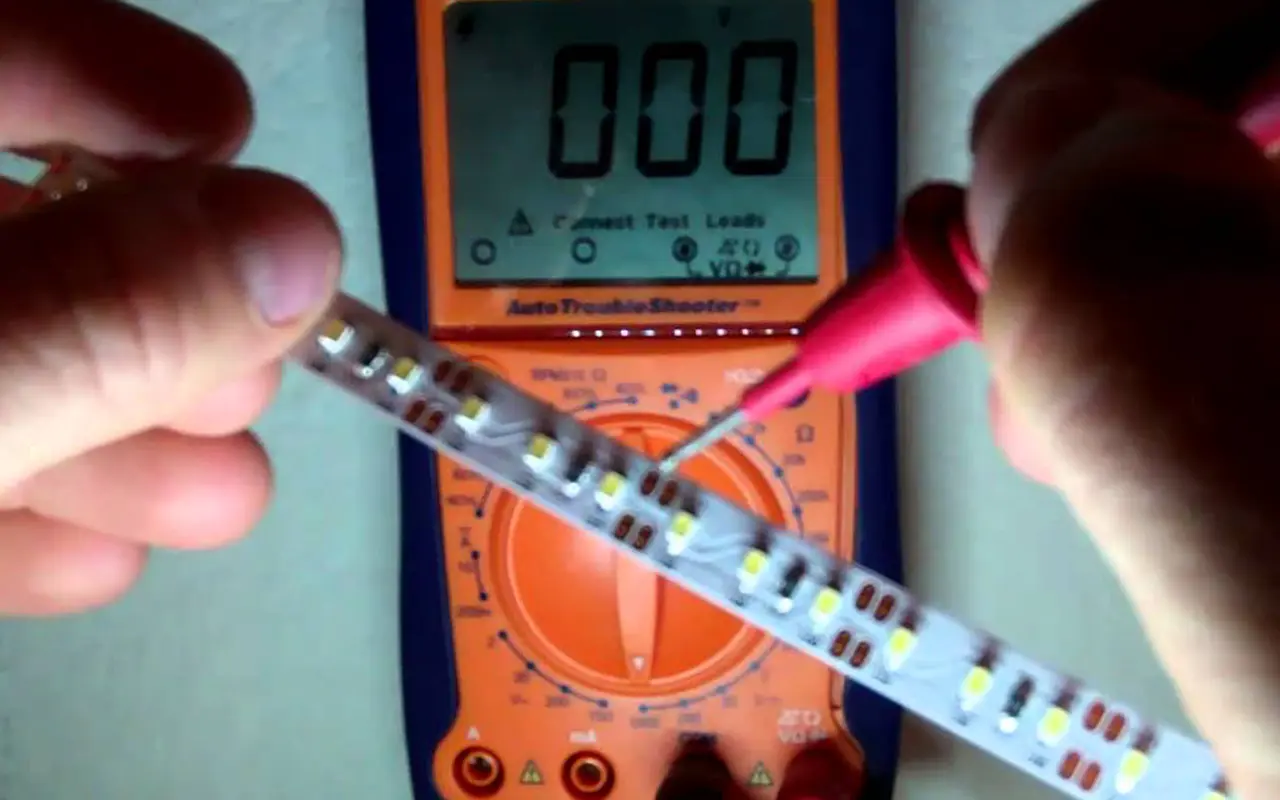
Once your LED strip lights are securely installed, testing is the next crucial phase. This step ensures that your efforts have yielded the desired results and that the lighting functions seamlessly around every corner. Connect your LED strip lights to the power source and turn them on to inspect each section closely. Look for any dim areas or flickering that might indicate a loose connection or a faulty LED. If you encounter any issues, carefully recheck the connections and make sure the strips are correctly aligned and connected.
Additionally, it’s beneficial to test the lighting effects if your LED strip system includes color-changing or dimming capabilities. Use the controller to cycle through various colors and brightness levels to confirm that all functions are working as expected. This proactive approach helps you address any potential problems early on, ensuring a reliable and enchanting lighting installation.
Advanced Installation Tips and Tricks
Elevating your LED strip light installation requires a blend of creativity and technical prowess, especially when dealing with corners. Advanced installation techniques not only improve the aesthetic appeal but also enhance the functionality and versatility of your lighting. For instance, incorporating dimmers and controllers can transform a static lighting setup into an interactive experience, allowing you to adjust brightness and color to suit different moods or occasions.
When working with corners, consider the angle and radius to determine the best approach. For tighter corners, using smaller sections of LED strips with connectors might provide a cleaner look than trying to bend a single strip. In contrast, for broader angles, bending techniques can offer a more seamless transition. Always test these configurations before final installation to ensure they meet your expectations.
For those looking to create dynamic lighting effects, integrating controllers that allow for color changes, sequences, or even synchronization with music can significantly amplify the impact of your LED strip lights. Such features can turn ordinary spaces into vibrant, lively environments, ideal for entertainment spaces, children’s rooms, or modern living areas.
Experimenting with backlighting or indirect lighting using LED strips around corners can also introduce depth and dimension to a room, highlighting architectural features or creating visual interest. Remember, the key to advanced installation is not just about following steps but understanding how light interacts with space and utilizing this knowledge to enhance the overall ambiance.
Maintenance, Troubleshooting, and Safety Measures
The longevity and optimal performance of your LED strip lights hinge on regular maintenance and diligent troubleshooting. Periodic checks can help identify potential issues before they escalate, such as loose connections, dust accumulation, or wear and tear on mounting hardware. Simple actions like gently cleaning the strips with a soft, dry cloth or ensuring connectors remain tightly secured can prolong the life of your installation.
Troubleshooting is an integral part of maintaining your LED lighting. If you notice any inconsistencies in lighting output or experience technical issues, addressing them can prevent further complications. Please familiarize yourself with common problems and their solutions, such as replacing faulty segments or re-securing loose connections, to keep your LED strip lights functioning flawlessly.
Lastly, safety is paramount when dealing with electrical installations. Always adhere to recommended voltage requirements and installation guidelines to prevent electrical hazards. Ensure that your LED strip lights and accessories are compatible and rated for safe use in your intended environment, particularly when installing in areas subject to moisture or outdoor elements.
FAQs: Navigating Common Installation Queries
Can I bend LED strip lights directly around corners without any tools?
While you can bend some flexible LED strip lights directly around corners, it’s essential to do so carefully to avoid damaging the strips. Techniques like the ribbon bend or the corner fold can be effective for gentle bends without requiring specialized tools.
What are L-shape connectors, and how do they enhance LED strip installation around corners?
L-shape connectors are accessories designed to join two sections of LED strips seamlessly at a 90-degree angle. They provide a smooth and continuous light flow around corners, ensuring a neat and professional finish without the need for bending or cutting the strips.
How do I ensure uniform lighting when installing LED strip lights around corners?
Achieving uniform lighting around corners involves using the right bending technique or connectors to avoid creating any dark spots. Ensuring precise cutting and secure connections also play a crucial role in maintaining even illumination throughout the installation.
Can accordion folds be used for any angle around corners, or are they specific to certain angles?
Accordion folds are versatile and can be adjusted to fit various angles, not just 90 degrees. They allow for a more fluid and rounded bend, making them suitable for non-standard angles and curved surfaces.
Are there any special considerations for installing LED strip lights around corners in damp or outdoor areas?
For damp or outdoor installations, it’s crucial to use waterproof LED strips and connectors. Additionally, ensure that all connections are correctly sealed to prevent moisture ingress, which could damage the LEDs or electrical components.
How do I cut LED strip lights accurately for corner installations?
To cut LED strip lights accurately, always use sharp scissors and make cuts only at the designated cut points, marked by lines or scissor icons on the strips. This ensures that you don’t damage the internal circuitry or LEDs.
What maintenance is required for LED strip lights installed around corners?
Regular maintenance includes cleaning the strips to prevent dust accumulation, checking the adhesive or mounts for any signs of wear, and ensuring that all connections remain secure. Periodic checks will help maintain optimal performance and longevity.
Can I use dimmers with LED strip lights installed around corners?
Absolutely! Dimmers can be used with LED strip lights around corners to adjust brightness levels and create the desired ambiance. Ensure that your LED strips are dimmable and that you have a compatible dimmer switch.
Are there DIY solutions for bending LED strips around corners without commercial connectors?
Yes, DIY methods like the corner fold or ribbon bend allow you to maneuver LED strips around corners without commercial connectors. These methods require careful folding and securing of the strips to achieve the desired angle.
What troubleshooting tips can you offer for LED strip lights that don’t work properly around corners?
If your LED strip lights are not functioning correctly around corners, check for loose connections, ensure that the strips are cut at the right points, and verify that all connectors are correctly attached. Also, inspect for any pinched or damaged sections of the strip that may need repair or replacement.
Conclusion
Embrace the art of installing LED strip lights around corners with our comprehensive guide, designed to enhance both the aesthetics and functionality of your space. We encourage readers to apply this knowledge, transforming lighting ideas into reality while adhering to safety and quality standards. Share your success stories or seek further guidance—our community thrives on collaboration and shared passion for innovative lighting solutions. Engage with us and illuminate your world with expertise and creativity.
In wrapping up this essential guide on installing LED strip lights around corners, we’ve ventured through every critical step, ensuring you’re well-equipped to illuminate your spaces beautifully and efficiently. As we conclude, we’d like to spotlight Unitop, a trailblazer in China’s LED industry, renowned for its exceptional quality Bandes lumineuses LED et Flexible à néon LED. With years of dedication and innovation, Unitop has emerged as a trusted name, providing versatile lighting solutions that cater to a myriad of aesthetic and functional needs.
Whether you’re a DIY enthusiast eager to embark on your next project or a professional seeking reliable, top-tier lighting products, Unitop stands ready to illuminate your path. Our commitment to excellence and customer satisfaction ensures that every product we offer not only meets but exceeds expectations. If you find yourself pondering over which lighting solution best fits your vision or have specific queries about our products, we warmly invite you to reach out. Our team of experts is on hand to provide tailored advice, guiding you toward the perfect lighting choices for your unique spaces.
Let Unitop be your partner in bringing radiance and innovation to your environment. Contact us today and step into a world where quality lighting solutions transform ordinary spaces into extraordinary experiences. With Unitop, your journey towards impeccable lighting begins.

Tom est maintenant le directeur des ventes de Unitop (China) Co., Limited. Il a été dans le Éclairage LED l'industrie depuis 2005. Il est expert en ventes et marketing, et en gestion d'usine. Il aime le bodybuilding, et il est aussi un fan fou d'Apple ! C'est un travailleur acharné qui aime apprendre et essayer de nouvelles choses.
Email : tom@unitopledstrip.com WhatsApp : +86-18680307140


Laisser un commentaire
Rejoindre la discussion?N’hésitez pas à contribuer !