Connecting LED strip lights to an LED controller can seem daunting, but with the right steps, it’s straightforward. Our guide will walk you through each step to ensure a smooth and successful setup.
To connect LED strip lights to an LED controller, attach the strip’s positive and negative wires to the controller’s corresponding terminals, ensuring a secure connection.
Keep reading for a detailed step-by-step guide and tips to optimize your LED strip light setup.
Understanding Your LED Strip Light and Controller
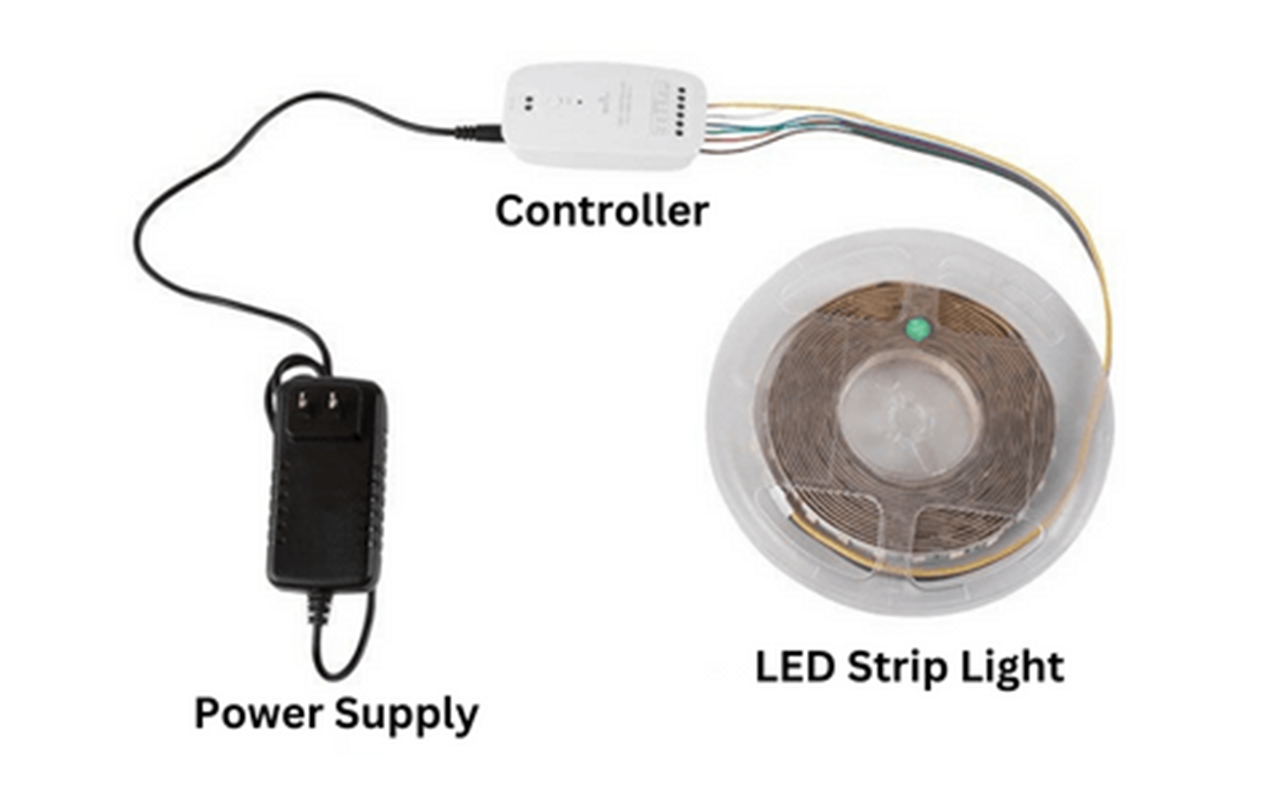
Before starting the installation, familiarize yourself with the components:
LED Strip Light
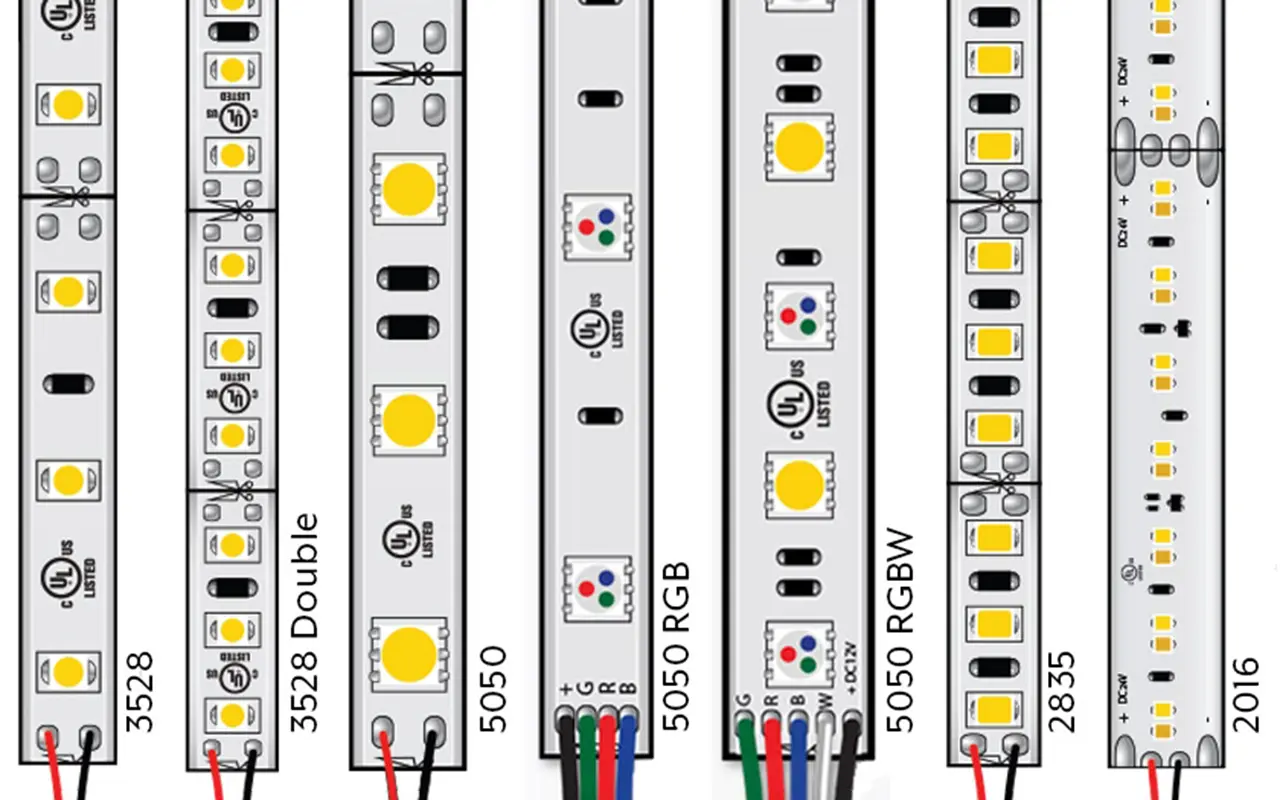
LED strip lights come in various types, including RGB (Red, Green, Blue), RGBW (Red, Green, Blue, White), and single-color strips. RGB strips offer vibrant color options by mixing red, green, and blue lights, while RGBW strips add extra white light for a broader range of color and brightness. Single-color strips are available in shades such as warm white, cool white, and various other colors. It’s crucial to check the power requirements of your LED strip, usually indicated in volts (V) and watts (W), to ensure compatibility with your power supply and controller.
LED Controller
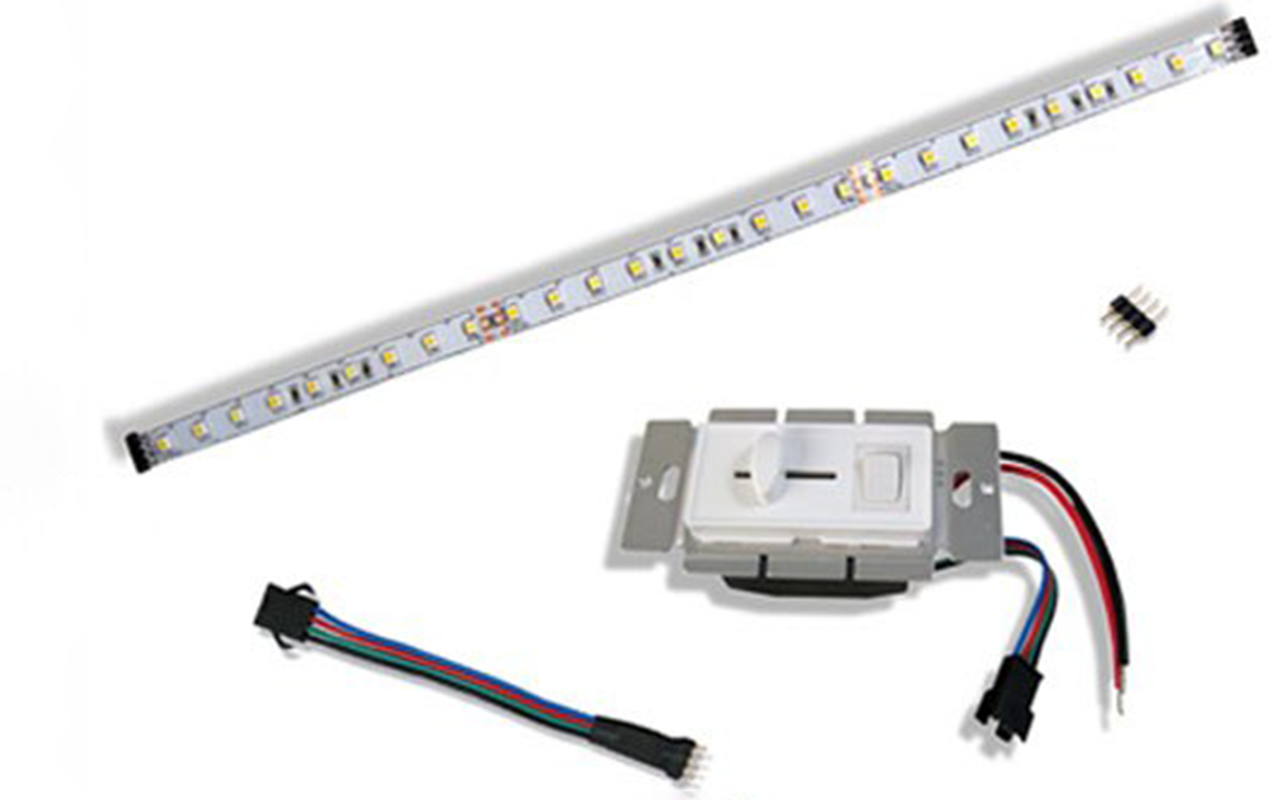
The LED controller is the device that allows you to manage and adjust your LED strip lights. It translates signals from a remote or smartphone app into commands that change the color, brightness, and mode of the lights. Different controllers support different types of LED strips, so make sure your controller is compatible with the strip you are using. Some controllers offer advanced features like Wi-Fi connectivity, enabling integration with smart home systems like Alexa or Google Home.
Power Supply
The power supply is a critical component, converting the AC voltage from your home into a DC voltage suitable for your LED strips. It’s important to select a power supply that matches the voltage and current requirements of your LED strips to avoid damage and ensure efficient operation. For instance, if your LED strip operates at 12V, use a 12V power supply with adequate wattage to handle the total length of your strips.
Tools and Materials Needed
Gather the necessary tools and materials to ensure a smooth installation process:
- LED Strip Lights: Choose the type and length of LED strip lights suitable for your project. Measure the installation area to determine the required length.
- LED Controller: Select an LED controller that is compatible with your LED strips. Consider controllers with additional features like remote control, Wi-Fi connectivity, or smart home integration for added convenience.
- Power Supply: Ensure the power supply matches the voltage and wattage requirements of your LED strips. Calculate the total wattage by multiplying the wattage per meter of the strip by the total length.
- Wire Connectors or Soldering Kit: Wire connectors are useful for making secure connections between the LED strips, controller, and power supply. If you prefer a more permanent connection, a soldering kit can be used.
- Wire Stripper: A wire stripper is essential for removing the insulation from the wires, exposing the conductive material needed for connections.
- Screwdriver: A screwdriver may be needed to secure wire connectors or open terminals on the controller and power supply.
- Mounting Tape or Clips: Mounting tape or clips are used to attach the LED strips to surfaces. Ensure they are strong enough to hold the strips securely in place.
Preparing the LED Strip Light
Measure and Cut
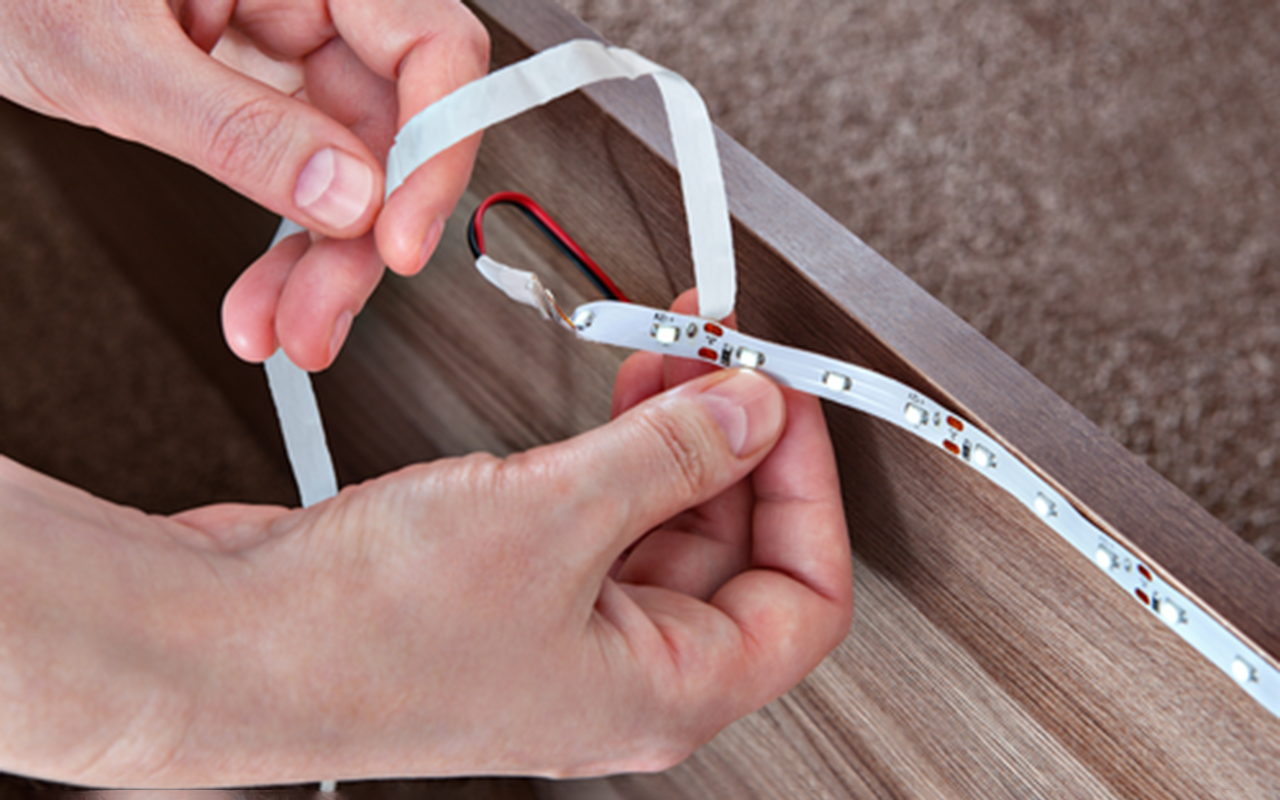
Begin by measuring the length of LED strip lights needed for your project. LED strips typically have designated cutting points marked by a line or a pair of copper dots. Cut only at these points to avoid damaging the strip. Use sharp scissors or a blade to make a clean cut.
Expose Wires
After cutting the LED strip to the desired length, use a wire stripper to remove a small section of the insulation from the cut end. This will expose the conductive wires needed for making connections. Be gentle to avoid damaging the wires.
Check Polarity
Identifying the positive and negative wires is crucial for correct installation. LED strips usually have markings to indicate the polarity. Ensure you connect the positive wire from the LED strip to the positive terminal on the controller, and the negative wire to the negative terminal. Incorrect polarity can prevent the lights from functioning or cause damage.
Connecting the LED Strip to the Controller
Match Terminals
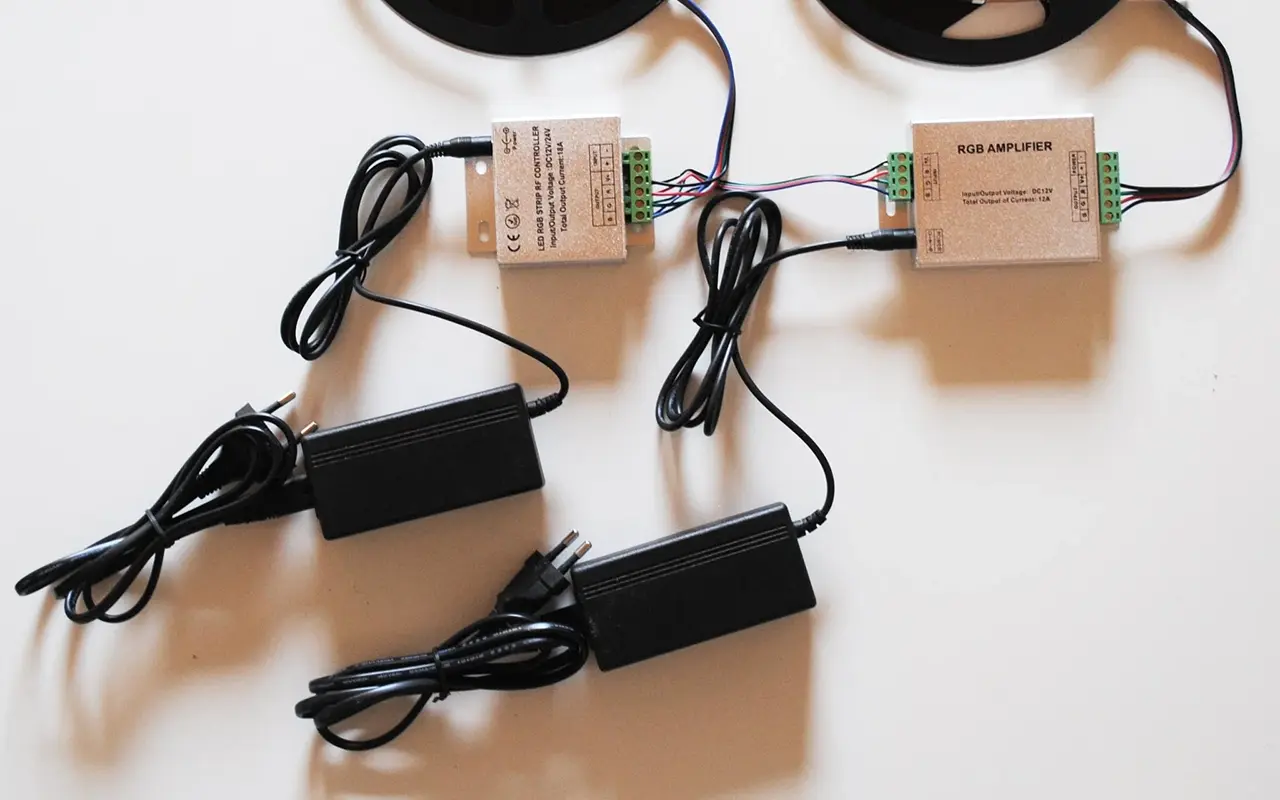
The first step in connecting your LED strip to the controller is to locate the positive (+) and negative (-) terminals on the LED controller. These terminals are usually clearly marked to help you make the correct connections. It’s crucial to ensure that the positive wire from the LED strip connects to the positive terminal on the controller and the negative wire to the negative terminal. Proper matching is essential for the LED strip to function correctly and to avoid potential damage to the components.
Attach Wires
Once you’ve identified the terminals, proceed to attach the wires from the LED strip to the controller. Carefully insert the positive wire into the positive terminal and the negative wire into the negative terminal. Use wire connectors to secure the connections; these connectors help to ensure that the wires remain in place and maintain a stable connection. If you are looking for a more permanent and secure connection, consider soldering the wires to the terminals. Soldering provides a robust and long-lasting bond that can withstand movement and vibrations.
Secure Connection
After attaching the wires, it’s vital to double-check that the connections are firm and secure. Loose connections can cause the LED strip to flicker or function intermittently, leading to a less reliable setup. Inspect each connection to make sure that the wires are fully inserted and held tightly in place. Use electrical tape to cover any exposed wires. This not only prevents short circuits but also protects the connections from dust and moisture, which can lead to corrosion over time.
Additional Tips for Securing Connections:
- Use Heat Shrink Tubing: For an added layer of protection, slide a piece of heat shrink tubing over each wire before making the connection. Once the wires are connected, slide the tubing over the joint and use a heat gun to shrink it into place. This creates a sealed and insulated connection.
- Check for Firmness: Gently tug on each wire to ensure it is firmly connected and won’t easily come loose. This simple test can help prevent issues down the line.
- Organize Wires: Keep the wires organized and out of the way using cable ties or clips. This not only looks neater but also reduces the risk of the wires being accidentally pulled or damaged.
By carefully matching the terminals, attaching the wires securely, and ensuring all connections are tight and protected, you can set up a reliable and efficient LED lighting system. This attention to detail will help you avoid common issues and enjoy a smoothly functioning lighting setup.
Powering the Setup
Connect Power Supply
Attach the power supply to the controller’s power input. This usually involves connecting the positive and negative output terminals of the power supply to the corresponding terminals on the controller. Ensure the connections are tight and secure.
Check Voltage
Before turning on the power, verify that the power supply voltage matches the requirements of the LED strip. Using a multimeter can help ensure the voltage is correct. Incorrect voltage can damage the LED strip or the controller.
Test the Setup
Plug in the power supply and turn on the controller to test the connection. Check that all sections of the LED strip light up correctly. If there are any issues, such as flickering or sections not lighting up, revisit your connections and ensure everything is secure.
Troubleshooting Common Issues
No Power
When your LED strip does not light up, it can be frustrating, but there are a few systematic steps you can take to diagnose the problem. First, ensure that all connections are secure. Loose or poorly connected wires can interrupt the power supply to the LED strip. Check each connection point between the power supply, controller, and LED strip.
Next, verify that the power supply is functioning correctly. Use a multimeter to measure the voltage output of the power supply and ensure it matches the voltage requirements of your LED strip (typically 12V or 24V). If the power supply is not delivering the correct voltage, it might need to be replaced.
Finally, check the polarity of the connections. LED strips are sensitive to polarity, meaning the positive and negative wires must be correctly connected. If the wires are reversed, the strip will not light up. Double-check that the positive wire from the power supply is connected to the positive terminal on the controller and the LED strip, and similarly for the negative wire.
Dim Lights
Dim lights are often a symptom of an inadequate power supply. Each LED strip has a specific wattage requirement per meter, and the power supply must be able to handle the total wattage of the entire strip. Calculate the total wattage needed by multiplying the wattage per meter by the length of the strip. Ensure your power supply can provide at least this amount of power, with some additional capacity for safety.
If you find that the power supply is not sufficient, replace it with one that has a higher wattage. For example, if your LED strip requires 60 watts and your power supply can only provide 50 watts, you need to upgrade to a power supply that can deliver at least 60 watts, preferably more.
Also, check for voltage drops along the length of the LED strip, especially if it’s particularly long. Voltage drops can cause the lights to be dimmer towards the end of the strip. If this is the case, consider using a power supply with higher voltage or adding additional power supplies at different points along the strip.
Flickering
Flickering lights are usually a sign of unstable connections or issues with the power supply. Start by checking all connections to ensure they are tight and secure. Loose connections can cause intermittent power delivery, leading to flickering. Re-solder any connections that seem loose and use wire connectors to secure the wires firmly.
If the connections are secure and the lights still flicker, the problem might lie with the power supply. An unstable or insufficient power supply can cause flickering. Try replacing the power supply with a higher quality or higher wattage unit. Additionally, check if the controller is functioning correctly, as a faulty controller can also cause flickering.
Tips for Optimizing Your LED Strip Light Setup
- Use a Diffuser:A diffuser helps to spread the light evenly, reducing harsh shadows and creating a smoother lighting effect. Diffusers are especially useful in areas where the LED strip is visible.
- Remote Control:Using a remote-controlled LED controller adds convenience by allowing you to change the lighting settings without physically accessing the controller. Some remote controllers also offer features like dimming, color changing, and preset lighting modes.
- Proper Mounting:Ensure the LED strips are mounted securely using mounting tape or clips. This prevents the strips from sagging or falling, which can affect the lighting quality. Proper mounting also enhances the overall appearance of the installation.
By following these tips and troubleshooting common issues, you can optimize your LED strip light setup for both functionality and aesthetics. A well-installed LED strip light system not only enhances the ambiance of your space but also provides reliable and customizable lighting solutions for various applications.
Conclusion
Connecting LED strip lights to an LED controller is a manageable task with the right steps. By following this guide, you can achieve a seamless and efficient lighting setup, enhancing your space with vibrant, customizable lighting.
Unitop is one of China’s leading manufacturers of LED strip lights and LED neon flex, renowned for our innovation, quality, and expertise in the LED industry. Our products are designed to meet the highest standards and provide exceptional performance. For more information or to discuss your specific requirements, contact us today and let our team of experts help you create the perfect lighting solution.

Tom is now the Sales Manager of Unitop (China) Co., Limited. He has been in the LED Lighting industry ever since 2005. He is an expert in sales & marketing, and factory management. He likes bodybuilding, and he is also a crazy Apple Fan! He is a hard-working guy and loves to learn and try new things.
Email: tom@unitopledstrip.com WhatsApp: +86-18680307140



Leave a Reply
Want to join the discussion?Feel free to contribute!