LED cove lighting is popular for adding elegance and warmth to modern spaces. The popularity of this light comes from its ability to imitate natural daylight. This makes the atmosphere much better. This guide will help you install LED cove lighting easily so you can achieve a soft, ambient glow in your home.
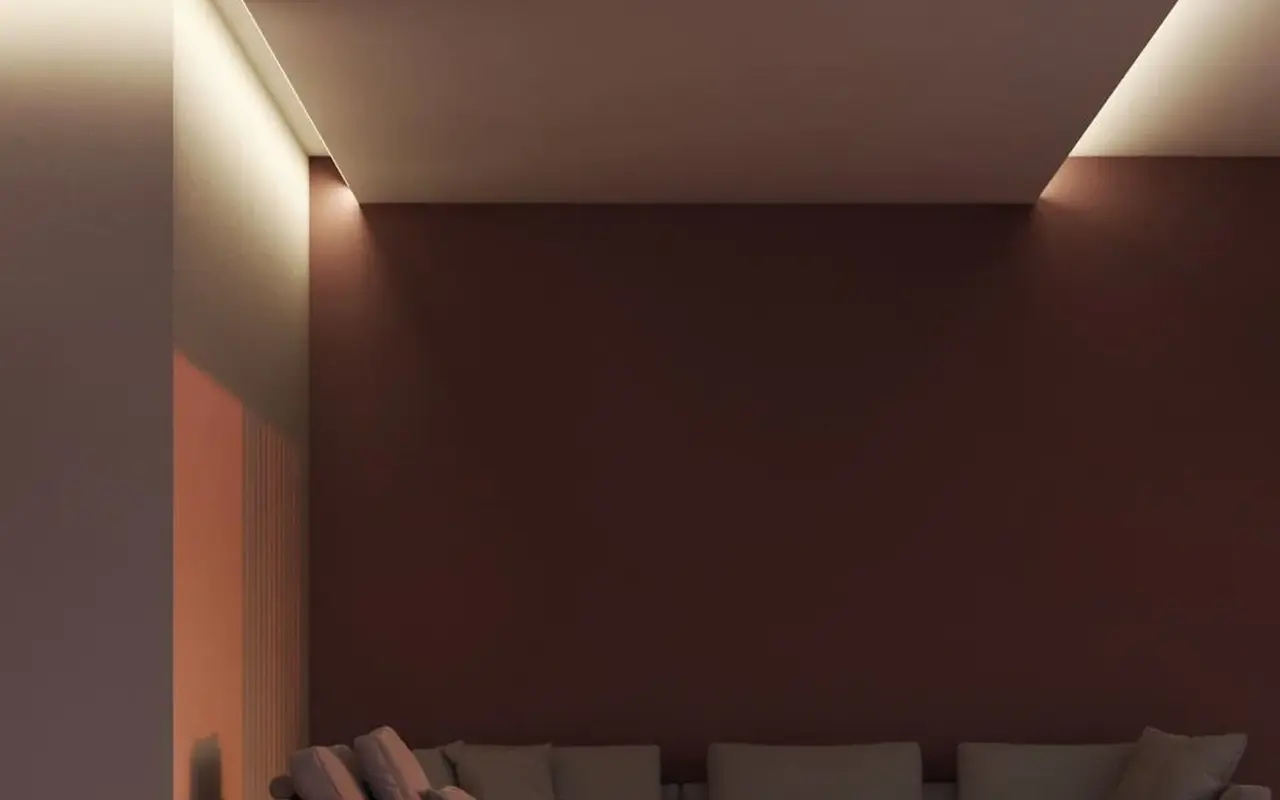
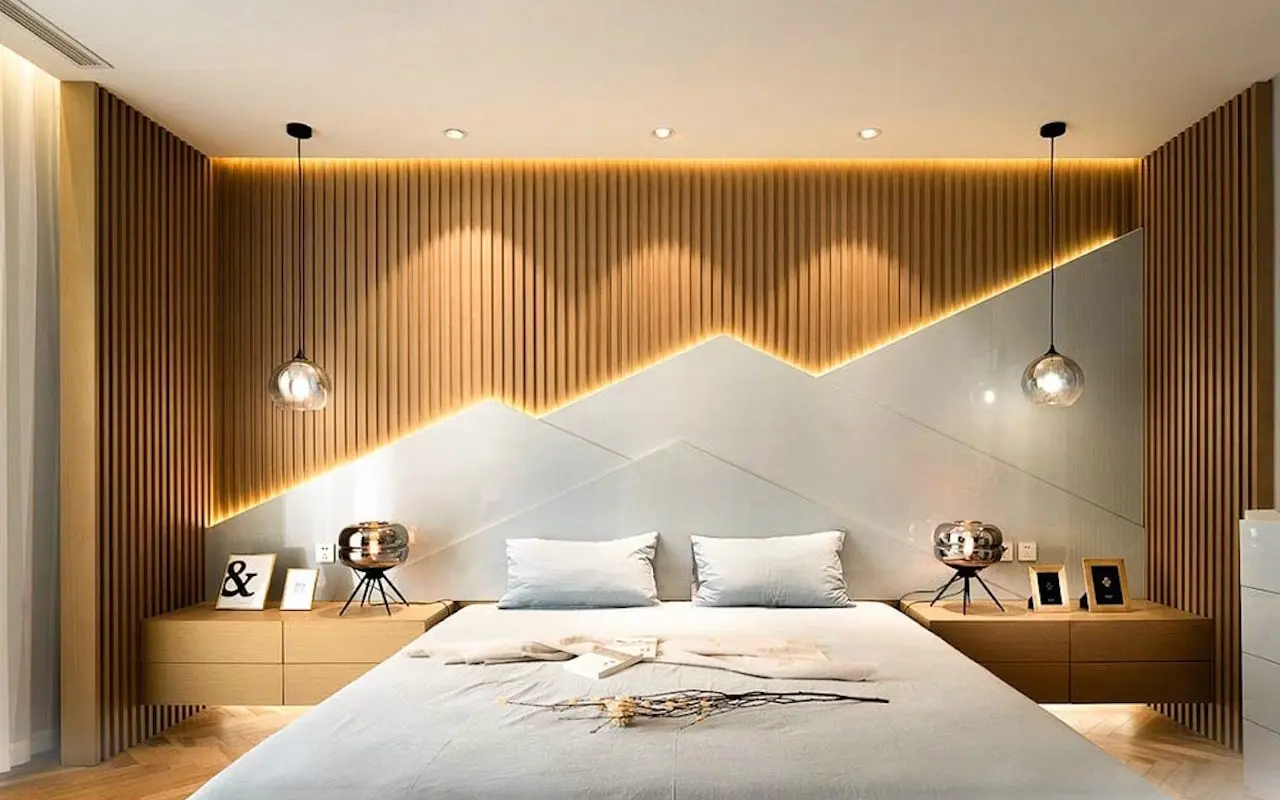
Cove lighting is when LED strips are hidden in the ceiling or walls for indirect light. The light bounces off things nearby, making the room look different with a gentle glow. This type of lighting highlights architectural details and creates a cozy, welcoming vibe.
You’ll need the right tools to start this journey: LED strip lights and patience. With a systematic approach, installing cove lighting can be a straightforward DIY project.
Why LED Strip Lights are a Top Choice
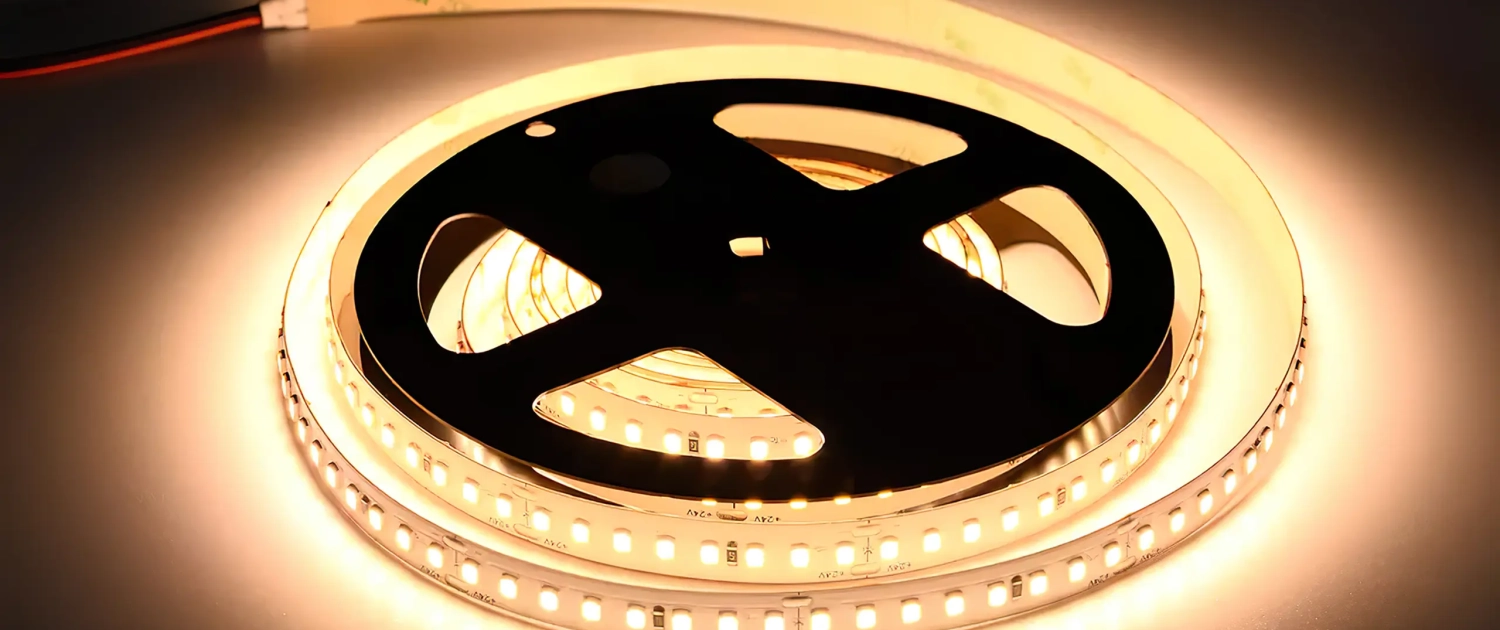
LED strip lights have completely changed the way we use cove lighting. They have many advantages over traditional lighting.
Energy Efficiency
The hallmark of LED strip lights is their energy efficiency. Unlike traditional incandescent or compact fluorescent lamps (CFLs), LED strip lights are energy-efficient. This can lead to an energy reduction of up to 80%. LED strip lights can help you save energy and money on electricity bills.
Durability and Long Lifespan
LED strip lights are very durable and last a long time. LED lights last up to 25,000 hours or more, 25 times longer than incandescent bulbs. These lights are made to last because of their strong materials and durable design. The longer lifespan means you don’t have to replace them as often or spend as much on maintenance. That’s why they’re a practical choice for cove lighting.
Color Varieties to Match Your Mood
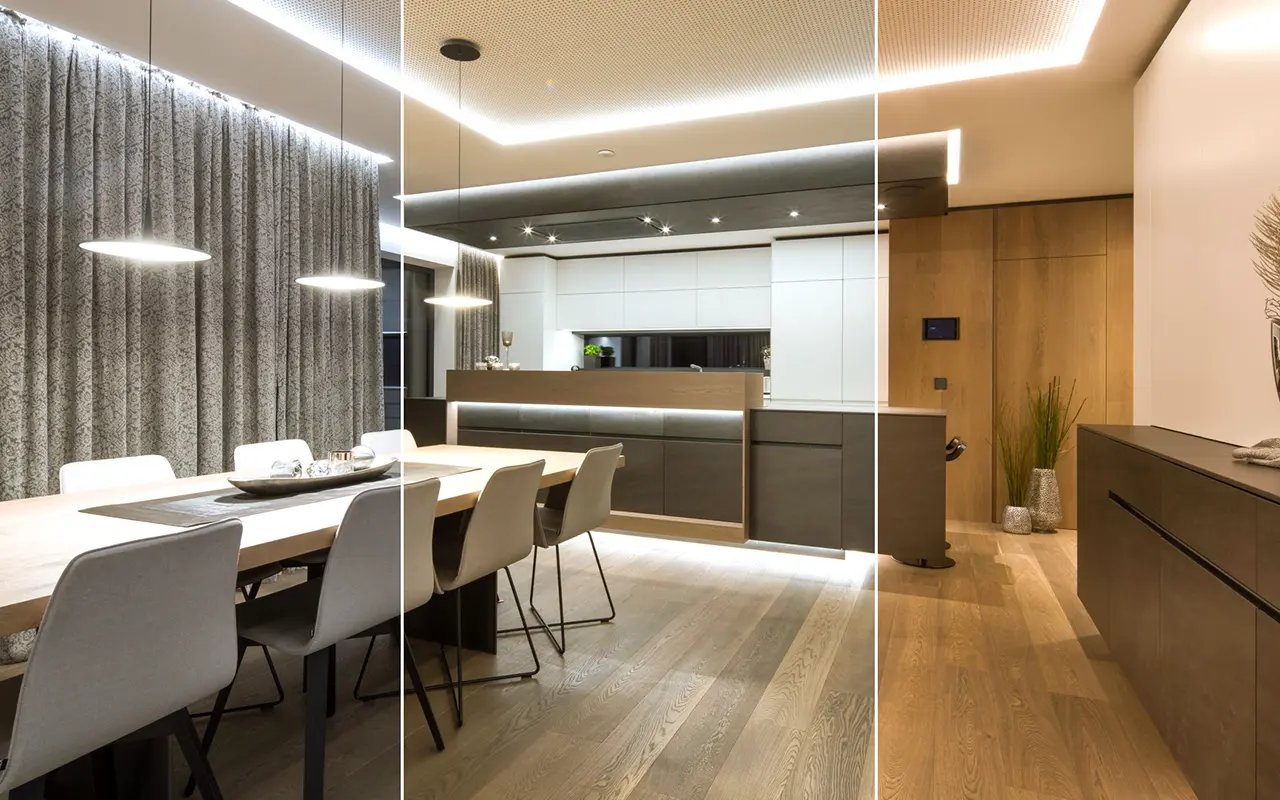
The color versatility of LED strip lights is truly unrivaled. You can choose from many different colors to create different moods in your space. The choices are endless, from warm, comforting glows to vibrant, energetic hues. RGB LED strip lights can mix colors so that you can make custom colors for any mood or occasion. Cove lighting benefits from this feature by providing personalized lighting experiences.
Preparing for Your Project
Proper preparation is the cornerstone of a seamless LED cove lighting installation project.
Gathering Essential Tools
Having the right tools at your disposal is crucial.
To measure the area, you’ll need a measuring tape.
Use a pencil to mark it and a straightedge to make lines.
Also, have a ladder to reach high spots.
It might be helpful to have screwdrivers and a wire stripper when installing.
To make the installation go smoothly, keep these tools in a toolbox or bag for easy access.
Selecting Premium LED Strip Lights
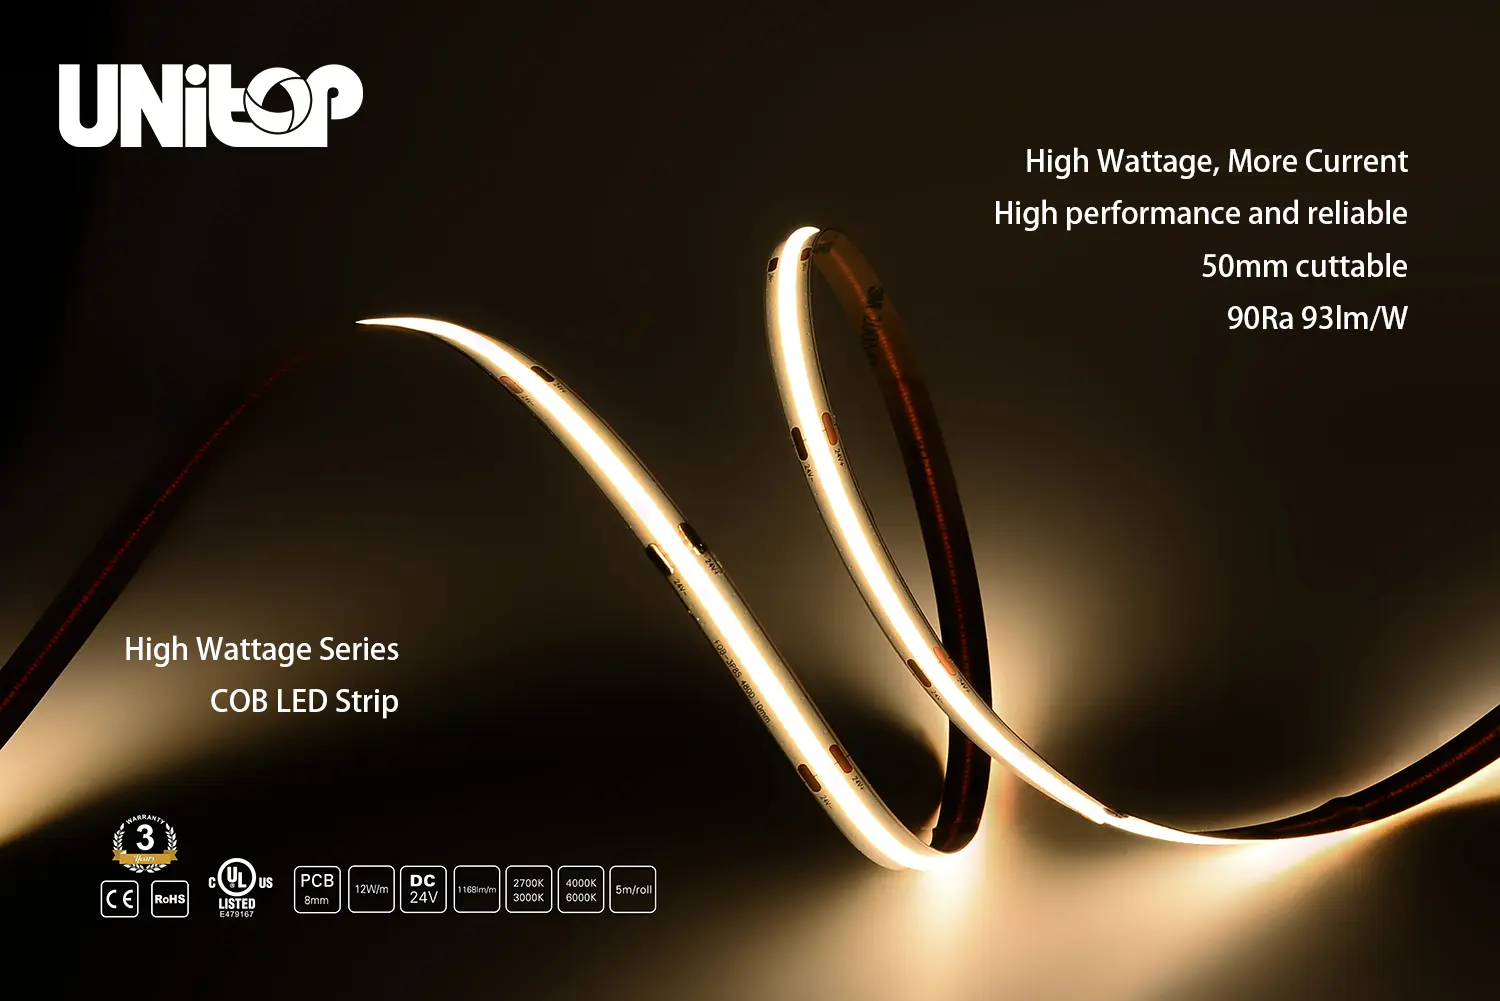
Selecting the right LED strip lights is pivotal to the success of your project. Consider brightness, color temperature, and color rendering index when choosing lighting. It’s important to check the LED strip’s IP rating to see if it is resistant to dust and water. This is especially important if the installation area gets wet. Unitop LED strip lights are known for their high quality, making them a reliable choice. Also, consider how long the LED strip lights should cover the area.
Prioritizing Safety: What to Know
Safety should be the priority in any electrical project. Ensure the workspace is free from clutter and water sources to prevent accidents. Before installing, switch off the power to avoid electrical shocks. To stay safe, you should know about electrical safety or have an electrician nearby to help you. Use ladders and tools with handles that don’t conduct electricity to stay safe. Insulated handles are best. Safety is extremely important for a successful, hazard-free installation. It cannot be emphasized enough.
Understanding Cove Lighting
Cove lighting combines technology and art to light up spaces in a beautiful way softly.
What Makes Cove Lighting Unique?
Cove lighting softly illuminates a room, creating a calming effect like natural daylight. Cove lighting makes the room look better by creating a soft glow. It also reduces glare and shadows. People love cove lighting because it makes spaces beautiful. Homeowners and interior designers choose it. The balance of light is important for this. The subtle light adds sophistication and luxury to the decor.
The Impact of Design and Placement
Cove lighting works because of careful design and where LED strip lights are placed. The cove’s size, angle, color, and nearby surfaces affect the lighting. Consider reflective surfaces when planning its design to make cove lighting more beautiful. Proper placement of LED strips is crucial. They should be positioned at the best distances and angles in the cove. This ensures a consistent glow and makes the reflected light more effective. Cove lighting is different because of how it is designed and where it is placed. It can make dull spaces enjoyable.
Step-by-Step Installation Guide
It would be best to have a good plan and a careful approach to the desired result to start the installation.
Planning the Layout for Maximum Effect
To start, carefully mark the walls and measure the length of the cove on each side of the room. This will help determine the total length of strip lights needed. Before installing LED strip lights, figure out how many you need so you stay supplied. Use a straightedge to make sure the lines are perfectly aligned. This will set a precise guide for the installation.
Securing the LED Strips
Position the LED strips within the cove, securing them temporarily with masking tape. This provisional setup allows for any necessary adjustments before the final installation. Make sure to position the strips to reflect light off the ceiling and walls. This is important for the desired lighting effect. It would help to place the LED strips in a way that spreads light evenly and creates a nice glow.
Wiring Essentials and Power Supply Setup
To prevent accidents, follow safety guidelines when connecting LED strips to the power supply. A proficient wiring setup is the backbone of a seamless cove lighting operation. Ensure the power supply is adequate to handle the load of the LED strips and the connections are secure. This phase is important because any mistakes can cause electrical problems or uneven lighting.
Fine-Tuning: Testing and Adjusting the Lights
After finishing the wiring, start testing to check if the cove lighting works and looks good. Switch on the lights, observing the spread and intensity of the illumination. We need to adjust the light distribution and LED strips to improve reflection. Small changes may be required during this stage to create the right atmosphere. This is an important part of installing the project.
Advanced Installation Tips
Improving your cove lighting setup can make it look better and work better. Here are some refined tips for those aiming to achieve a polished look.
Painting Tips for a Sleek Finish
The paint’s color and finish in the cove affect how light reflects and spreads. Choosing a light-colored paint with a semi-gloss finish can make the room brighter. The clean, modern backdrop complements the gentle glow of the cove lighting. If it matches your decor, try using this painting technique to make your room look more elegant and well-lit.
Creating Support Blocks and Cove Molding
Use support blocks and cove molding to make it look neater and more secure. Support blocks hold the LED strips securely, creating a sturdy and durable base. Cove molding conceals the LED strips and makes the cove blend in with nearby structures. This pair makes your cove lighting setup look better and stay strong for a long time.
Electrical Box Setup for Safe Wiring
Safety is paramount, especially when dealing with electrical installations. To keep your wiring tidy and safe, add an electrical box that is easy to access for maintenance. To keep wiring connections safe, put them in a sturdy electrical box to avoid hazards. Be careful with the wiring to prevent accidents and ensure your cove lighting lasts.
Troubleshooting Common Hurdles
Even with a well-laid plan, encountering hurdles is part of the process. Here’s a rundown on troubleshooting common issues that may arise.
Addressing Flickering or Inconsistent Lights
Flickering or inconsistent lighting can be quite annoying. Typically, this issue may arise from loose connections or an incompatible dimmer switch. Make sure all connections are tight and secure. Use a dimmer that works well with the LED strips. If the problem continues, check the power supply to ensure it has the correct voltage and amperage. Focus on these areas to fix the flickering and get the consistent glow you want.
Remedying Uneven Lighting
Uneven lighting can disrupt the aesthetic flow of your space. The LED strip may need to be placed correctly or have uneven brightness, causing this issue. Check the LED strips’ position to ensure they spread light evenly. Change any parts of the LED strip with different brightness levels if necessary. This will create a consistent lighting effect.
Solutions for Non-Functional Light Sections
Encountering non-functional sections within your LED strip can be a downer. This usually points to a faulty strip or connection. Diligently inspect the connections between the LED strips and the power supply. The problem might be a broken LED strip if all the connections are good. You would need to get a new one. Ensuring every part of your LED strip works to keep your cove lighting enchanting is important.
Maintaining the Glow: Post-Installation Care
The aesthetic appeal of your cove lighting continues after the installation. To keep it looking and working great, take care of it regularly after it’s installed.
Routine Cleaning and Dusting
Regular upkeep goes a long way in maintaining the pristine condition of your cove lighting. Dust and grime always collect on the LED strips and the cove’s surface over time. To hold the brightness and color of the lights, gently dust or wipe them with a soft cloth. To keep your LED strips shining brightly, use a gentle cleaning agent for a thorough cleaning.
Recognizing When It’s Time to Replace LED Strips
LED strips are revered for their longevity, but like all things, they have a life span. Over time, you might notice a decline in brightness or a slight shift in color consistency. This is a telltale sign that it’s time to consider replacing the LED strips. Keep a close eye on the appearance and function of your cove lighting to maintain its cozy and soft light. When you install LED strips, use popular brands. This way, the lights will last longer and stay bright. You will have to replace them less often.
Conclusion
Installing LED cove lighting is a simple way to create beautiful lighting in your home. This guide explains a step-by-step approach that makes the process easier to understand. It helps you understand the complicated parts. When you consider how your space has changed, you’ll see how simple it was to add elegance.
Now, as the soft glow of the cove lighting embellishes your abode, a new ambiance is birthed. The peaceful, cozy light invites you to have a good time alone or with loved ones. Every soiree, every quiet evening under the gentle illumination becomes an enriched experience. The cove lighting changes your space and makes the time spent there better. Installing cove lighting is a good investment because it creates a welcoming atmosphere. It adds elegance, warmth, and serenity to your home.
In embracing the elegance of LED cove lighting, aligning with expertise is paramount. Unitop, a famous LED maker in China, is well-known for its top-notch LED strip lights and LED neon flex. Your quest for impeccable lighting solutions is but a message away. If you have any questions or specific lighting requests, Unitop is here to help. We can turn your vision for lighting into a beautiful reality.
Related Articles

Tom is now the Sales Manager of Unitop (China) Co., Limited. He has been in the LED Lighting industry ever since 2005. He is an expert in sales & marketing, and factory management. He likes bodybuilding, and he is also a crazy Apple Fan! He is a hard-working guy and loves to learn and try new things.
Email: tom@unitopledstrip.com WhatsApp: +86-18680307140


Leave a Reply
Want to join the discussion?Feel free to contribute!