Have you ever marveled at the stunning light displays created by programmable LED strips and wondered, “Could I do that?” Well, the answer is an emphatic “Yes!” With a little guidance on how to program LED light strips and the right tools, you too can bring vibrant color to your space.
The voice behind this guide is Tom, an expert in the LED industry since 2005. He’s spent countless hours programming LEDs, including programming LED lights and LED strip lights, to create all sorts of captivating visual experiences. His extensive knowledge and hands-on experience put him in the perfect position to break down this complex topic into digestible bits.
Throughout this comprehensive guide, you’ll journey from the basics, understanding the components you need, to advanced concepts that’ll make your LED light strips dance with colors. Expect to dive into programming tools, code examples, common troubleshooting solutions, and much more, making the learning curve feel more like an exhilarating slide!
Now, the world of programmable LED lights awaits. Excited to unlock creative freedom and paint your spaces with light? Let’s dive right in!
Introduction: The Magic of LED Strips
Welcome to the vibrant world of LED strip lights – a universe where creativity and technology converge, sparking a dynamic spectrum of color and light. Today, we’re going to explore how to unlock the full potential of these versatile gadgets by delving into the intriguing process of programming LED strip lights. By the end of this comprehensive guide, you’ll be able to transform your spaces with mesmerizing, customized lighting displays. But before we delve into the technical aspects, let’s grasp the essence of LED strips and why programming them can be a fascinating venture.
Unveiling the Power of Programming LED Strip Lights
Why Program LED Strip Lights?
So, why should you program LED strip lights? At their core, LED strips are incredibly customizable, offering limitless potential for personalized lighting solutions. With programming, you get to wield full control over their behavior – from color patterns and transitions to brightness and pulsation. Whether you’re setting up mood lighting for your living room or organizing a dazzling light show for an event, programmed LED strips are your canvas, with the power to evoke emotion, draw attention, or set a distinctive ambiance.
Applications of RGB Diodes: Unlocking Creative Freedom
Beyond their obvious applications in interior design and decor, programmed LED strips have found their way into various sectors. They are used in art installations to create stunning visual effects, in photography for light painting, in wearables like costumes or accessories for enhanced aesthetics, and even in advertising, where they can be programmed to display logos or promotional messages. With the power to control RGB (Red, Green, Blue) diodes, your creative freedom is truly unbounded.
What Will You Achieve By the End of This Guide?
In this guide, we’ll take you from understanding the basics of LED strip components to mastering the art of programming them using the Arduino Uno and the FastLED library. Whether you’re a novice who’s just getting started or a hobbyist seeking to refine your skills, this guide will equip you with the know-how to animate your LED strips in a way that complements your space and vision.
Getting Started: Tools and Components You Need
Before we set out on our programming journey, let’s ensure we have all the necessary components:
Identifying Different Types of Programmable LED Strips
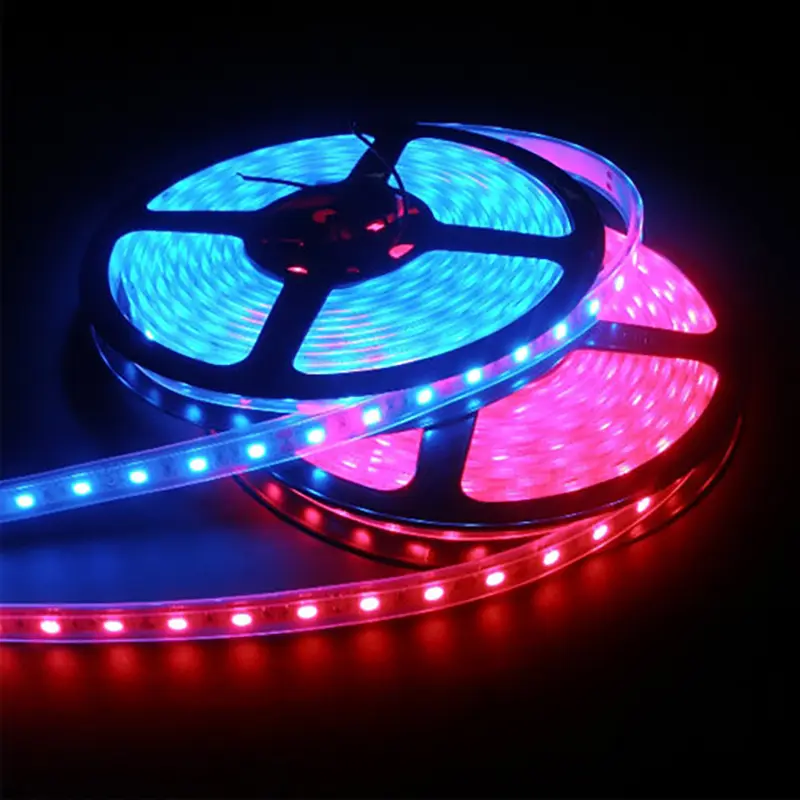
LED strips come in several types, the most common being the RGB strips. These strips contain separate red, green, and blue LEDs, allowing for creation of a wide range of colors through color mixing. A step further are the RGBW strips, which add a dedicated white LED for better white tones and additional brightness.
Essential Components for Programming LED Strip Lights
The LED Strip
To start with, you’ll need an LED strip. For beginners, a one-meter strip with 30 to 60 LEDs is ideal.
Power Supply and Barrel Jack
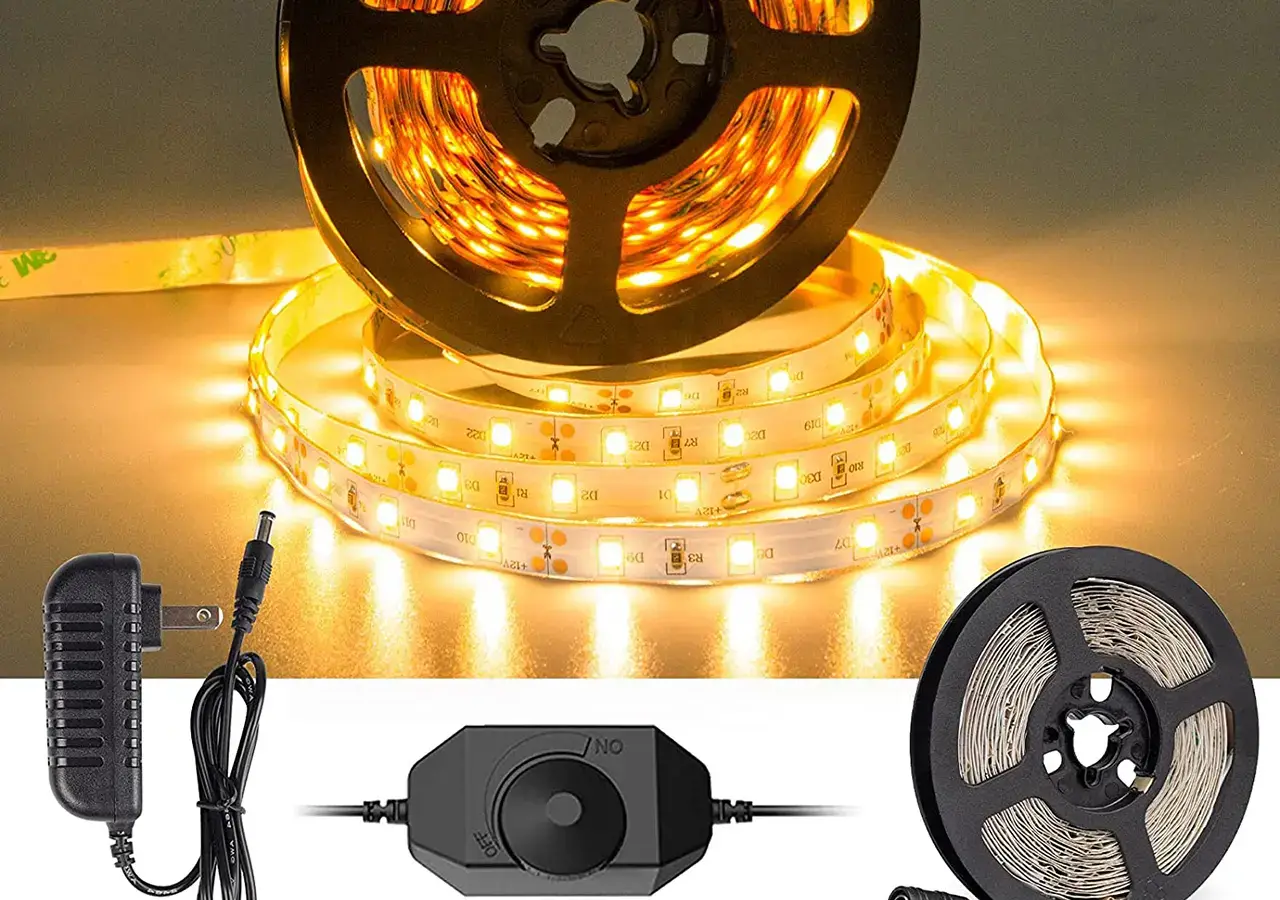
LED strips need a suitable power supply to operate. The power requirement can be calculated based on the strip’s length and the LEDs’ power consumption. A 5V power supply is commonly used, and a barrel jack will be needed for easy connection.
Arduino Uno Board
This microcontroller board will act as the brains of our operation. It’s what we’ll be programming to control the LED strip.
Connector Wires
Connector wires are used to establish a connection between the Arduino and the LED strip.
Portable Power Bank (Optional)
A portable power bank is handy for making your LED setup mobile.
Which Strip and Controller to Choose? RGB or RGBW?
The choice between RGB and RGBW strips boils down to your project’s needs. If true white light or increased brightness is important for your setup, an RGBW strip would be the better choice. However, the RGB strip is a simpler and more affordable solution for most other applications.
Setting the Stage: Assembling the Components
Now that we have all our components ready, let’s set the stage for programming
Preparing the LED Strip
Preparing the LED strip involves cutting it to the desired length, ensuring that the cut is made at designated points marked on the strip. Once cut, solder pin headers onto the strip’s connector points for easy attachment to the wires.
Connecting the Power Supply
Connect the power supply to the LED strip via the barrel jack. The red wire from the jack should be connected to the strip’s 5V, while the black wire connects to GND.
Setting up the Arduino Board
The Arduino board will be powered through the USB connection to your computer. Before connecting it to the LED strip, ensure the appropriate Arduino IDE software(LED light programming software) is installed on your computer.
Wiring the Components Together
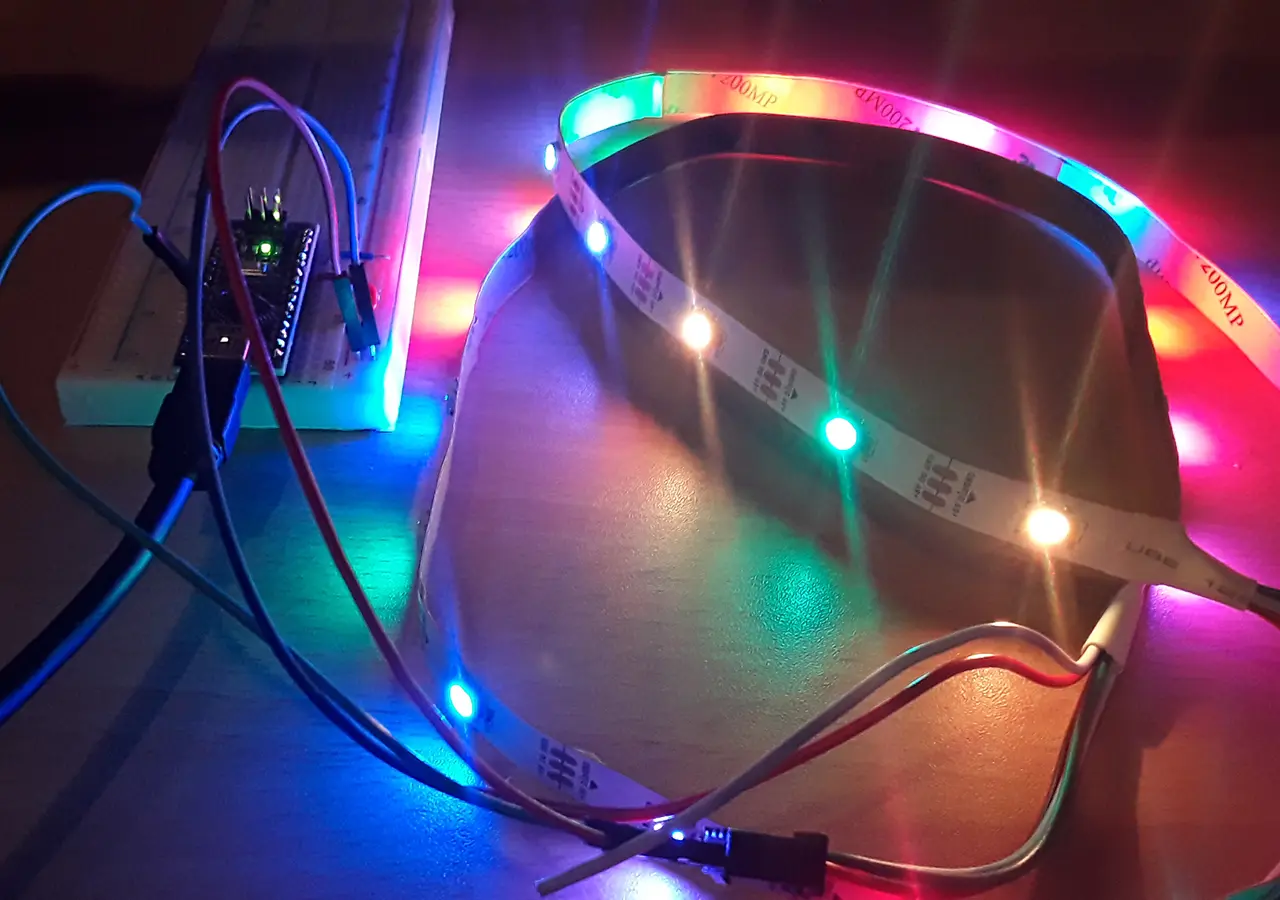
To connect the Arduino to the LED strip, link the strip’s data input pin to one of the Arduino’s digital pins. For power, connect the 5V and GND of the Arduino to the corresponding points on the LED strip.
Taking Control: Program LED lights
Now that the stage is set, it’s time to get programming.
Programming Tools and Their Installation
Arduino Software
Arduino’s integrated development environment (IDE) is the platform where you’ll write and upload your code. You can download it for free from the Arduino website.
FastLED Library
FastLED is an Arduino library specifically designed for LED strip programming. It simplifies the coding process and is compatible with a wide range of LED chipsets. You can install it directly from the Arduino IDE.
Chipset and Platform Support
Before coding, please make sure that the FastLED library supports your LED strip’s chipset.
Understanding the Basics of LED Strip Programming
Overview of C++ Code for strip light LED programming
With the Arduino software and FastLED library installed, you’ll write your code in C++, a popular programming language. How to program led lights with arduino? Here’s a simple program that sets up an LED strip with 60 LEDs on pin 6 and fills the strip with red color:
#define NUM_LEDS 60
#define DATA_PIN 6
CRGB leds[NUM_LEDS];
void setup() {
FastLED.addLeds(leds, NUM_LEDS);
}
void loop() {
fill_solid(leds, NUM_LEDS, CRGB::Red);
FastLED.show();
}
Diving Deep: Exploring the Code Line by Line
This program begins by including the FastLED library, which gives access to its powerful functions. Next, two constants are defined: NUM_LEDS and DATA_PIN, representing the number of LEDs and the pin number where the LED strip is connected, respectively.
Then, an array leds of type CRGB is created to store the color data for each LED. In the setup function, the FastLED.addLeds function is called to initialize the LED strip. The parameters specify the type of LED strip (NEOPIXEL in this case), the data pin number, and the LEDs array.
The loop function, which runs continuously, first fills the array with a solid color (red, in this case) using the fill_solid function. Finally, the FastLED.show function updates the actual LED strip to match the array data.
Your First LED Strip Program: Making an LED Blink
Now that we’ve walked through a basic LED strip program, let’s create a more interactive one: making an LED blink.
Crafting the Code
Here’s a simple program that makes the first LED on the strip blink red:
#define NUM_LEDS 60
#define DATA_PIN 6
CRGB leds[NUM_LEDS];
void setup() {
FastLED.addLeds(leds, NUM_LEDS);
}
void loop() {
leds[0] = CRGB::Red; // turn the LED on
FastLED.show();
delay(500); // wait for half a second
leds[0] = CRGB::Black; // turn the LED off
FastLED.show();
delay(500); // wait for half a second
}
Uploading the Code to the Arduino Board
With the code written, it’s time to upload it to the Arduino. Connect your board to your computer via USB, then click the upload button (the right-facing arrow) in the Arduino IDE. Once uploaded, your first LED should start blinking red!
Celebrating Your First Success: Watching Your LED Blink
There you have it – your first interactive LED strip program! Take a moment to celebrate this achievement. You’ve now programmed an LED strip to blink – a simple but significant step towards more intricate lighting designs.
Going Beyond Basics: Advanced Programming Concepts
Now that we’ve got the basics down, let’s dive into some more advanced programming concepts.
Understanding RGB Values and Brightness Pulse-Width Modulation
Each LED in an RGB LED strip combines three smaller LEDs – one red, one green, and one blue. We can create virtually any color by varying the brightness of these three colors.
Brightness is controlled using a technique called Pulse-Width Modulation (PWM), which involves switching the LED on and off very quickly, with the percentage of time spent on versus off determining the brightness. For example, if an LED is on 50% of the time and off 50% of the time, it will appear half as bright as an LED on 100% of the time.
Making Multiple LEDs Blink
Making multiple LEDs blink involves setting the color of the desired LEDs to CRGB::Black and CRGB::Red in a cycle. For example, if you wanted to make the first ten LEDs blink, you would do something like this:
leds[i] = CRGB::Red; // turn the LEDs on
}
FastLED.show();
delay(500); // wait for half a second
for(int i = 0; i < 10; i++) {
leds[i] = CRGB::Black; // turn the LEDs off
}
FastLED.show();
delay(500); // wait for half a second
Creating Complex LED Patterns and Effects
With the FastLED library, creating complex LED patterns and effects is relatively simple. Here, we’ll provide examples of three different effects: a rainbow cycle, a chase effect, and a snowflake effect.
Rainbow Cycle
A rainbow cycle is an effect where the colors of the rainbow cycle through the LEDs. Here’s how you could do it:
static uint8_t hue = 0;
for(int i = 0; i < NUM_LEDS; i++) {
leds[i] = CHSV(hue++, 255, 255);
}
FastLED.show();
delay(20);
}
Chase Effect
A chase effect is where a single lit LED appears to “run” down the strip. Here’s how you could do it:
static int lead_dot = 0;
leds[lead_dot++] = CRGB::Black; // turn the previous LED off
leds[lead_dot] = CRGB::Red; // turn the next LED on
FastLED.show();
delay(100);
if(lead_dot >= NUM_LEDS) lead_dot = 0;
}
Snowflake Effect
A snowflake effect is where random LEDs turn on and off to mimic falling snow. Here’s how you can do it:
for(int i = 0; i < NUM_LEDS; i++) { if(random(10) > 5) {
leds[i] = CRGB::White;
} else {
leds[i] = CRGB::Black;
}
}
FastLED.show();
delay(100);
}
Advanced LED Strip Programming Concepts
As you delve deeper into the world of LED strip programming, a few more sophisticated concepts come into play. These include variables, arrays, and functions, which offer you greater control over your LED strips. Variables allow you to store and manipulate data like the brightness or color of an LED. Arrays, on the other hand, let you manage multiple LEDs at once, opening up possibilities for intricate light patterns. Lastly, functions provide reusable code snippets that perform specific tasks, such as rotating colors or creating animation effects.
Troubleshooting Your Journey: Common Issues and Their Solutions
Just like any journey, LED strip programming comes with its own set of challenges. Thankfully, most of these hurdles are common and can be quickly resolved.
Common Errors and Their Solutions
One common issue is inconsistent LED brightness, often due to inadequate power supply. To fix this, ensure your power source can handle the total current draw of your LEDs. Another typical problem is LED strips not lighting up, usually because of incorrect wiring or a damaged LED. In such cases, double-check your connections and replace any non-functioning LEDs.
Best Practices for Avoiding Errors
To mitigate errors, it’s essential to verify your wiring before powering up and to regularly check your code for errors. Also, always disconnect your setup from power when making modifications and use resistors to prevent LEDs from burning out.
Unleashing Full Potential: Next Steps in LED Strip Programming
As you grow more comfortable with the basics of LED strip programming, it’s time to explore more advanced opportunities and unleash the full potential of your setup.
LED Power Draw and USB Current Limit: Balancing Performance and Safety
Balancing performance and safety is key. You must always consider the power draw of your LED strip and the USB current limit of your Arduino board. If the LED power draw exceeds the board’s limit, it could overheat or even fail.
Gamma Correction: Fine-Tuning Your Lighting Experience
Gamma correction helps fine-tune your lighting experience by making colors appear more consistent to the human eye. It corrects the non-linear relationship between the light intensity and the electrical voltage driving the LEDs.
Exploring the Full Potential of LED Strip Lights
From creating mesmerizing light shows synced to music to integrating your LED strips into a smart home system for automated control, the possibilities are endless when you fully explore LED strip programming.
Frequently Asked Questions
Can you program an LED strip?
Absolutely! You can program an LED strip using a controller like the Arduino Uno Board. With the aid of coding tools like the Arduino Software (IDE) and libraries such as FastLED, you can make LEDs blink, change colors, and create a variety of stunning light displays.
How do you program LED strip lights with a remote?
Programming LED strip lights with a remote requires a compatible remote controller. The controller communicates with an IR receiver connected to the LED strip, which then carries out the pre-programmed instructions. However, this guide primarily focuses on programming LED strips using an Arduino board and does not cover remote programming.
How do you program an RGB LED?
Programming an RGB LED involves controlling the brightness of the red, green, and blue diodes individually to create any desired color. This is typically done using the Pulse-Width Modulation technique in conjunction with an Arduino or similar microcontroller and suitable software libraries such as FastLED.
How do you make a programmable LED?
Making a programmable LED involves using a microcontroller like an Arduino, a suitable power supply, connecting wires, and, of course, the LEDs themselves. Once these components are assembled and connected, you can use software tools like the Arduino IDE to write code that controls the LED’s behavior.
What types of programmable LED strips are there?
There are several types of programmable LED strips available. The most common are RGB and RGBW strips. RGB strips contain red, green, and blue LEDs, while RGBW strips include an additional white LED for more nuanced lighting effects.
What is the FastLED library?
FastLED is a powerful, open-source library for programmable LEDs, especially popular for its support for a wide range of LED chipsets and ease of use. It provides methods for color manipulation, brightness control, and other LED lighting effects.
What can I do with programmable LED strip lights?
The possibilities with programmable LED strip lights are nearly endless. You can create dazzling light displays, intricate color patterns, dynamic lighting effects, and much more. They can be used for mood lighting, decorative purposes, or even for more practical uses such as visibility and safety.
Can I control multiple LEDs at the same time?
Yes, you can control multiple LEDs simultaneously. By using loops in your code, you can easily change the color or brightness of many LEDs at the same time, allowing for intricate and complex lighting patterns.
What are some common issues when programming LED strips?
Some common issues when programming LED strips include incorrect wiring, insufficient power supply, and coding errors. However, most of these problems can be easily solved with careful troubleshooting and adherence to best practices.
What’s next after learning basic LED strip programming?
Once you’ve mastered the basics, there’s plenty more to learn! You can delve into more complex programming concepts, create more intricate lighting effects, and even integrate your LEDs with other technologies to create interactive light displays. The sky’s the limit when it comes to programmable LEDs!
Conclusion: Lighting Up Your World with LED Strip Programming
As we conclude our journey, it’s clear that programming LED strip lights offers an avenue for endless creativity, transforming ordinary spaces into vibrant, dynamic environments.
Reflecting on Your Programming Journey
Reflecting on this journey, you’ve learned the basics of LED strip lights, mastered programming tools, and begun creating stunning lighting effects. You’ve encountered challenges, but with each hurdle, you’ve developed resilience and broadened your skill set.
Looking Forward: What’s Next?
I’m really looking forward to the world of LED strip programming being yours to explore. As you continue to learn and experiment, each step will open up new possibilities, lighting up your world in ways you’ve never imagined. Whether integrating your setup with smart home technology or creating an LED masterpiece, the future is bright. So, keep illuminating, keep exploring, and keep creating.
Please reach out to us right away in case you need any help.
Trackbacks & Pingbacks
Leave a Reply
Want to join the discussion?Feel free to contribute!
Leave a Reply

Tom is now the Sales Manager of Unitop (China) Co., Limited. He has been in the LED Lighting industry ever since 2005. He is an expert in sales & marketing, and factory management. He likes bodybuilding, and he is also a crazy Apple Fan! He is a hard-working guy and loves to learn and try new things.
Email: tom@unitopledstrip.com WhatsApp: +86-18680307140


Hi, I would like to create a small LED light that shows three different colors. The colors will rotate for four seconds, seven seconds, and eight seconds. This rotation will happen four times from when the button is pressed.
Is this something you would be able to create?
Thank you,
Shea Kaltmann
We have contacted you by Email. Let’s further discuss then.