When the sun sets and your yard is cloaked in darkness, proper lighting can transform it into a stunning nighttime oasis. The right lighting techniques not only highlight the beauty of your landscape but also enhance safety and usability. Two popular methods to achieve this transformation are uplighting and downlighting. But which one is the best fit for your yard?
Choosing the right lighting technique can be daunting, but we’re here to guide you. This post delves into the specifics of uplighting and downlighting, providing expert tips on effectively using each method. From illuminating pathways to enhancing garden beds, we cover it all. Ready to find the perfect lighting for your outdoor space?
In this guide, we’ll explore the nuances of these lighting techniques to help you create drama, depth, and visual interest in your outdoor space. Stay with us as we unravel the mysteries of uplighting and downlighting. By the end of this article, you’ll have a clear understanding of how to create a beautifully lit yard that not only looks stunning but also feels safe and inviting. So, let’s get started and transform your outdoor space into a captivating haven that you can enjoy day and night.
Uplighting vs. Downlighting: Overview
Understanding Uplighting
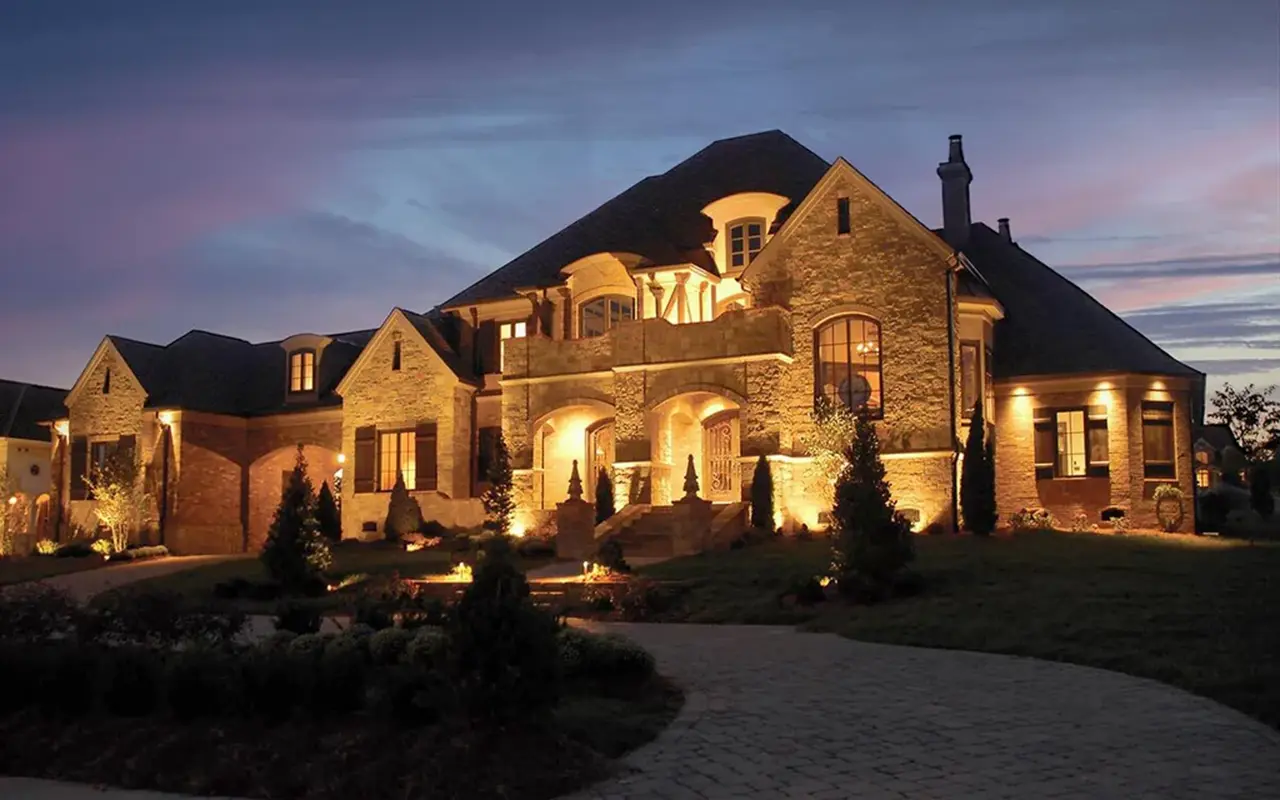
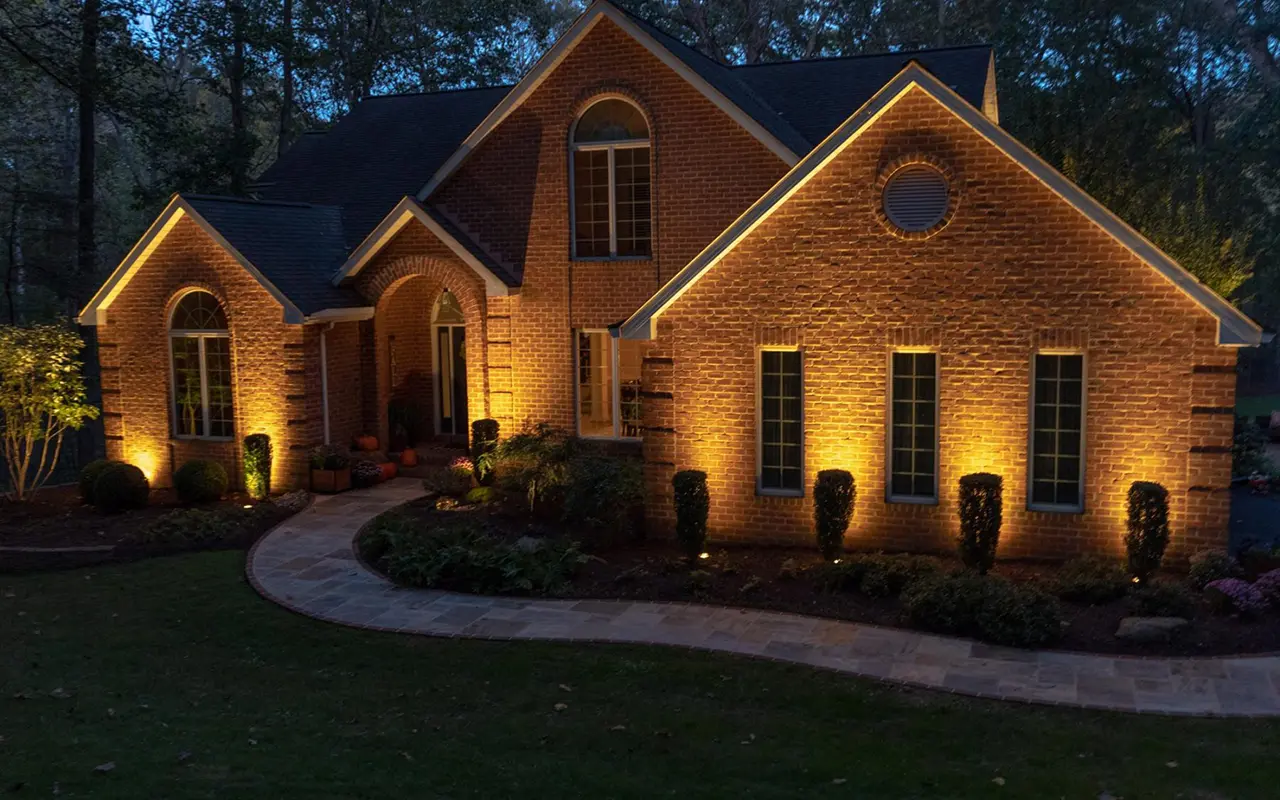
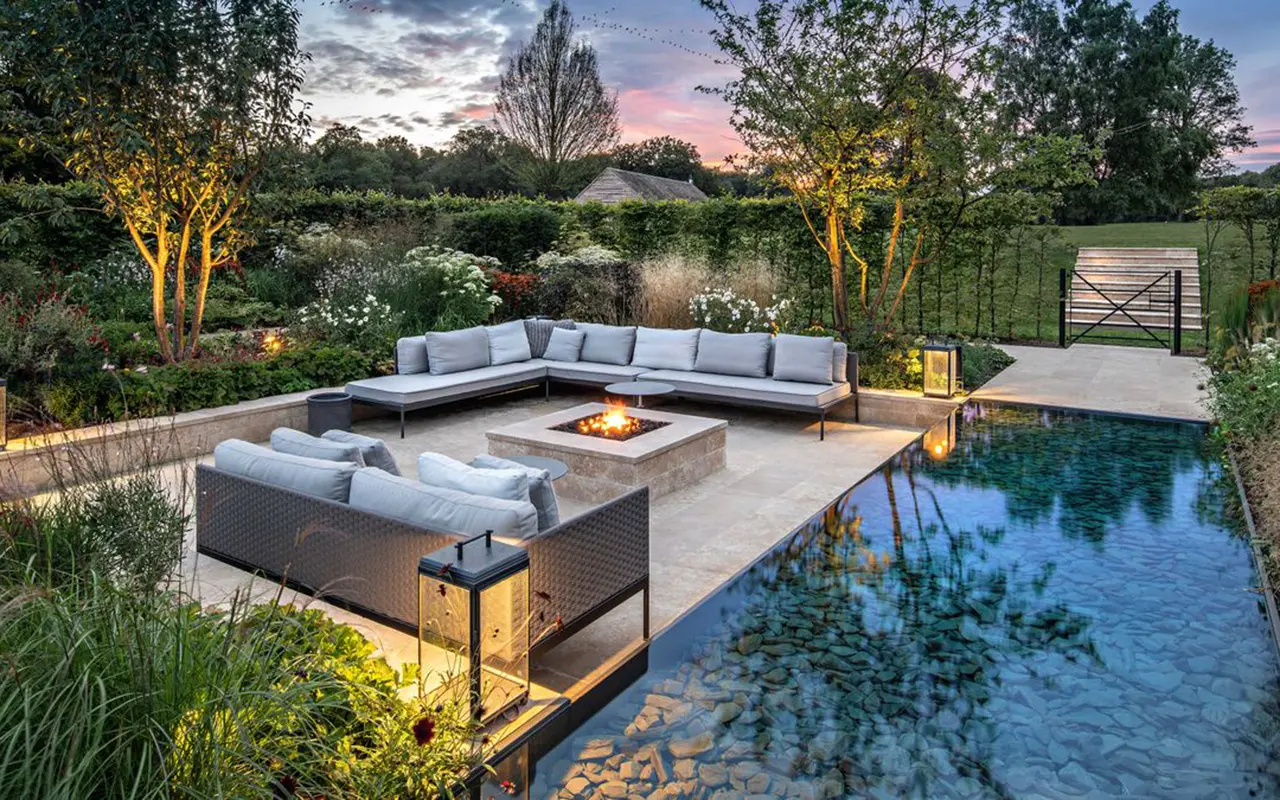
Uplighting involves placing light fixtures at ground level and directing their beams upwards. This technique is particularly effective for bringing out the best in architectural elements such as columns, walls, or trees. Casting light from below creates a strong dramatic effect that enhances textures and produces intriguing shadows.
Advantages of Uplighting
- Emphasizes architectural details: Uplighting makes architectural elements like columns and walls more visible and dramatic.
- Adds depth and theatricality: By casting interesting shadows and creating dark areas, uplighting adds a sense of depth and drama to your landscape.
- Illuminates trees and shrubs: Uplighting from the bottom up highlights the natural beauty of trees and shrubs.
Disadvantages of Uplighting
- Light pollution: If not correctly focused, uplighting can contribute to light pollution.
- Multiple fixtures needed: Larger areas may require multiple fixtures to be adequately covered.
- Potential for glare: Poorly positioned uplights can cause glare.
Understanding Downlighting
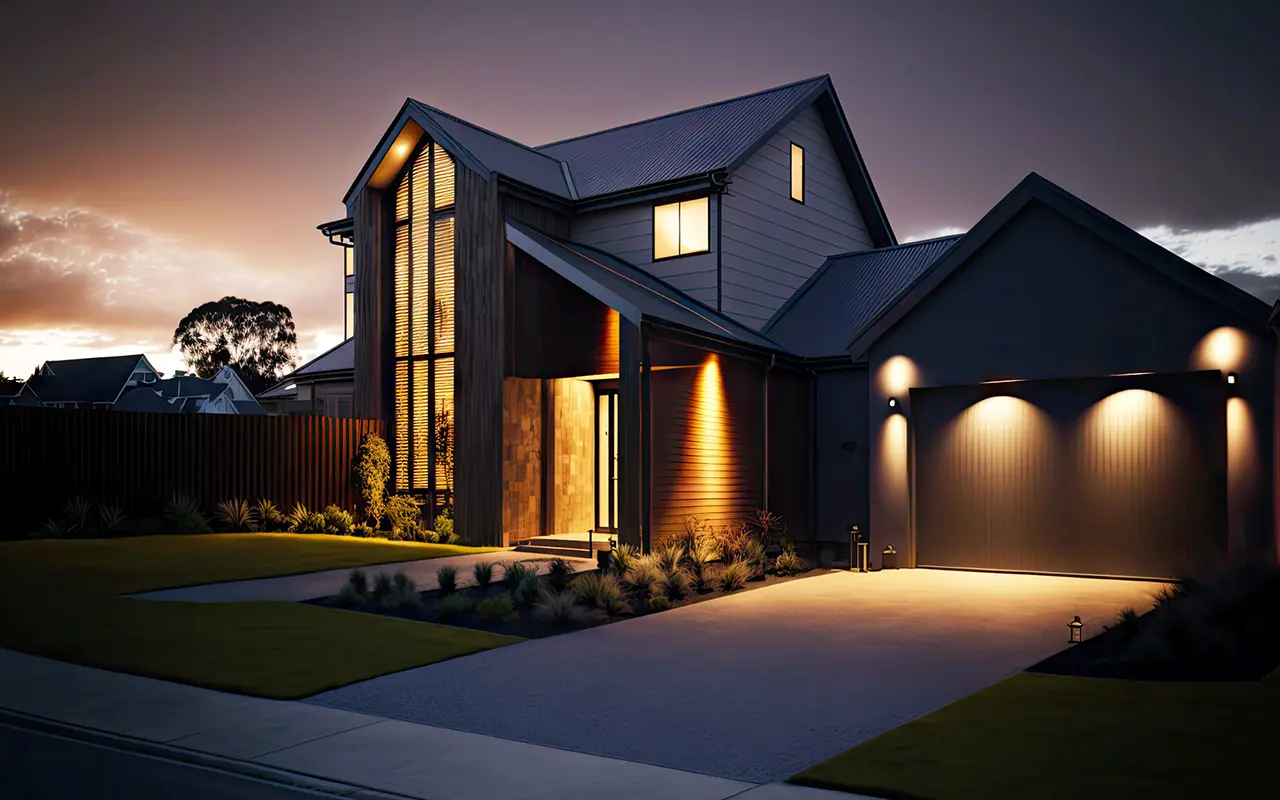
Downlighting is achieved by placing light fixtures above the area you want to illuminate so that they shine downwards. This technique is perfect for lighting up pathways, seating spaces, or garden features. It casts a narrower and more concentrated beam, allowing one to highlight specific spots with greater accuracy.
Advantages of Downlighting
- Directed illumination: Perfect for pathways, seating areas, and garden features, ensuring safety and visibility.
- Reduces light pollution and glare: Properly used downlighting can minimize light pollution and reduce glare.
- Creates a moonlit effect: Downlighting can mimic the soft glow of moonlight, creating a natural and attractive ambiance.
Disadvantages of Downlighting
- Hard shadows and hot spots: If not well-scattered, downlighting can create hard shadows or bright spots.
- Potential obstructions: Fixtures must be placed carefully to avoid blocking walkways or seating areas.
- Less effective for tall structures: Downlighting doesn’t work as well for highlighting tall architectural elements.
Key Areas to Illuminate in Your Yard
Trees and Focal Points
Trees and focal points like statues or water features can be dramatically highlighted with uplighting. Position ground-level lights to shine upwards, emphasizing their structure and creating interesting shadows.
Pathways and Walkways
Pathways and walkways benefit from downlighting, which illuminates the ground and ensures safe navigation. Fixtures mounted on trees or structures can cast a wide, soft light over these areas.
Patio and Seating Areas
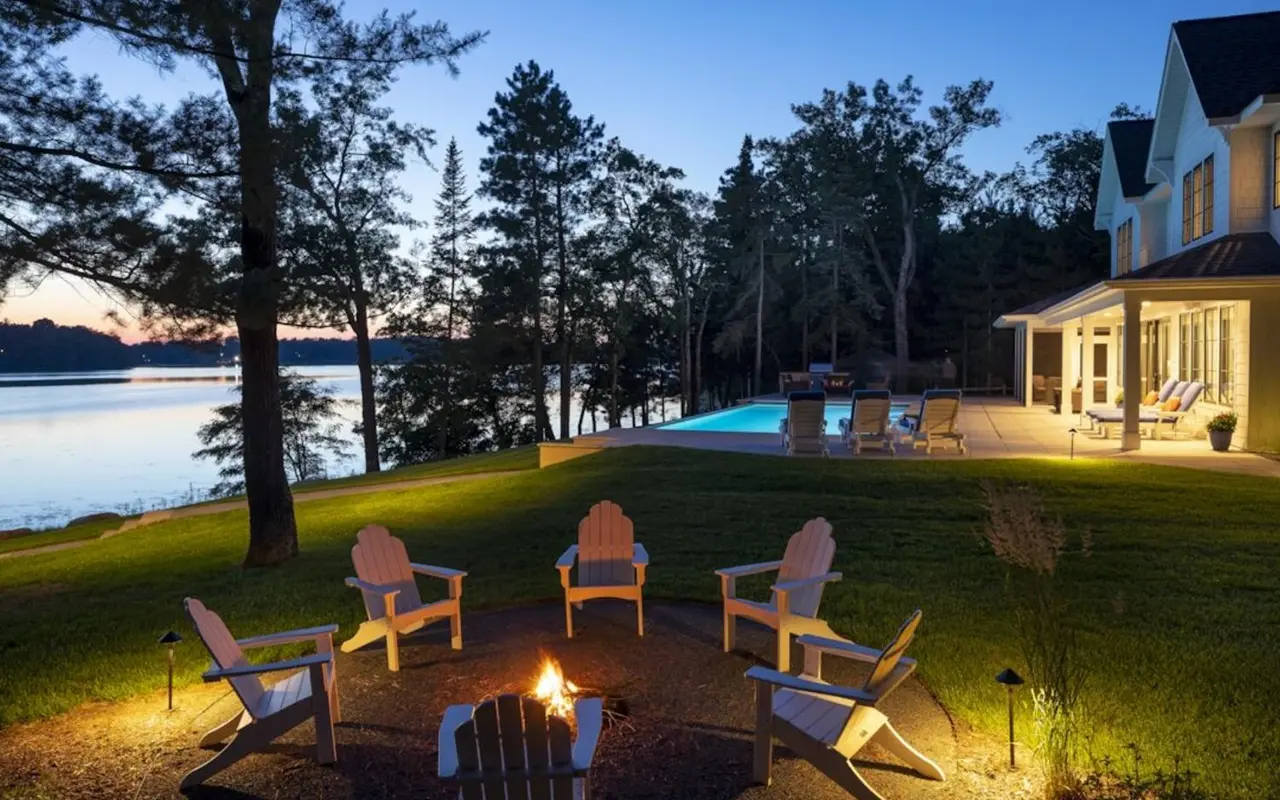
Downlighting is ideal for patios and seating areas, providing functional illumination without harsh glare. Lights can be mounted on nearby structures or trees to cast a pleasant glow over the space.
Garden Beds and Planting Areas
Both uplighting and downlighting can be used in garden beds and planting areas. Uplighting highlights taller plants and creates dramatic effects, while downlighting softly illuminates low-growing flowers and foliage.
Best Lighting Choices for Your Yard
Purpose of Lighting
When planning your outdoor lighting, it’s crucial to define what you aim to achieve. Are you looking to highlight architectural features like columns and facades, ensure safe navigation along pathways, or create a cozy ambiance for social gatherings? Each goal requires a different approach.
- Highlighting Architectural Features: If your objective is to showcase the structural beauty of your home, uplighting is the way to go. It emphasizes the height and design of columns, walls, and trees, creating a dramatic effect that stands out.
- Ensuring Safety: For safety purposes, downlighting is ideal. It illuminates pathways, driveways, and steps, reducing the risk of tripping and ensuring that visitors can navigate your yard safely.
- Creating Ambiance: For a welcoming and cozy ambiance, a combination of both uplighting and downlighting works best. Uplighting adds depth and highlights focal points, while downlighting provides a soft, even glow that enhances the overall atmosphere.
Clearly defining your lighting goals will guide you in choosing the most appropriate techniques to achieve the desired effect in your yard.
Yard Layout and Features
Your yard’s unique layout and features significantly influence your lighting choices. Consider the following elements:
- Tall Trees and Shrubs: Uplighting is perfect for tall trees and large shrubs. Placing lights at ground level and aiming them upwards can highlight the natural beauty of these elements, drawing attention to their structure and foliage.
- Architectural Elements: Uplighting can also accentuate architectural features such as pillars, walls, and statues. This technique creates striking shadows and highlights that add depth and interest to your landscape.
- Pathways and Seating Areas: Downlighting is ideal for illuminating pathways, walkways, and seating areas. By placing lights above these areas, you can create a safe and inviting environment without harsh shadows or glare.
- Water Features: Both uplighting and downlighting can be used to highlight water features like fountains and ponds. Uplighting can create shimmering effects on the water, while downlighting can provide a gentle, reflective glow.
Understanding the layout and features of your yard will help you position your lights effectively, ensuring each element is beautifully illuminated.
Aesthetic Preferences
Your personal aesthetic preferences play a significant role in your lighting choices. Consider the following:
- Dramatic Effect: If you prefer a bold, dramatic look, uplighting is your best option. It creates strong contrasts and shadows, making architectural features and trees stand out.
- Subtle Glow: For a more natural and subtle ambiance, downlighting is ideal. It mimics the soft, diffuse light of the moon, providing gentle illumination without harsh contrasts.
- Combination: Many homeowners prefer a combination of both techniques to achieve a balanced look. Uplighting can be used for focal points and downlighting for general illumination, creating a cohesive and visually pleasing environment.
Reflect on your aesthetic preferences and choose the lighting techniques that best match your vision for your yard.
Practical Considerations
Practical considerations are also crucial when selecting your outdoor lighting. These include:
- Budget: Determine how much you’re willing to spend on outdoor lighting. While initial costs can be high, investing in quality fixtures and LED bulbs can save money in the long run due to their durability and energy efficiency.
- Efficienza energetica: LED lights are an excellent choice for outdoor lighting. They consume less energy than traditional bulbs, reducing your electricity bills and environmental footprint. Additionally, they have a longer lifespan, meaning fewer replacements and less maintenance.
- Maintenance: Consider the ease of maintenance for your lighting fixtures. LED lights require less frequent replacement and are more durable against outdoor elements. Ensure that your fixtures are weather-resistant and designed for outdoor use to withstand the elements and reduce the need for frequent repairs or replacements.
By taking these practical factors into account, you can make informed decisions that balance aesthetics, functionality, and cost-effectiveness.
Balancing Uplighting and Downlighting
Creating a Cohesive Lighting Design
To achieve a stunning and cohesive outdoor lighting design, it’s essential to balance uplighting and downlighting effectively. This involves strategically placing both types of lights to highlight key features and provide general illumination. Here are some tips:
- Accent Architectural Details: Use uplights to draw attention to architectural elements such as columns, statues, and walls. The upward-facing lights will create dramatic shadows and highlights, enhancing the visual impact of these features.
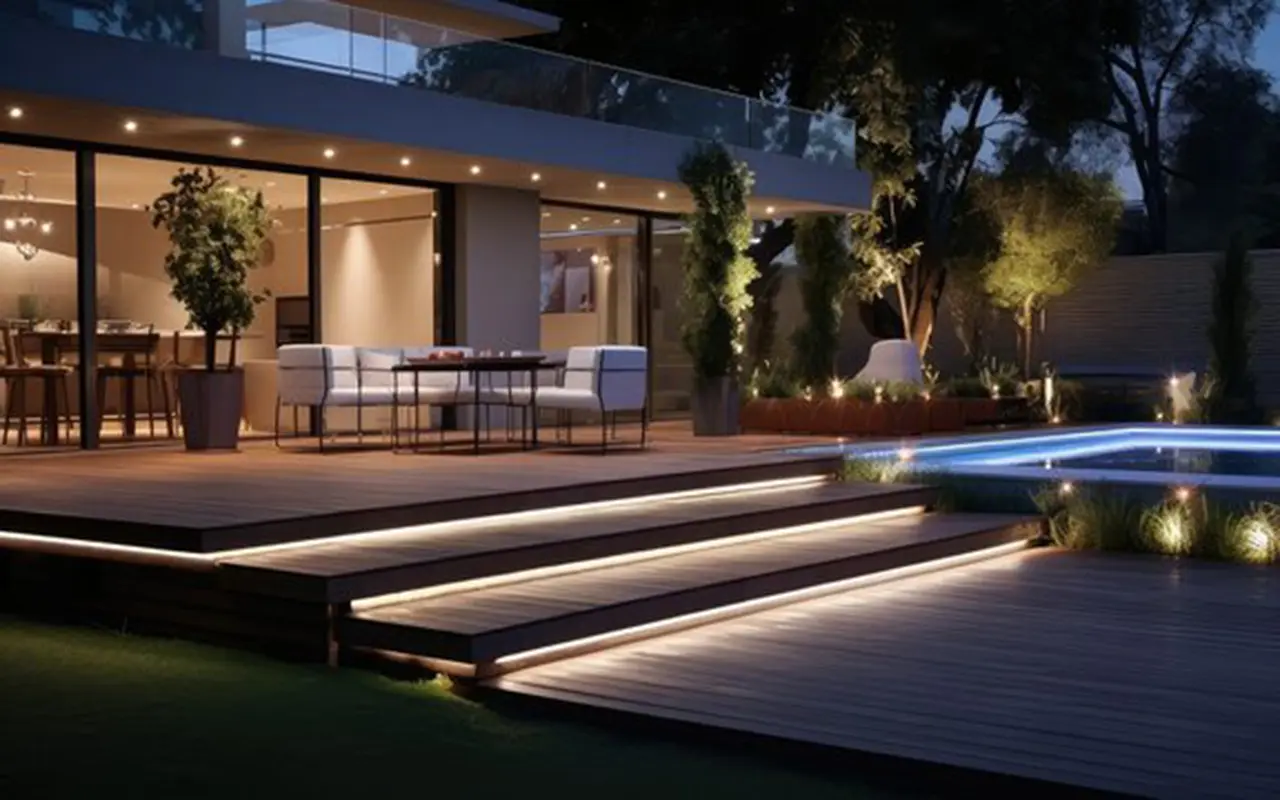
- Illuminate Pathways and Seating Areas: Downlights are perfect for pathways, steps, and seating areas. By casting a soft, even light from above, they ensure safety and create a welcoming atmosphere without overwhelming the space.
- Mix and Match: Combine both uplighting and downlighting to create layers of light. This approach adds depth and dimension to your yard, making it look more dynamic and visually appealing.
By thoughtfully integrating both lighting techniques, you can create a well-balanced design that enhances the beauty and functionality of your outdoor space.
Enhancing Safety and Security
Outdoor lighting plays a crucial role in ensuring safety and security around your home. Properly placed lights can deter potential intruders and prevent accidents. Consider the following:
- Pathway Lighting: Downlighting along pathways and walkways helps prevent trips and falls. Ensure these areas are well-lit to guide visitors safely to and from your home.
- Entry Points: Use uplighting around entry points such as doors and windows to deter intruders. A well-lit exterior reduces the likelihood of unwanted visitors approaching your home.
- Motion Sensors: Incorporate motion-sensor lights for added security. These lights can be set to activate when movement is detected, providing an additional layer of protection.
Strategically placed lighting enhances both the safety and security of your property, giving you peace of mind while adding to the overall appeal of your yard.
Achieving Visual Harmony
Achieving visual harmony in your lighting design involves blending uplighting and downlighting to create a balanced and aesthetically pleasing effect. Here are some tips:
- Consider Light and Shadow: Pay attention to the interplay of light and shadow. Use uplights to create dramatic effects and downlights to soften and diffuse the light, ensuring no area is too bright or too dark.
- Consistency in Design: Maintain a consistent design theme throughout your yard. Ensure that the lighting fixtures and styles you choose complement each other and the overall aesthetic of your landscape.
- Focal Points: Identify focal points in your yard and use lighting to highlight them. This could be a beautiful tree, a garden sculpture, or a water feature. Using both uplighting and downlighting can enhance these focal points and draw attention to them.
By carefully planning your lighting design, you can create a harmonious and visually appealing outdoor space that is both functional and beautiful.
Examples of Successful Lighting Combinations
To inspire your lighting design, here are some examples of successful combinations of uplighting and downlighting:
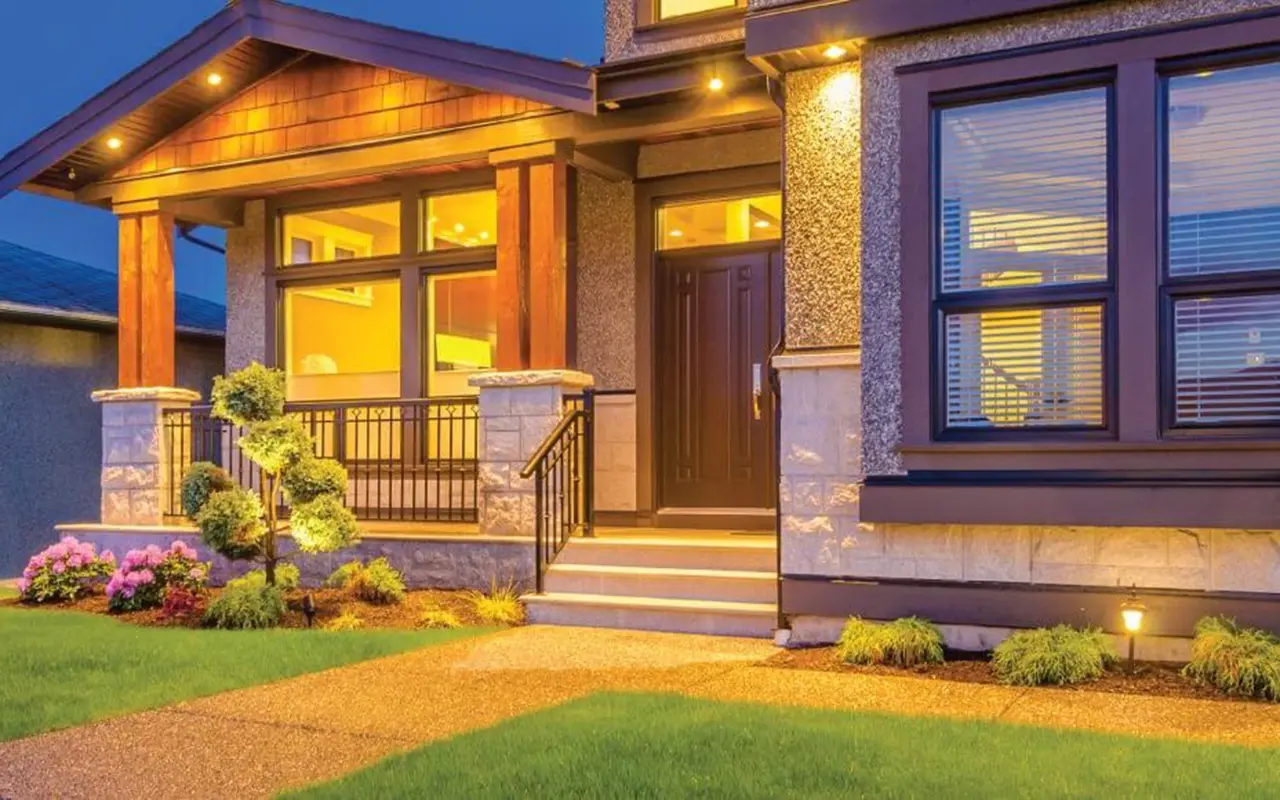
- Front Entryway: Use uplighting on porch pillars or columns to highlight architectural details, combined with downlighting to illuminate steps and pathways, ensuring safety and enhancing curb appeal.
- Garden Areas: Combine moonlighting for an ambient effect with uplighting to create dramatic accents on plants and garden features. This adds depth and interest to your garden, making it a captivating space both day and night.
- Outdoor Living Spaces: For patios and seating areas, use downlighting to provide functional illumination, while incorporating uplighting to highlight surrounding plants and structures. This creates a cozy and inviting atmosphere for entertaining and relaxation.
These examples demonstrate how a thoughtful mix of uplighting and downlighting can enhance various areas of your yard, creating a beautiful and cohesive outdoor lighting design.
Why Choose LED for Your Outdoor Lighting?
Energy Efficiency and Cost Savings
LED lighting offers numerous advantages over traditional incandescent or halogen bulbs. They are energy-efficient, long-lasting, and environmentally friendly.
Durability and Longevity
LED lights are durable and can withstand shocks, vibrations, and extreme temperatures. This makes them ideal for outdoor use.
Impatto ambientale
LED lights are more environmentally friendly because they consume less energy and have a longer lifespan, reducing the amount of waste generated.
Installation and Maintenance Tips
Uplighting Installation Tips
When installing uplights, ensure they are positioned to avoid glare and light pollution. Use fixtures designed for outdoor use and conceal them behind bushes or rocks for a natural look.
Downlighting Installation Tips
Install downlights high up in trees or on structures to cast a wide, soft light over the desired area. Adjust the angle to avoid casting unwanted shadows or causing glare.
Maintenance Requirements for Uplighting
Regularly check and clean uplighting fixtures to ensure they are free from dirt and debris. Replace bulbs as needed to maintain consistent illumination.
Maintenance Requirements for Downlighting
Ensure that downlighting fixtures are securely mounted and free from obstructions. Clean fixtures regularly and check for any damage or wear.
Conclusione
Yard lighting is an art form that can transform your outdoor space into a magical nighttime retreat. By understanding the differences between uplighting and downlighting and finding the right balance between the two, you can create a visually stunning and functional landscape. Remember to consider your yard’s layout, your aesthetic preferences, and practical considerations such as energy efficiency and maintenance. With the right lighting design, your yard can become a beautiful and inviting space to enjoy long after the sun sets.
For professional guidance and installation, consult with a lighting expert who can tailor a lighting scheme to your specific needs and preferences. Illuminate your yard and make the most of your outdoor space with a thoughtful and well-executed lighting design. Unitop, one of China’s leading manufacturers of Luci a striscia LED e LED al neon flessibile, is here to help you bring your vision to life. With our expertise and high-quality products, we can help you achieve the perfect lighting for your yard. If you have any questions or specific requirements, don’t hesitate to contattateci immediately. Let Unitop’s professional team guide you to a brilliantly lit and beautifully transformed outdoor space.

Tom è ora il Direttore Vendite di Unitop (Cina) Co., Limited. È stato nella Illuminazione a LED industria dal 2005. È un esperto di vendite e marketing e di gestione della fabbrica. Gli piace il bodybuilding ed è anche un fan sfegatato di Apple! È un lavoratore instancabile e ama imparare e provare cose nuove.
Email: tom@unitopledstrip.com WhatsApp: +86-18680307140




Lascia un Commento
Vuoi partecipare alla discussione?Sentitevi liberi di contribuire!