Are you frustrated with your LED strip lights turning on and off immediately? We understand how annoying this can be, and we’re here to help you troubleshoot and fix the issue efficiently.
Your LED strip light turns on then off immediately likely due to power supply issues, faulty connections, or defective LED strips. Check each component to identify and resolve the problem.
Keep reading to discover the common causes and how to fix them, ensuring your LED strip lights work perfectly again.
一般的な原因
Check the Power Supply
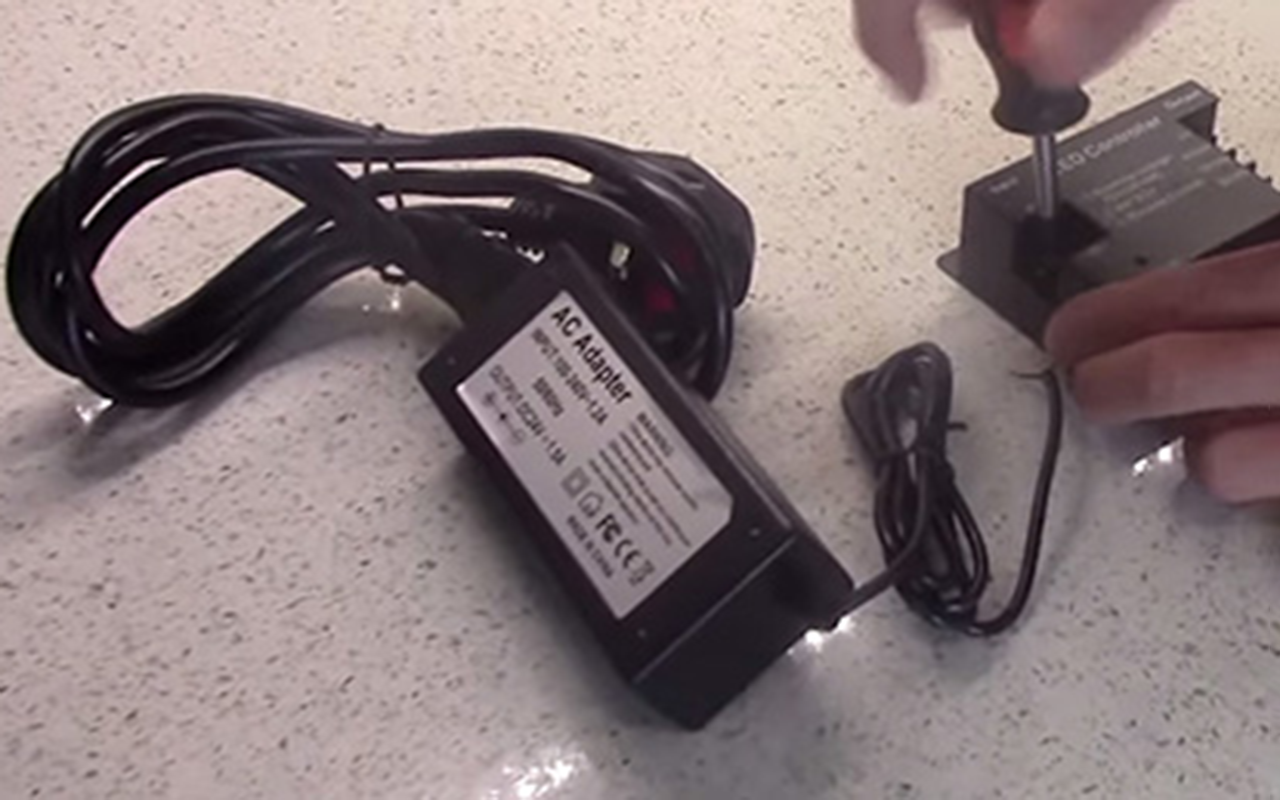
The power supply is often the main culprit behind your LED strip lights turning off immediately after being turned on. The power supply unit (PSU) is responsible for converting the electricity from your wall outlet into a form that your LED strips can use. If there’s a mismatch in voltage or wattage, or if the power supply is defective, it can cause your lights to flicker or shut off.
Insufficient Power
Ensuring that your power supply matches the voltage and wattage requirements of your LED strip is crucial. LED strips come in different power ratings, typically 12V or 24V, and each strip requires a specific amount of wattage to operate correctly. Using a power supply that doesn’t meet these specifications can lead to the LEDs receiving insufficient power, causing them to shut off to protect themselves from damage.
- Voltage Compatibility: First, check the voltage rating on your LED strip and ensure your power supply matches this rating. Using a 12V power supply for a 24V strip will not provide enough power, leading to immediate shutdowns.
- Wattage Requirements: Calculate the total wattage your LED strip requires. This is done by multiplying the wattage per meter by the total length of the strip. Ensure your power supply can handle this load with some headroom to spare. For example, if your LED strip requires 48W and your power supply is rated for exactly 48W, it’s better to use a power supply rated for 60W to ensure stable performance.
Faulty Power Supply
Testing with a different power supply can help rule out defects. Power supplies can degrade over time or fail outright due to various factors like overheating, voltage spikes, or manufacturing defects. To determine if the power supply is the issue, swap it with another one that meets the voltage and wattage requirements. If the LED strip lights up and stays on, the original power supply is likely faulty and needs to be replaced.
Inspect the Connections
Loose or faulty connections can disrupt the power flow to your LED strip lights, causing them to turn off unexpectedly. Proper connections ensure a stable electrical path, while loose or damaged ones can lead to intermittent power supply issues.
Loose Connections
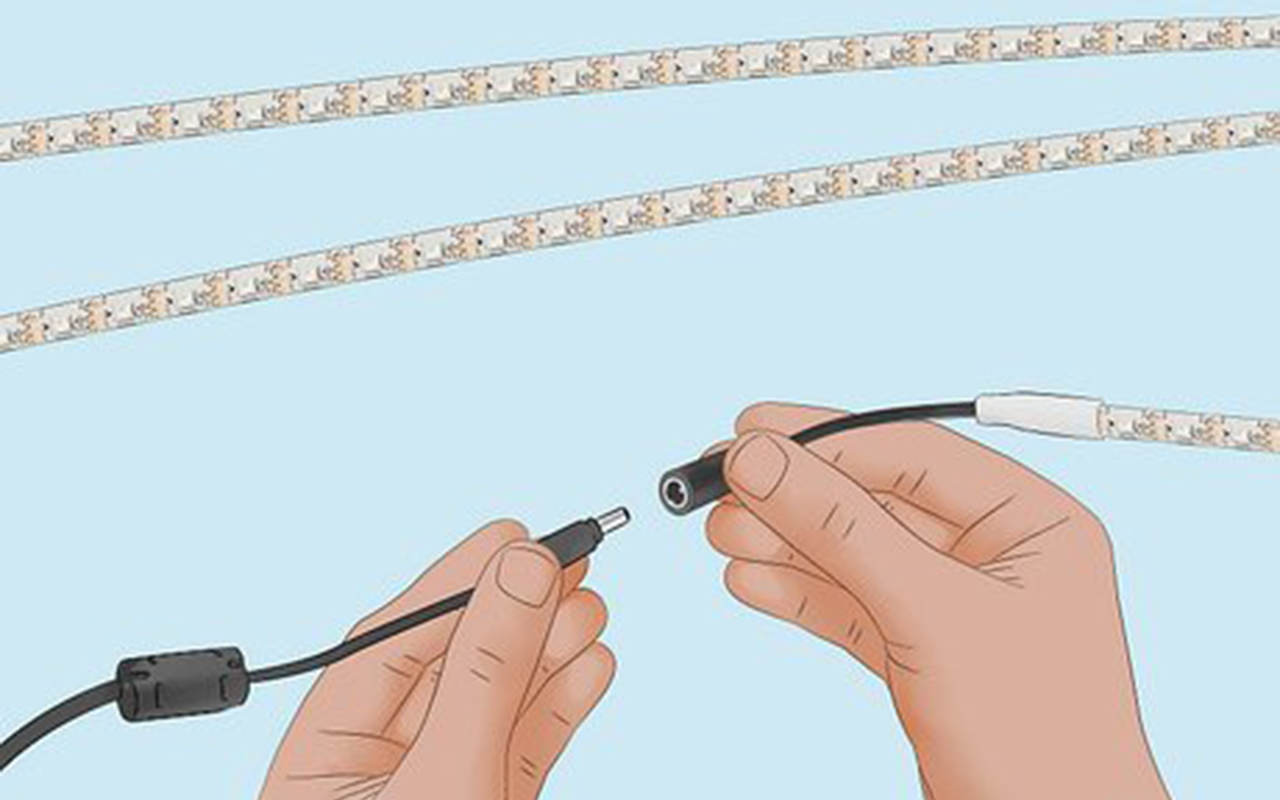
Checking all connections and ensuring they are secure is essential. Start by inspecting the points where the LED strip connects to the power supply and the controller. Loose connections at these critical junctures can cause power interruptions. Make sure the connectors are firmly attached and that there are no visible gaps or looseness. Sometimes, simply re-seating the connectors can resolve the issue.
- Connector Types: Different LED strips use various types of connectors, such as pin connectors, screw terminals, or solder joints. Ensure each type is properly secured according to its design.
- Signs of Looseness: Gently tug on the connectors to see if they come apart easily. If they do, reattach them more securely.
Damaged Connectors
Look for any visible damage to connectors and replace them if necessary. Over time, connectors can become worn out, corroded, or physically damaged due to frequent plugging and unplugging, exposure to moisture, or rough handling. Examine the connectors closely for signs of wear and tear, such as bent pins, corrosion, or broken plastic. If any damage is found, replacing the connectors with new ones can restore proper functionality.
- Corrosion and Wear: Inspect the metal parts of the connectors for any signs of rust or oxidation, which can impede electrical contact.
- Physical Damage: Check for cracks, broken pieces, or any other physical damage to the connectors. Replace any connectors that appear compromised.
Examine the LED Strip
The LED strip itself might be the issue if your lights turn on briefly and then off. Various factors such as manufacturing defects, physical damage, or overheating can cause this problem.
不良LEDストリップ
Testing sections of the strip to identify any defective parts is a useful troubleshooting step. LED strips can have individual segments that fail due to poor manufacturing, damage during installation, or extended use. If a specific section of the strip is defective, it can affect the entire strip’s operation.
- Segment Testing: Use a multimeter to test each section of the strip. Identify and isolate the faulty segment by checking for continuity or voltage drop across each section.
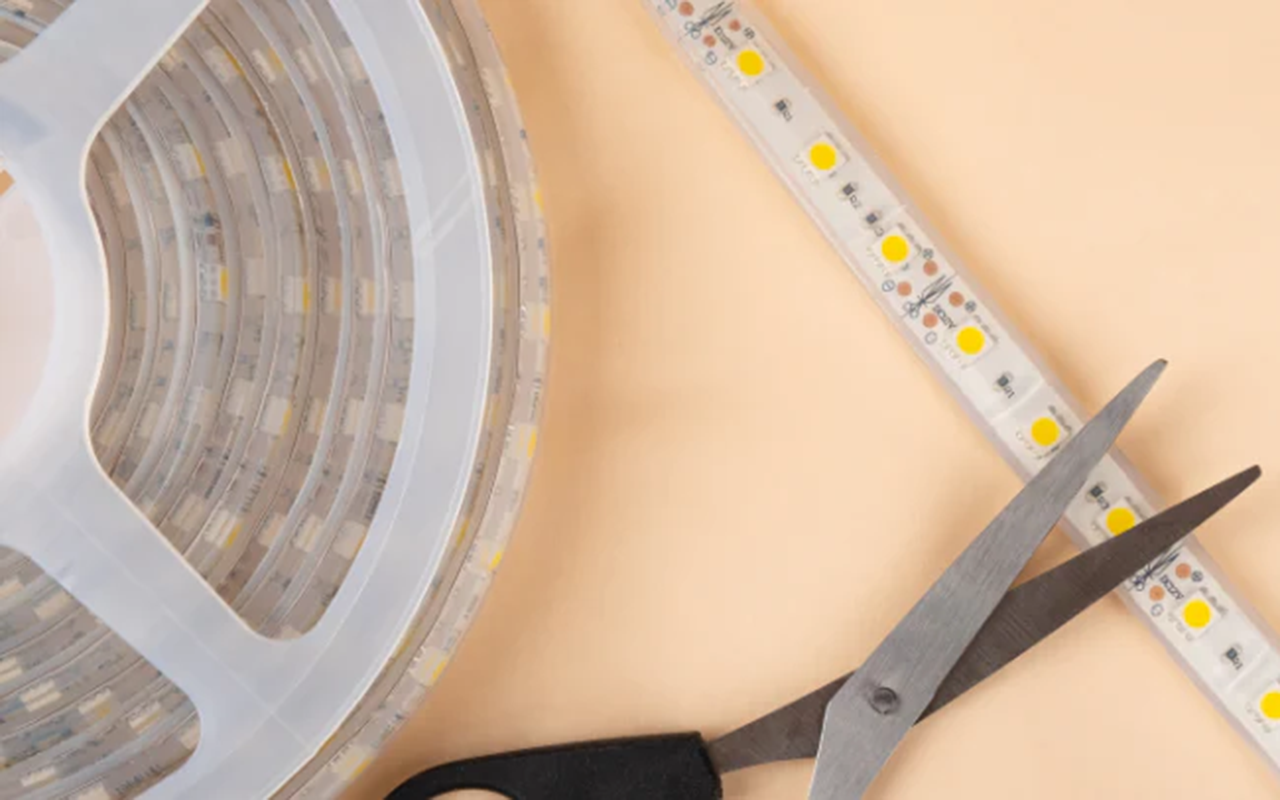
- Replacement of Sections: Once a defective section is identified, cut it out and replace it with a new segment or rejoin the remaining good sections.
オーバーヒートの問題
Ensuring the LED strip has adequate ventilation to prevent overheating is crucial. LEDs generate heat during operation, and if they are not adequately cooled, they can shut down to protect themselves. Overheating can occur if the strips are installed in confined spaces without proper airflow or if they are covered by insulating materials.
- Ventilation: Make sure your LED strips are installed in an area where heat can dissipate. Avoid covering the strips with materials that can trap heat.
- Heat Sinks and Aluminum Channels: Consider using aluminum channels or heat sinks designed for LED strips. These accessories help to dissipate heat more effectively, prolonging the lifespan of the LEDs and preventing shutdowns due to overheating.
Troubleshoot the Dimmer or Controller
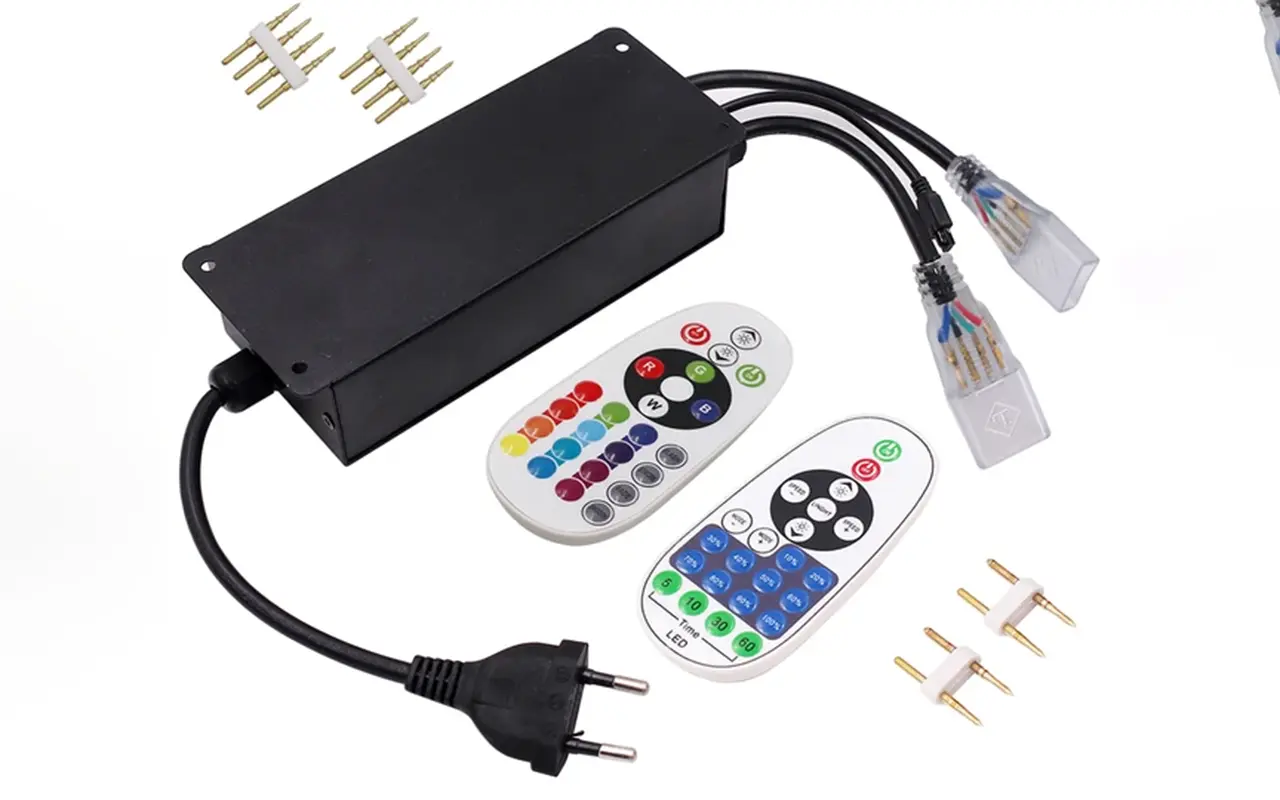
Controllers and dimmers can sometimes cause problems with LED strip lights, especially if they are not functioning correctly or if they are incompatible with the LED strips.
Faulty Dimmer
Trying to bypass the dimmer to see if the strip works correctly can help identify if the dimmer is at fault. Dimmers can introduce issues such as flickering or complete shutdowns if they are not compatible with the LED strip or if they are defective.
- ダイレクト・コネクション: Connect the LED strip directly to the power supply, bypassing the dimmer. If the strip lights up and stays on without issues, the dimmer is likely causing the problem.
- Dimmer Compatibility: Ensure that the dimmer you are using is designed for LED strips and is compatible with the voltage and wattage of your setup.
Malfunctioning Controller
Replacing the controller if it appears to be malfunctioning is another troubleshooting step. LED controllers can fail due to internal faults or software glitches, leading to intermittent operation or complete shutdowns.
- Controller Testing: Swap out the current controller with a new or known-working one to see if the issue persists. If the new controller resolves the problem, the original controller is likely defective.
- Controller Settings: Check the settings on the controller to ensure they are correctly configured for your specific LED strip.
Verify Installation Quality
Incorrect installation can lead to various issues with LED strip lights, including turning off unexpectedly. Ensuring that the installation is done correctly can prevent many common problems.
Poor Soldering
Checking for poor solder joints and re-soldering if necessary is important. Poor soldering can lead to weak electrical connections, causing power interruptions and inconsistent performance.
- Solder Joint Inspection: Look for cold solder joints, which appear dull and have a rough surface, indicating a poor connection. Re-solder these joints to ensure a solid electrical connection.
- Proper Soldering Technique: Use proper soldering techniques, including heating both the component and the pad evenly and using the right amount of solder.
誤った配線
Ensuring all wiring follows the manufacturer’s instructions is crucial for proper LED strip operation. Incorrect wiring can lead to shorts, improper power distribution, or damage to the LED strip and associated components.
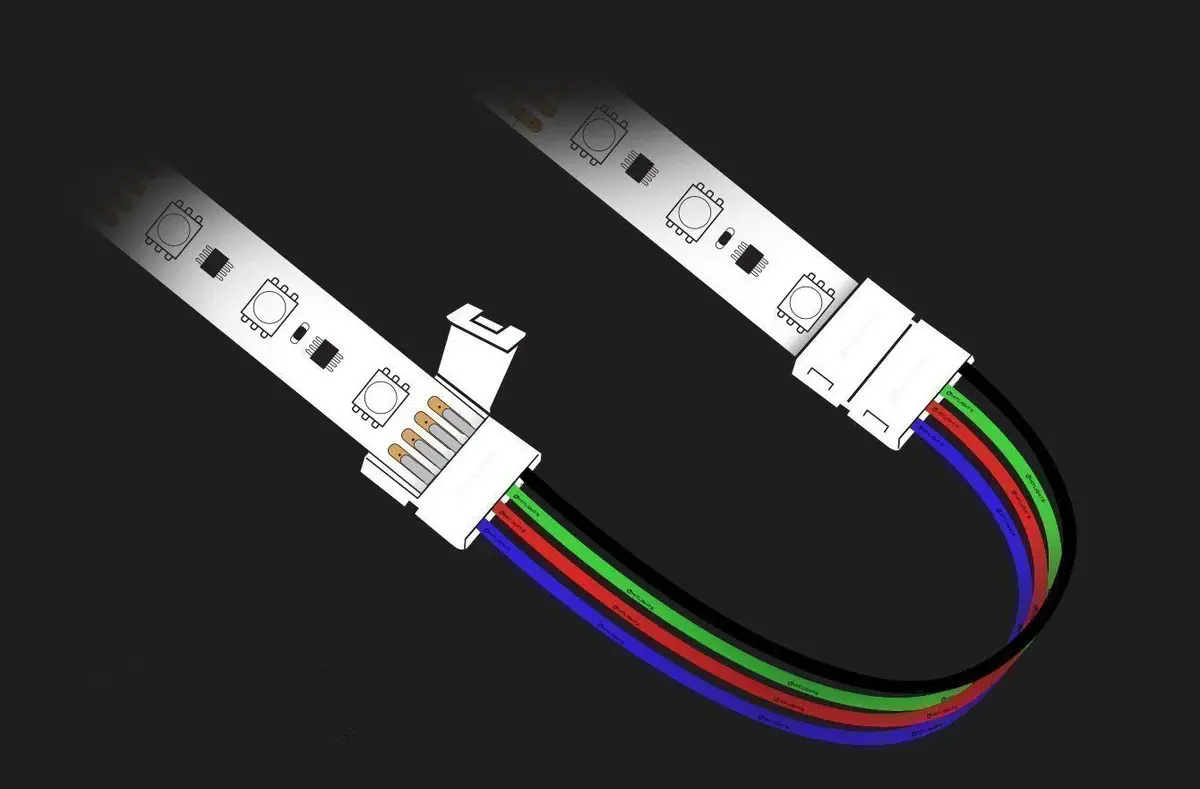
- 配線図です: Refer to the wiring diagram provided by the manufacturer. Double-check all connections to ensure they match the diagram.
- Color-Coded Wires: Pay attention to color-coded wires and ensure they are connected correctly. For instance, red for positive and black for negative.
Fixes for LED Strip Lights Turning Off
Power Cycle LED Strip Lights
Sometimes, simply power cycling the LED strip lights can resolve the issue. Turn off the power, wait a few minutes, and then turn it back on. This can reset the strip and fix temporary glitches.
- Simple Reset: Power cycling acts as a basic reset, clearing any temporary faults or glitches in the system.
- Regular Maintenance: Incorporate regular power cycling as part of your maintenance routine to keep your LED strip lights running smoothly.
Use Alternative Power Source
If possible, try using an alternative power source to see if the issue persists. This can help determine if the problem lies with the power supply or the LED strip itself.
- Backup Power Supply: Keep a backup power supply on hand to test your LED strips. Using a known-good power supply can quickly isolate the issue.
- Power Source Compatibility: Ensure that the alternative power source is compatible with your LED strip in terms of voltage and wattage.
Replace Power Supply
If the power supply is identified as the issue, replacing it with a new one that meets the correct specifications for your LED strip can solve the problem.
- Specification Matching: Ensure the new power supply matches the voltage and wattage requirements of your LED strip.
- High-Quality Power Supply: Invest in a high-quality power supply from a reputable manufacturer to avoid future issues.
Some LED strips come with a reset function. Check the manufacturer’s instructions on how to reset your specific LED strip model. This can resolve software or configuration issues causing the lights to turn off.
- Factory Reset: Perform a factory reset if your LED strip supports it. This can clear any software bugs or incorrect settings.
- Reset Procedure: Follow the reset procedure carefully as outlined by the manufacturer to avoid damaging the LED strip.
Reset LED Strip Lights
Some LED strips come with a reset function. Check the manufacturer’s instructions on how to reset your specific LED strip model. This can resolve software or configuration issues causing the lights to turn off.
- Factory Reset: Perform a factory reset if your LED strip supports it. This can clear any software bugs or incorrect settings.
- Reset Procedure: Follow the reset procedure carefully as outlined by the manufacturer to avoid damaging the LED strip.
Repair or Replace LED Strip
If a section of the LED strip is defective, repairing or replacing that section can restore proper functionality. In some cases, replacing the entire strip may be necessary.
- Cut and Replace: Cut out the defective section and solder in a new segment. Make sure to use proper soldering techniques.
- Entire Strip Replacement: If multiple sections are defective, it may be more practical to replace the entire strip.
Seek Professional Help
If troubleshooting steps do not resolve the issue, seeking professional help may be necessary. An electrician or LED lighting specialist can diagnose and fix more complex problems. Professionals have the tools and expertise to diagnose issues that may not be apparent during basic troubleshooting. They can ensure that repairs are done safely and correctly, avoiding potential hazards like electrical shorts or fires.
よくあるご質問
What should I do if my LED strip lights turn off immediately after turning them on?
If your LED strip lights turn off immediately after turning them on, start by checking the power supply. Ensure it matches the voltage and wattage requirements of your LED strips. Inspect connections for any loose or damaged connectors and examine the LED strip for defects or overheating issues. If necessary, test with a different power supply or seek professional help.
How can I tell if my power supply is causing my LED strip lights to shut off?
To determine if the power supply is the issue, check if its voltage and wattage match your LED strip’s requirements. Swap it with another power supply to see if the problem persists. If your LED strips work fine with the new power supply, the original one is likely defective and needs replacement.
Why do loose connections cause my LED strip lights to turn off?
Loose connections disrupt the power flow to your LED strip lights, causing them to turn off. Ensure all connectors are securely attached, and inspect for any signs of wear or damage. Properly secured connections ensure a stable electrical path, preventing interruptions.
Can overheating cause my LED strip lights to turn off?
Yes, overheating can cause LED strip lights to turn off to protect themselves from damage. Ensure your LED strips have adequate ventilation and are not covered by insulating materials. Using aluminum channels or heat sinks can help dissipate heat more effectively, preventing shutdowns due to overheating.
How do I test if a section of my LED strip is defective?
Use a multimeter to test each section of the LED strip for continuity or voltage drop. Identify and isolate the faulty segment by checking for inconsistencies. Replace the defective section or rejoin the remaining good sections to restore proper functionality.
What role does the dimmer play in my LED strip lights turning off?
A faulty or incompatible dimmer can cause your LED strip lights to turn off. Bypass the dimmer to see if the lights stay on. If they do, the dimmer is likely the issue. Ensure you are using a dimmer designed for LED strips and compatible with your setup.
Can a malfunctioning controller affect my LED strip lights?
Yes, a malfunctioning controller can cause your LED strip lights to turn off. Test your LED strips with a different controller to see if the issue persists. If the new controller resolves the problem, replace the malfunctioning one.
How do I ensure my LED strip lights are installed correctly to avoid them turning off?
Follow the manufacturer’s instructions for wiring and installation. Check for poor solder joints and re-solder if necessary. Ensure all connections are secure and the wiring follows the correct color codes. Proper installation prevents common issues like shorts and power interruptions.
What steps should I take if troubleshooting doesn’t fix my LED strip lights?
If troubleshooting steps do not resolve the issue, seek professional help from an electrician or LED lighting specialist. Professionals have the tools and expertise to diagnose and fix complex problems, ensuring safe and correct repairs.
Is power cycling my LED strip lights a viable solution for them turning off?
Yes, power cycling can sometimes resolve the issue by resetting the LED strip lights. Turn off the power, wait a few minutes, and then turn it back on. This simple step can fix temporary glitches and restore proper functionality.
結論
Understanding why your LED strip light turns on and off immediately is the first step in troubleshooting and resolving the issue. By systematically checking the power supply, connections, LED strip, and installation quality, you can identify the cause and apply the appropriate fix. Whether it’s a simple power cycle or replacing a faulty component, these steps will help ensure your LED strip lights function correctly and provide the lighting effect you desire.
For those seeking top-quality LEDストリップライト そして LEDネオンフレックス, ユニトップ stands out as one of China’s leading manufacturers. Our extensive experience and commitment to excellence make us the go-to choice for all your LED lighting needs. Don’t hesitate to ご連絡 with any further questions or requirements. Let Unitop illuminate your spaces with precision and reliability.

トムは現在、セールスマネージャーとして ユニトップ(中国)有限公司.になっているそうです。 LED照明 2005年入社。セールス&マーケティング、工場管理の専門家である。ボディビルが好きで、熱狂的なアップルファンでもある!努力家で、新しいことを学び、試すのが大好きです。
電子メール tom@unitopledstrip.com WhatsAppです: +86-18680307140


返信を残す
ディスカッションに参加したい方はこちらお気軽にご投稿ください!