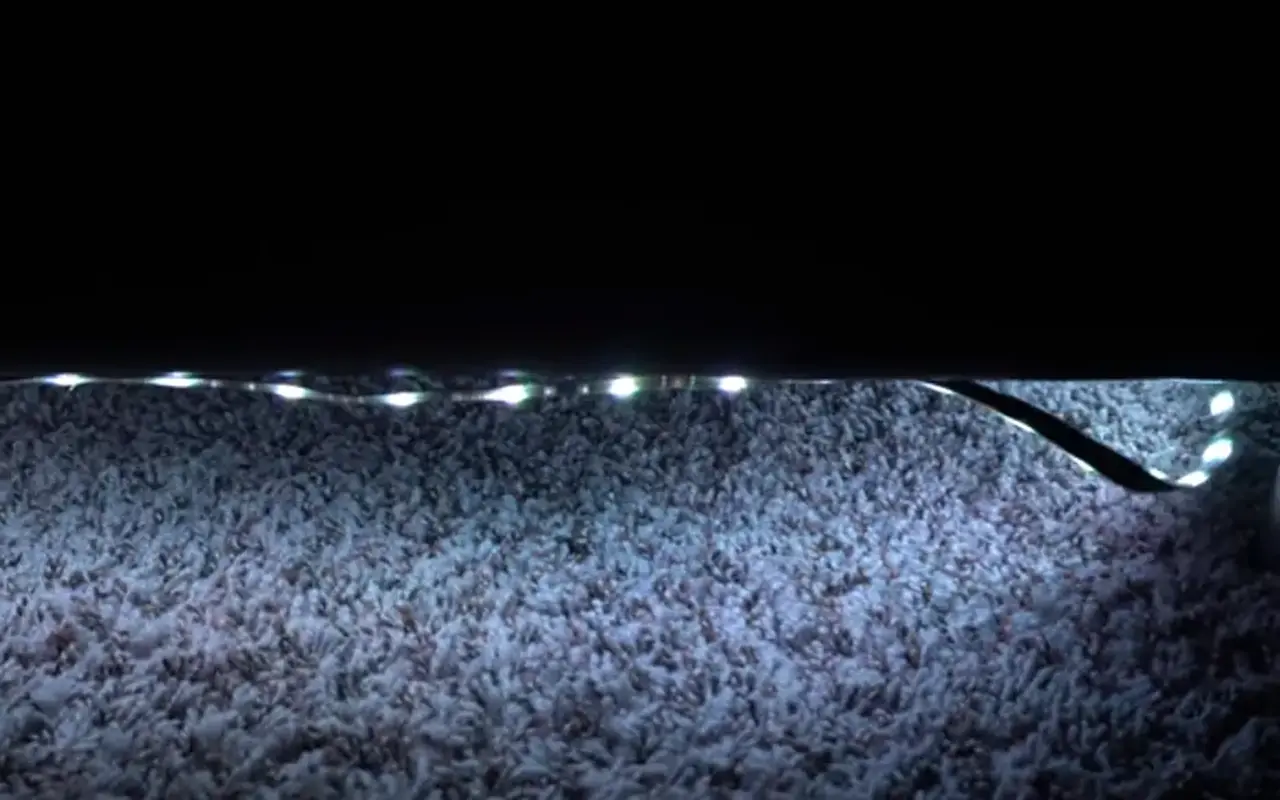
LEDストリップライトは、どんな空間も美しくカラフルに見せてくれるので人気がある。人々はLEDストリップライトをリビングルームの装飾や商業スペースの居心地の良い雰囲気作りに好んで使用している。しかし、LEDストリップライトの落下がしばしば問題になっている。
このガイドでは、なぜこのような問題がよく起こるのかを説明し、LEDライトストリップの脱落を防ぐ方法を説明します。
LEDライトが落ち続ける5つの一般的な理由
表面の埃やゴミ
表面にホコリやゴミが付着していると、LEDストリップライトの接着が妨げられることがある。ホコリやその他の粒子が少しでもあると、接着剤がうまくくっつかなくなります。ホコリや小さな粒子は、さまざまな表面に集まることがあります。これは、LEDストリップライトがグリップを失う一般的な理由です。
水害
LEDストリップ・ライトは、水や湿気によって接着力が影響を受けることがあります。水分と接触したり、湿気にさらされたりすると、粘着剤がダメージを受けます。時間が経つにつれて、接着剤は弱くなり、ライトストリップはくっつかなくなり、落下します。
オーバーヒートの問題
LEDライトは、特に密閉された状態やカバーされた状態では熱を発生することが分かっています。この熱が過度に蓄積されると、接着剤が破壊される可能性がある。LEDストリップ・ライトは、熱くなりすぎてうまくくっつかなくなるため、落ちてしまうことがあります。
ワイヤーの問題
LEDストリップを接続するワイヤーは、予期せぬ問題を引き起こす可能性がある。引っ張られたり、ねじれたり、ストリップに過度な圧力がかかると、剥離につながる可能性がある。ワイヤーが適切に配置されていなかったり、絡まったりすると、LEDストリップがその力によって落下する可能性がある。
環境および化学的要因
さまざまな環境条件は、LEDストリップライトの接着剤の効果に微妙な影響を与える可能性がある。湿度、温度変化、空気中の化学物質などが原因で、LEDライトが剥がれることがある。これらの環境や化学的要因は、すぐに剥離を引き起こさないかもしれない。しかし、時間の経過とともにLEDストリップの接着力が低下する可能性がある。
修理の準備
必要な道具
LEDストリップライトを効率よく固定するには、適切な工具が必要だ。必要な工具は、LEDのセットアップや取り付ける面によって異なります。
クリーニングクロス:柔らかい非研磨性の布は、表面を傷つけることなくクリーニングするのに役立ちます。
適切な粘着テープ:素材や環境に合わせた様々なタイプを用意。
ブラシまたはスポンジ:接着剤を均一に塗布し、洗浄する。
クリップまたはブラケット:LEDストリップをさらにサポートします。
手袋:特に化学薬品や粗い表面を扱う際に、手を保護する。
正しい粘着テープの選択
接着剤は、設置プロセスの重要な部分です。よく選択された接着剤は、LEDストリップライトが所定の位置にしっかりと残ることを保証します。以下は、考慮すべきいくつかの要因です:
表面素材:木材であれ、金属であれ、プラスチックであれ、表面の材質は必要な接着剤の種類に大きく影響します。
環境要因:湿度、温度、日光や化学薬品への暴露は、すべて接着剤の性能に影響を与える可能性があります。
LEDストリップ仕様:接着剤によっては特定のタイプに適さない場合があるので、LEDストリップの重量と組成を考慮してください。
間違った接着剤を選ぶと失敗につながるので、適切な接着剤を見つけることが重要です。
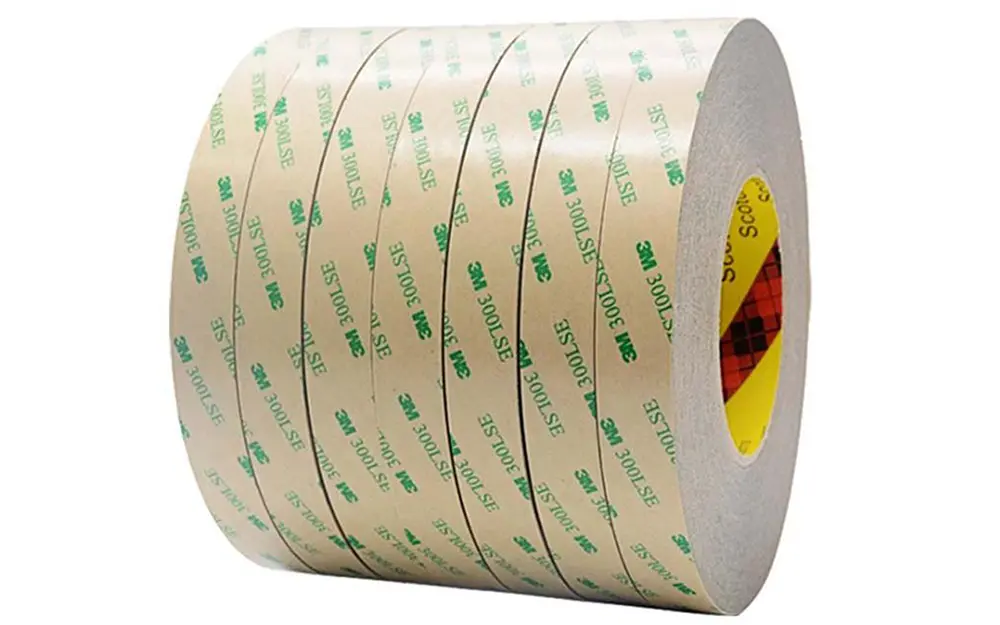
ユニトップLEDストリップライトは、背面に純正3M粘着テープが付いており、取り付けが簡単です。この粘着テープは、ほとんどの環境で効果を発揮します。しかし、3M以外の特殊な粘着テープが必要なお客様もいらっしゃいます。
LED取り付け面の準備
ステップ1:ホコリを取り除く
強力な接着には、きれいな表面が不可欠です。ホコリや油、ゴミを取り除く必要があります。その方法は以下の通り:
石鹸水か、洗い残しのない専用クリーナーで優しくこすってください。
頑固な汚れや粘着性のあるものには、柔らかい毛のブラシが役に立つかもしれない。
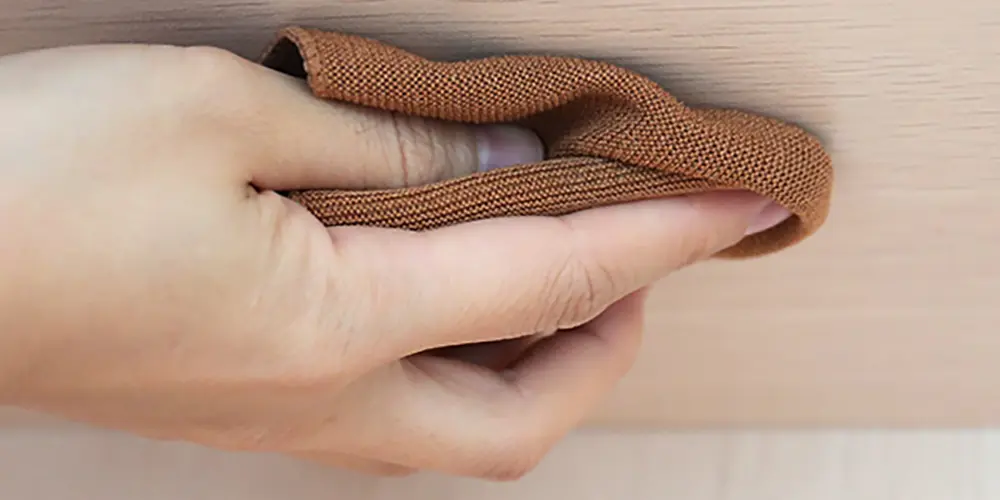
その後、きれいな布で表面を完全に乾かす。水分が残っていると、貼り付け具合に影響する可能性があるため、この作業は重要である。
ステップ2:表面を平らにする
表面に凹凸があると、LEDストリップの接着が弱くなります。ここでできることがある:
表面にざらつきや凹凸がないか点検する。
必要に応じて、これらの部分をやさしくやすりで削るか、埋める。紙やすりで削る場合は、細かい目の紙やすりを使用し、それ以上削らないようにしてください。
残滓を拭き取り、LEDストリップの準備が整った滑らかな表面を残す。
LEDストリップライトの正しい取り付け方。ステップバイステップガイド。
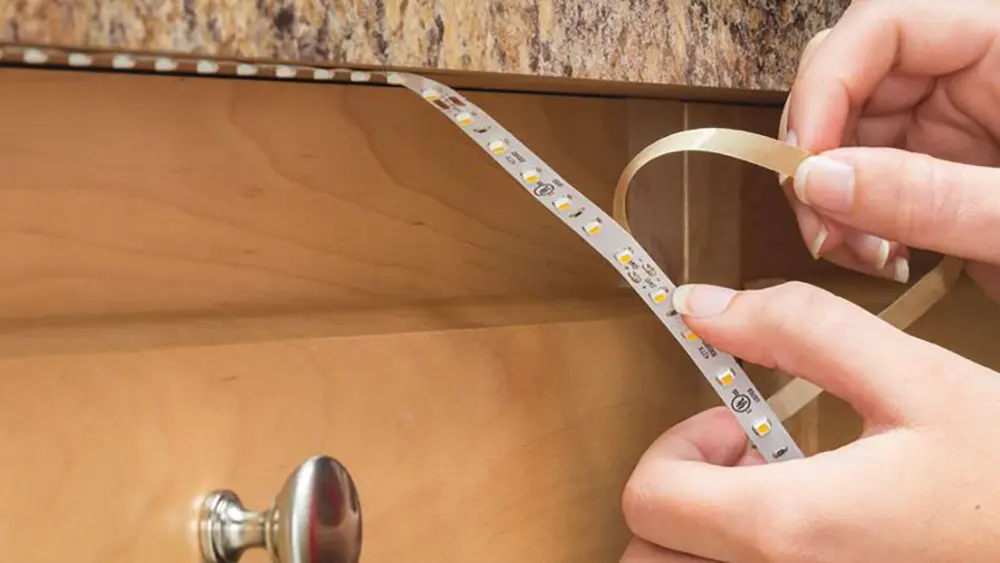
LEDストリップバックの保護紙をはがす
LEDストリップライトを貼る準備ができたら、粘着テープを覆っている紙を見るだろう。この紙をはがすのが重要なステップで、ここではその方法を紹介する:
LEDストリップを保持する:片手でストリップを安定させる。
紙をむく:もう一方の手で、粘着剤から保護紙を慎重にはがし始めます。傷つけないよう、一定の角度でゆっくりと行ってください。
スムース・アウト:剥がしたら、粘着剤を滑らかにし、貼り付けられる状態にする。
適材適所のポジション
LEDストリップライトの位置決めには、先見の明と慎重な位置合わせが必要だ。
ポジションをマークする:柔らかい鉛筆か油性マーカーで、LEDストリップを取り付ける位置に印をつけることができます。
アライメント:水平器や定規を使い、特に長い距離の場合はストリップがまっすぐであることを確認する。
調整:一度位置が決まれば、接着剤が固まる前に緩やかに調整することができるが、何度も貼り直さないこと。
押さえて乾かす
押さえつけ、LEDストリップライトをきちんと乾燥させることで、接着が固まる。
圧力:LEDストリップの全長に沿って均一な圧力をかけ、接着剤と完全に接触するようにしてください。
乾燥時間:接着剤によって乾燥時間が異なります。このステップを急ぐと失敗することがあります。
その他のサポートオプションクリップ、ブラケット、テープ製品
私たちは、細心の注意を払いたい人たちを助ける方法をもっと考えることができる。
クリップとブラケット:LEDストリップを物理的にサポートするため、間隔を空けて目立たないように設置できる。
特殊テープ製品:LEDストリップ用に設計された両面3Mテープは、安全性を高めることができ、接着剤と一緒に使用されることが多い。
環境への配慮:湿度や温度変化の激しい地域では、追加サポートはオプションというだけでなく、必要不可欠かもしれない。
LEDストリップライトの取り付けは、準備、正確さ、忍耐の微妙なバランスが必要です。これらのステップに従うことで、空間をよりプロフェッショナルに見せることができます。また、LEDストリップライトの位置が正確に固定されるようになります。自宅であれ、プロであれ、これらのガイドラインはあなたのプロジェクトを成功に導くでしょう。
LEDストリップの脱落を防止するためのその他のヒント
ホットグルーの使用
ホットグルーは見過ごされがちなツールだが、LEDストリップを固定するのに便利だ。手っ取り早い解決策や短期的な解決策をお探しの方にメリットがある。
いつ使うか:ホットグルーはどんな状況にも対応できるわけではありません。パーティーの飾り付けや季節のディスプレイなど、一時的なセットアップには効果的です。長時間接着する必要はない。
アプリケーションのヒント:適切な温度設定のホットグルーガンを使用すれば、LEDストリップを傷つけることなく、スムーズに貼り付けることができます。
撤去に関する考慮事項:ホット・グルーは効果的だが、剥がすときに残留物が残る可能性があるため、表面の素材を慎重に検討することをお勧めする。
オーバーヒートの管理
LEDストリップはエネルギー効率が高いとはいえ、熱を発生することがあります。この熱を効果的に管理することで、接着剤の弱体化などの問題を防ぐことができる。
適切な間隔:必要なのはちょっとしたスペースだけということもある。適切な間隔をとることで熱が放散され、オーバーヒートのリスクを減らすことができる。
冷却ソリューション:LEDストリップの構成に合わせて設計されたファンやヒートシンクは、特に高輝度ライトの場合、貴重な投資となる。
温度を監視する:ストリップの温度を定期的にチェックすることで、オーバーヒートの可能性を早期に発見し、タイムリーに対処することができます。
取り付け技術:アルミ押し出し、Uチャンネルディフューザー
これらの取り付け技術は、よりプロフェッショナルなタッチを求める人々に、強固なソリューションを提供する。
アルミニウム押出:この方法では、LEDストリップを保持するためにアルミニウムチャンネルを使用し、スマートで頑丈なフレームワークを提供する。
Uチャンネル・ディフューザー:Uチャンネルディフューザーは、LEDストリップを固定するだけでなく、光を拡散させ、よりソフトな輝きを作り出します。
プロフェッショナル・インストレーション:これらの方法には専門的な道具と専門知識が必要なので、専門家に相談するか、専門家を雇うのが賢明である。
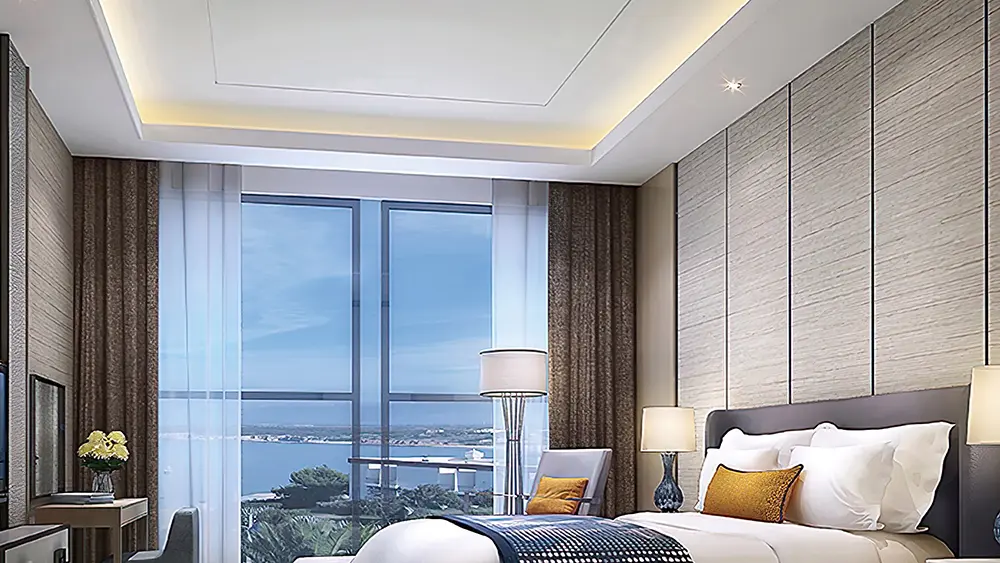
LEDストリップライトの隠し方と吊り方
天井裏
天井に取り付けられたLEDストリップは、部屋をより洗練された魅力的なものにする。
凹型チャンネル:天井に埋め込み式のチャンネルを設けることで、LEDストリップを隠すことができ、エレガントでシームレスな外観を実現します。
アルミ押出材:壁掛けと同様に、アルミ押出材を天井に使用することで、耐久性が高く、プロフェッショナルな外観を実現できます。
考察:天井設置のための適切なアライメント、配線、サポートを確保するためには、プランニングが不可欠です。
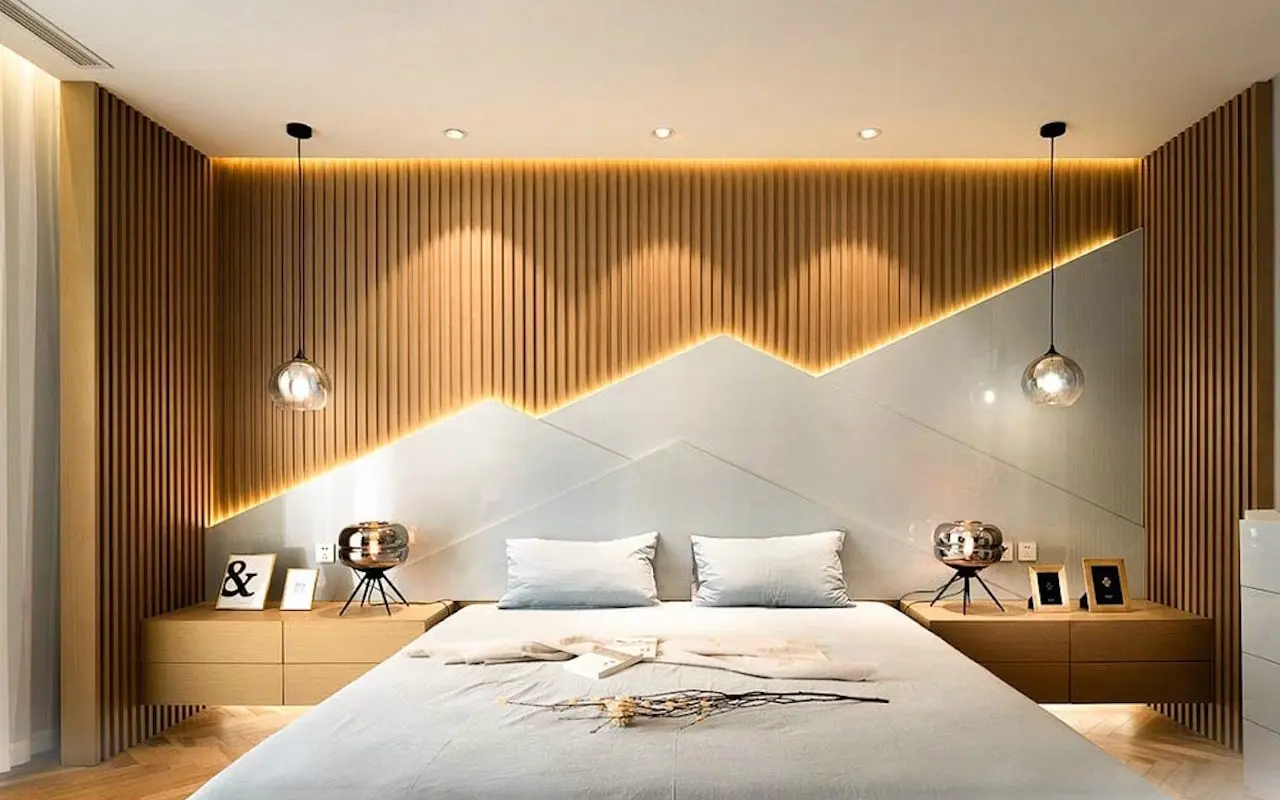
壁を傷つけずに
壁掛けのセットアップは、決して壁を傷つけてはならない。
粘着フック:これらのフックやクリップは、釘やネジを必要とせず、壁の完全性を保つサポートを提供します。
アライメントとスペーシング:きれいでまっすぐな外観のためには、適切なアライメントと等間隔に配置されたサポートが重要です。
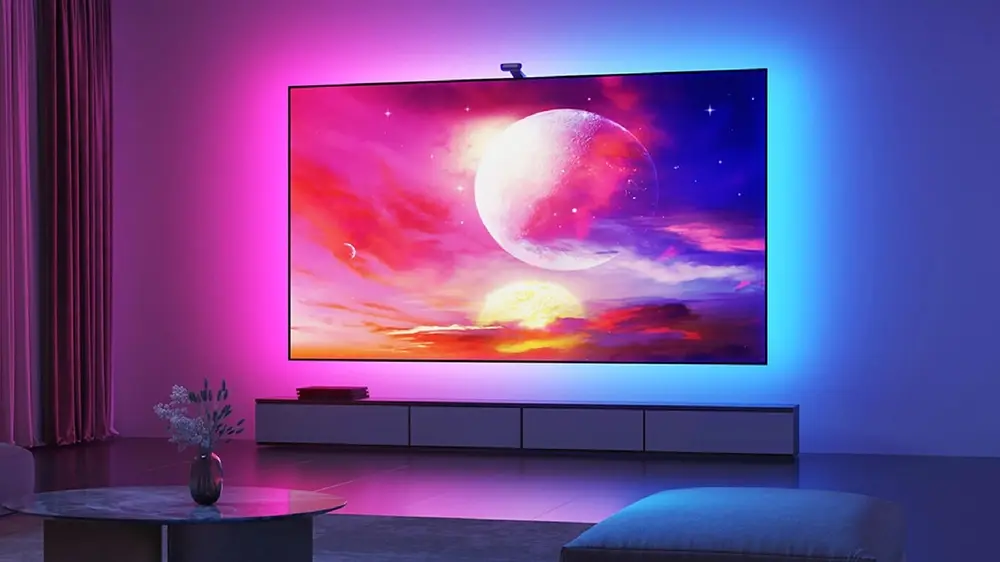
テレビまたはモニターのLEDバックライト
この人気のセットアップは、あなたのエンターテインメント体験を一変させる。
専用キット:テレビやモニターのバックライト専用に設計されたキットがあり、取り付けが簡単。
取扱説明書:キットを使用しない場合は、メーカーのガイドラインに注意深く従うことで、最適な結果を得ることができる。
ケーブルマネジメント:ケーブルをすっきりと隠す、または管理することで、全体的な美観が増し、雑然とした印象がなくなります。
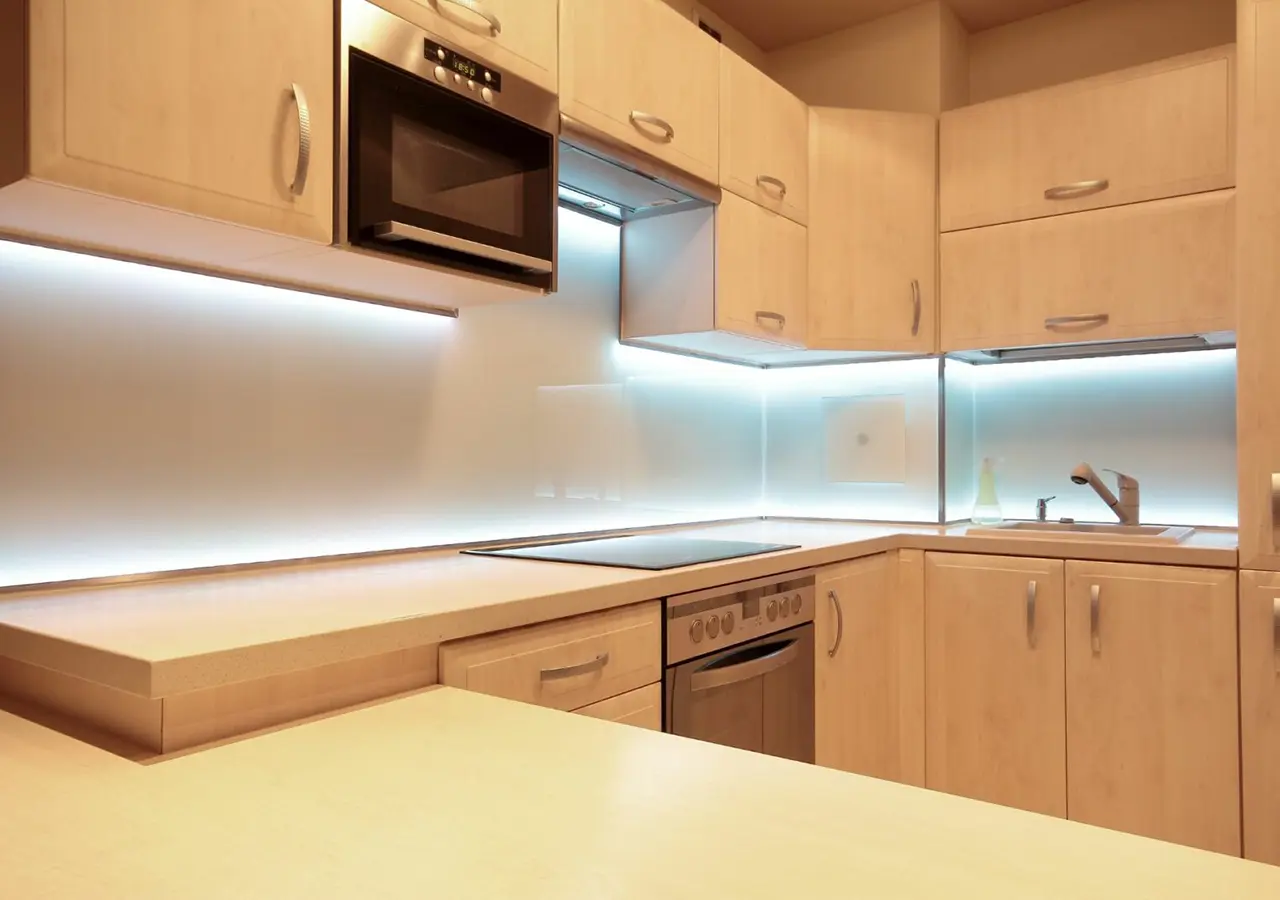
アンダーキャビネットLEDストリップ
キャビネット下照明は、キッチンやワークスペースに機能性とスタイルをプラスします。
接着剤の選択:材質によっては、特定の粘着テープが必要になる場合があります。キャビネットの材質に応じて選択することで、強力な接着が保証されます。
追加サポート:キャビネットの下面によっては、クリップやブラケットなどの追加サポートが必要な場合があります。
配線の考慮事項:配線をすっきりと隠すことで、プロフェッショナルな外観を実現。
避けるべき一般的な間違い
LEDストリップライトの不適切な設置は、あなたの家のさまざまな領域を強化することが困難になる可能性があります。ここでは、よくある失敗例とその回避方法をご紹介します。
メーカーの指示の無視
メーカーは、適切な取り付けと長持ちする性能を保証するために、詳細なガイドラインを提供しています。これらの指示を無視することは、結果的によくある間違いです。
互換性の問題:すべてのLEDストリップが同じように作られているわけではなく、メーカーが意図していない方法で使用すると、互換性に問題が生じる可能性があります。
潜在的ダメージ:指示に従わないと、LEDストリップが誤動作したり、回復不能な損傷を受けることがあります。
保証に関する懸念:多くのメーカーは、製品の保証を維持するために、ガイドラインの遵守を義務付けています。従わない場合、保証が無効になり、損失を被る可能性があります。
設置プロセスを急ぐ
私たちの目まぐるしい世界では、物事を正しく行うために時間をかけることは、時に見過ごされることがある。しかし、LEDストリップライトの取り付けを急ぎすぎると、長寿命や見た目に影響するミスを犯すかもしれない。
計画の重要性:適切なレイアウト計画により、設置前にストリップを配置する場所を正確に把握することができます。このステップを省略すると、位置合わせに問題が生じる可能性があります。
乾燥に時間をかける:接着剤を使用する場合は、乾燥と接着に十分な時間が必要です。このステップを急ぐと、後でストリップが剥がれる可能性があります。
コネクションのチェック:結線を急いだり、結線を十分に確認しないと故障の原因になります。
道具と準備:設置に必要な工具や準備をすべて済ませておくことで、作業の中断を防ぎ、スムーズな作業を実現します。
よくある質問(FAQ)
LEDストリップライトが落ち続けるのはなぜですか?
LEDストリップライトの落下にはイライラさせられる。多くの場合、ホコリや湿気、過熱、接着剤の問題などが原因です。この問題を防ぐには、表面を適切に整え、メーカーの指示に従ってください。
テープでLEDライトを固定できる?
LEDストリップ用に設計された専用テープ製品は、効果的な解決策となる。通常のテープでは必要な保持力が不足し、時間の経過とともに剥離につながる可能性があります。
LEDストリップにはどのタイプの接着剤を使うべきですか?
適切な接着剤を選ぶには、表面の材質や環境条件を考慮する必要がある。LEDストリップを確実に固定するには、LEDストリップ用に作られた特殊な接着剤を使用してください。
LEDストリップライトをホッチキスで留めてもよいですか?
LEDストリップにダメージを与える可能性があるため、一般的にホチキス止めは推奨されません。推奨される接着剤、クリップ、またはブラケットを使用するのが、不必要な損傷を避けるために最善です。
LEDストリップライトは燃えるか?
不適切な設置や使用は、まれに過熱や火災の原因となることがあります。これを避けるには、メーカーの指示に従ってください。ファンやヒートシンクを使って冷却することもできます。
LEDストリップをホットグルーで接着できるか?
そう、ホットグルーは装飾セットアップの一時的な解決策になる。長持ちさせるには、LEDストリップ用に作られた3Mの粘着テープを使うのがベストだ。
LEDストリップライトの過熱を防ぐには?
過熱を防ぐには、スペーシング、ファン、ヒートシンクなどの冷却ソリューションを使用することができます。また、適切な設置ガイドラインに従うことで、安全で機能的なセットアップが可能になります。
LEDストリップのプロフェッショナルな取り付け方法とは?
アルミ押し出しやUチャンネル・ディフューザーなどの技術は、プロフェッショナルな仕上がりを実現します。LEDストリップがしっかりと固定され、セットアップにエレガントなタッチを加えます。
LEDストリップにサムタックを貼ることは可能か?
サムタックは手っ取り早い解決策に思えるかもしれないが、LEDストリップにダメージを与える可能性がある。その代わり、LEDストリップをしっかりと固定するために、専用のクリップやブラケット、接着剤を選びましょう。
LEDストリップライトを一晩中点灯したままにしておくと、LEDストリップライトが落ちてしまうのでしょうか?
通常、LEDストリップライトを一晩中点灯させておいても落ちることはありません。指示に従わずに長時間使用すると、過熱してボンドが損傷することがあります。適切なガイドラインに従うことで、LEDライトの寿命と安定性が保証されます。
結論
LEDストリップライトは、正しく設置すれば、どんな空間にも素晴らしいアクセントを加えることができます。このガイドでは、LEDライトが落下する理由と、表面の準備方法について説明します。また、設置プロセスやヒント、専門家の推奨事項についても説明しています。このガイドに従えば、落下 LED の滑走路端燈は過去の問題である。あなたの成功談、コメント、質問を以下にお寄せください。私たちの生活を一緒に明るくしましょう!
ユニトップ は、最高品質の LEDストリップライト そして LEDネオンフレックス 中国私たちは、あらゆるニーズに対応する信頼性の高い魅力的な照明ソリューションを提供することにより、当社の評判を築いてきました。ご家庭や職場でLED照明が必要な場合、弊社がお手伝いいたします。ご質問や特別な要件がありますか?ご遠慮なく 連絡を取り合う.ユニトップは、あなたの照明アイデアを輝かせるお手伝いをします。
関連記事

トムは現在、セールスマネージャーとして ユニトップ(中国)有限公司.になっているそうです。 LED照明 2005年入社。セールス&マーケティング、工場管理の専門家である。ボディビルが好きで、熱狂的なアップルファンでもある!努力家で、新しいことを学び、試すのが大好きです。
電子メール tom@unitopledstrip.com WhatsAppです: +86-18680307140



返信を残す
ディスカッションに参加したい方はこちらお気軽にご投稿ください!