샤워실에 LED 스트립 조명을 설치할 수 있나요?

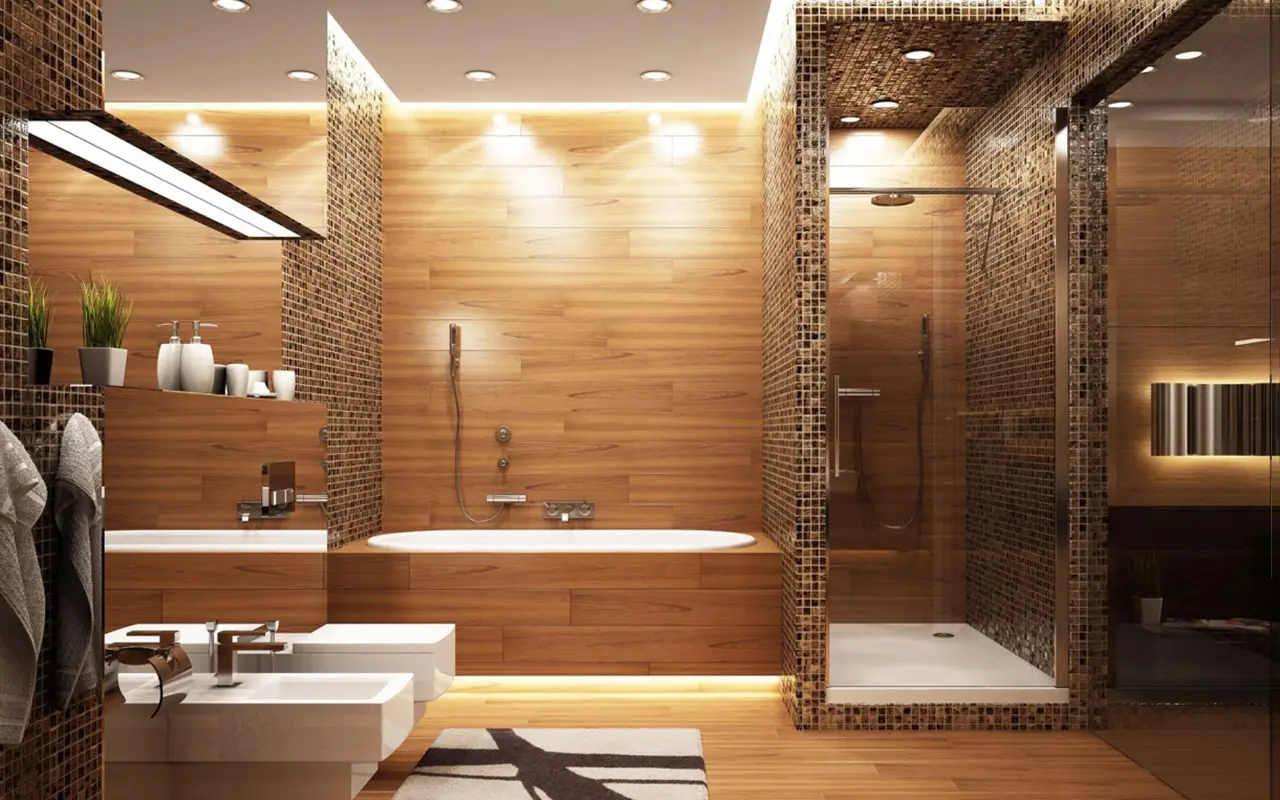
Are you considering enhancing your shower with the sleek look of LED strip lights but are concerned about safety and practicality? Rest assured, you’ve come to the right place. With our expert guidance, you’ll discover how to safely integrate this chic lighting option into your bathroom, ensuring both style and functionality align perfectly with your vision. Join us as we illuminate the path to a beautifully lit shower area with all the information you need to make informed decisions.

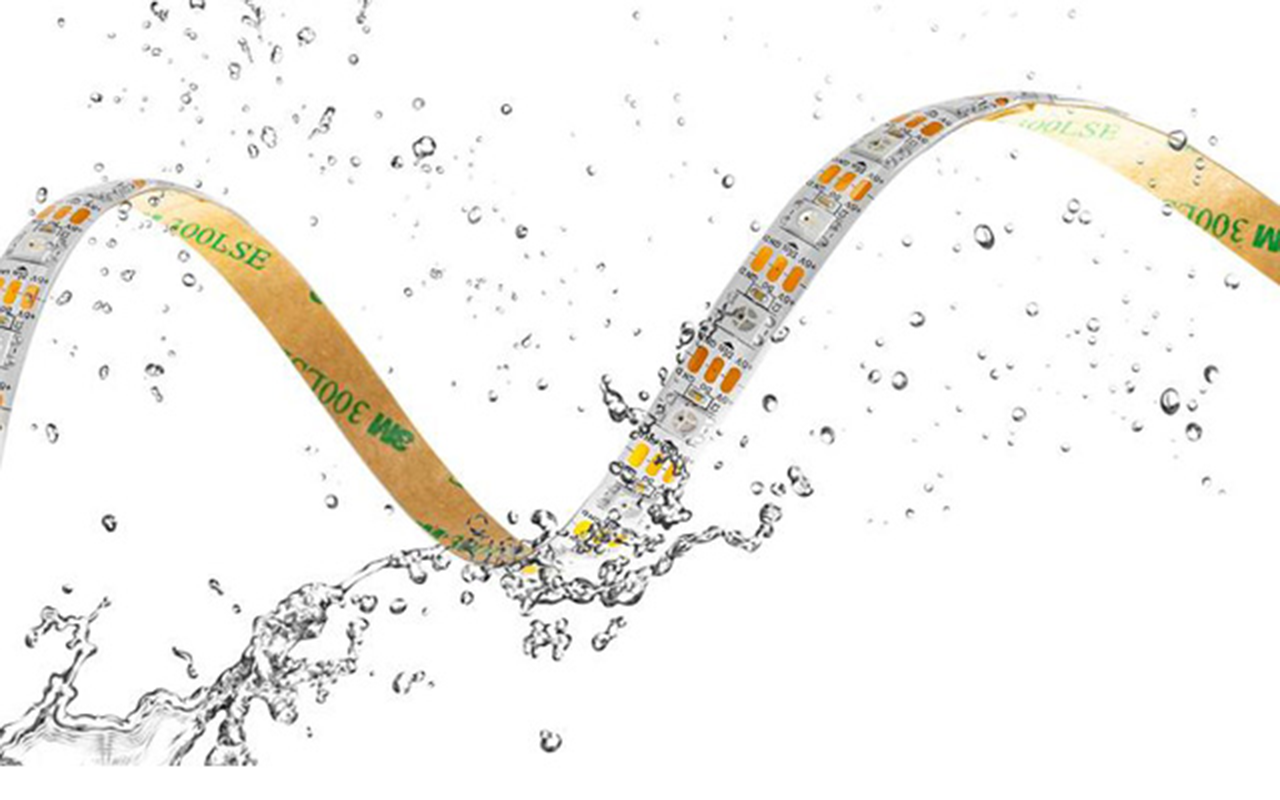
LED strip lights can elevate your bathroom’s aesthetic, but ensure they are IP65 rated or higher to withstand the humid, wet conditions of a shower. This rating guarantees that the lights are protected against water jets, ensuring safety and functionality.

Continue reading as we explore the different IP ratings suitable for shower use, offer detailed installation tips, and showcase creative ideas to enhance your bathroom with LED strip lights. Learn to blend safety with style and transform your bathroom into a luminous sanctuary.

Ensuring Safety with Water-Resistant LED Strip Lights in Showers

Ensuring Safety with Water-Resistant LED Strip Lights in Showers

Integrating LED strip lights into your shower requires careful consideration of water resistance to ensure both the safety and longevity of your lighting setup. Understanding Ingress Protection (IP) ratings is crucial in this process. These ratings are divided into two digits: the first (0-6) measures protection against solid objects, and the second (0-8) gauges resistance to moisture. For any bathroom, particularly in shower areas, a minimum of IP65 is recommended. This rating ensures that the lights are dust-tight and can resist low-pressure water jets from any direction, making them suitable for most shower environments.

While IP65 is generally adequate, higher levels like IP67 and IP68 provide additional protection. IP67 protects against temporary immersion in water, and IP68 offers safety against continuous submersion, which could be crucial for lights installed at lower levels within the shower where water accumulation is possible. Choosing the correct IP rating prevents water damage. It reduces the risk of electrical hazards, enhancing the durability and functionality of your lighting.

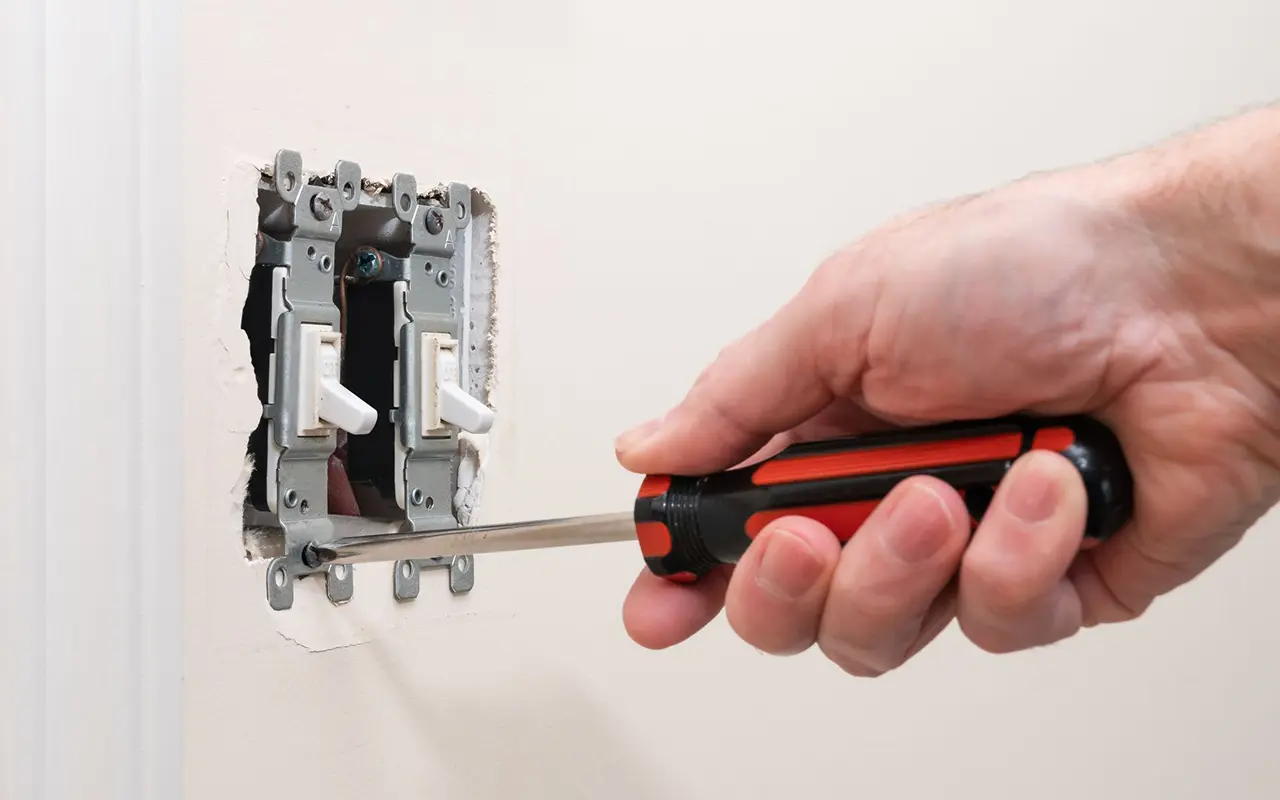
Beyond selecting the right IP rating, proper installation is paramount. It’s often advisable to involve a professional electrician who can ensure that all installations are up to code and correctly sealed against water ingress. They can help position the lights strategically to optimize illumination and design aesthetics, ensuring that the fixtures complement your bathroom’s overall style while adhering to safety standards.

You can effectively incorporate LED strip lights into your shower by addressing these key factors—choosing the right IP rating and ensuring professional installation. This enhances your bathroom’s ambiance and maintains high safety and functionality standards, allowing you to enjoy a blend of style and practicality in your shower lighting design.

Step-by-Step Guide to Installing LED Strip Lights in Showers

Introducing LED strip lights into your shower can transform an ordinary bathroom into a modern sanctuary. This step-by-step guide ensures a smooth installation, balancing functionality, safety, and aesthetics.

Step-by-Step Guide to Installing LED Strip Lights in Showers

Step 1: Selecting the Right LED Strip Lights

Firstly, choose LED strip lights designed specifically for wet environments. Look for strips with a minimum IP rating of IP65, which signifies dust tightness and protection against water jets. This rating is crucial for any fixtures operating in the shower area. Also, select a waterproof adhesive and sealant that can handle the bathroom’s high humidity levels.

Step 2: Preparing the Installation Area

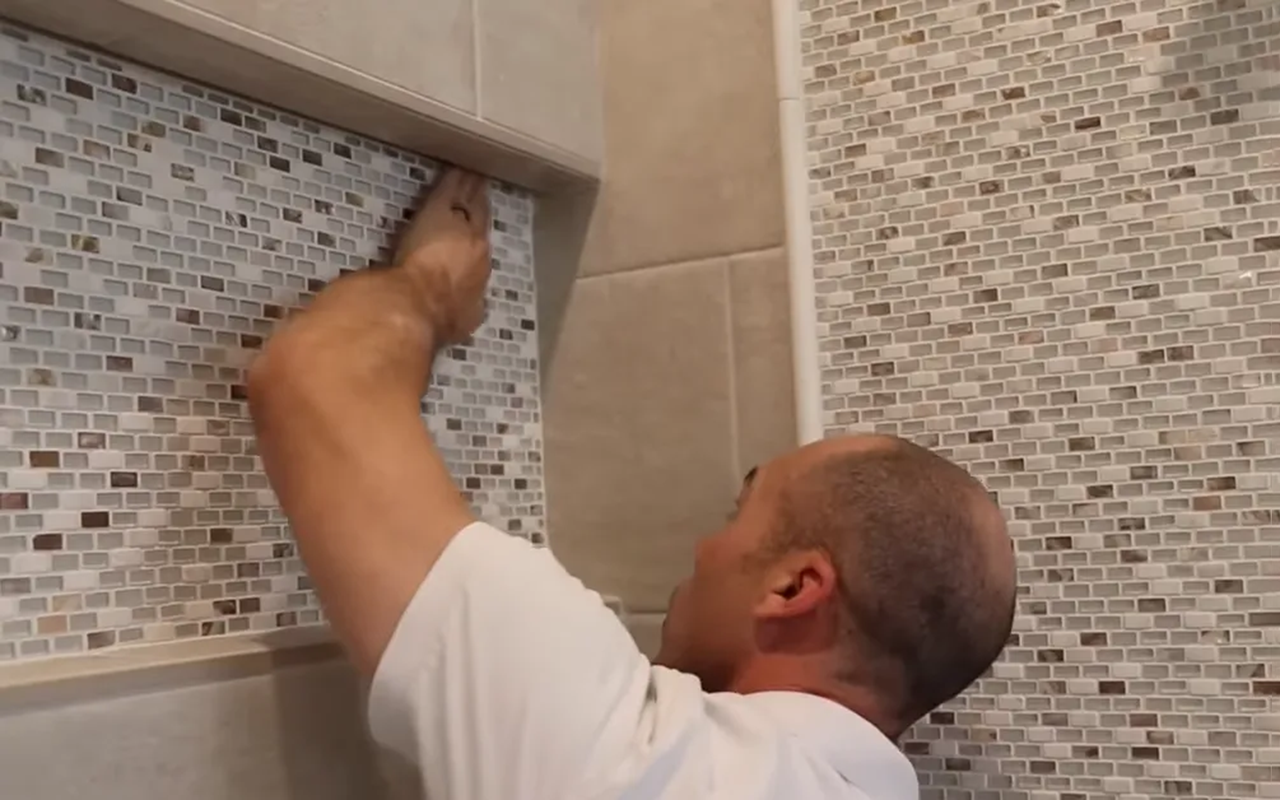
Preparation is key. Ensure the area where you install the LED strips is thoroughly clean and dry. Remove any dust, grime, or soap residue from the shower walls. This step ensures the adhesive sticks properly, and the LED strips stay secure over time.

Step 3: Measuring and Cutting the Strips

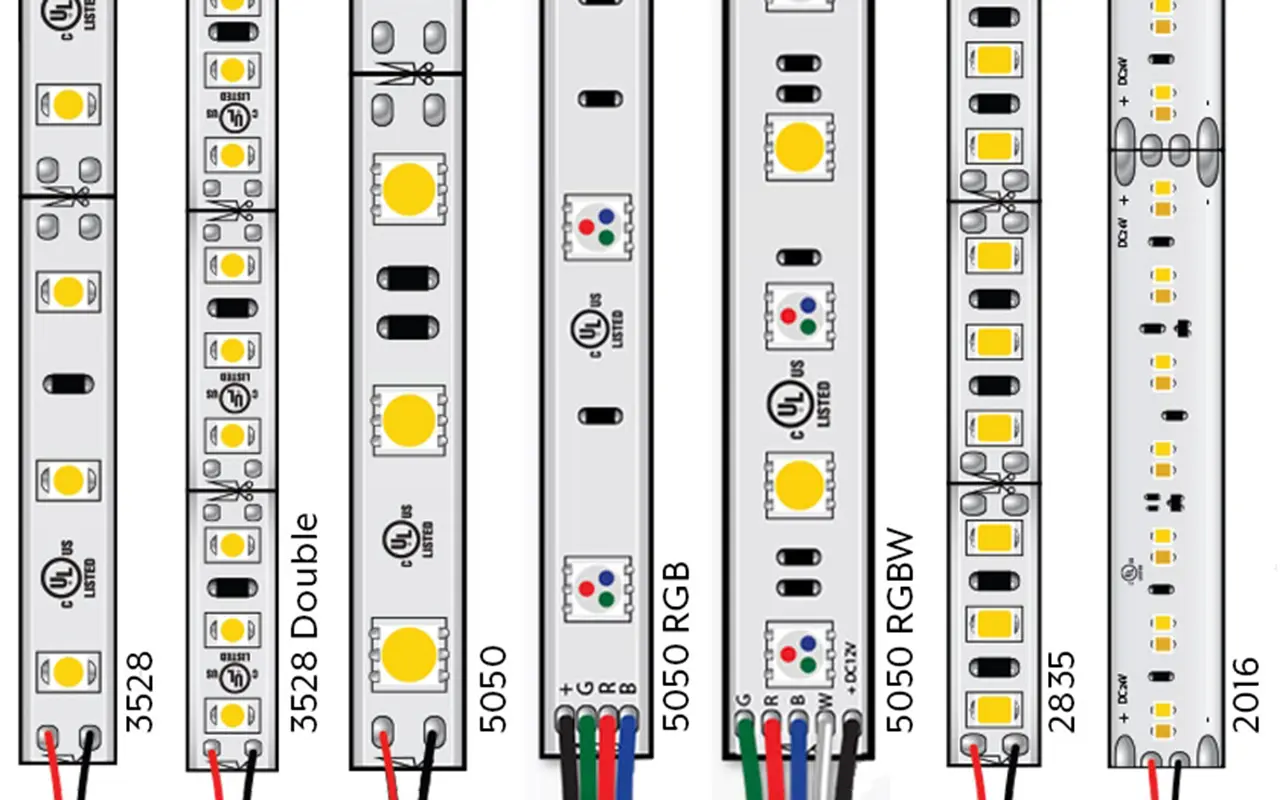
Accurately measure the length of the area where you’ll place the lights. Most LED strips can be cut at marked intervals to fit your space perfectly. It’s important to only cut at these points to maintain the integrity and functionality of the LEDs.

Step 4: Applying the Adhesive

If your LED strips come with self-adhesive backing, peel off the cover and press the strips firmly against the surface. For strips without adhesive, apply a waterproof glue or sealant. Ensure the strips are aligned straight and level for a professional finish.

Step 5: Managing Wiring and Electrical Connections

This crucial step must be handled carefully, especially in a wet environment like a shower. All connections should be thoroughly waterproofed. If you’re not experienced with electrical work, consider hiring a professional to manage this step. Connect the wiring to a Ground Fault Circuit Interrupter (GFCI) outlet to prevent electrical hazards.

Step 6: Testing the Installation

Before finalizing the installation, test the LED strips to ensure they light up correctly and that all connections are secure. Address any issues before proceeding to the final sealing.

Step 7: Sealing the Installation

Apply silicone sealant over any exposed wires and at the ends of the LED strips to protect against water damage. This secures the installation and ensures it looks neat and finished.

Step 8: Final Check and Cleanup

Once the sealant has dried, check to confirm everything functions properly. Clean the area, removing any installation debris, to leave your new shower lighting looking pristine.

Best LED Strip Lights for Bathroom Use

Selecting the best LED strip lights for your bathroom involves more than picking the brightest option. It’s about finding the right balance between functionality, efficiency, design, and, most importantly, safety considerations due to the high humidity and water exposure typical in bathroom environments.

Best LED Strip Lights for Bathroom Use

Understanding the Specifications

Start by checking the IP rating. For any lighting in shower areas, an IP65 rating is necessary as it ensures the lights are protected against water jets. This is essential for the longevity and functionality of the lighting in such a damp environment. Lights with IP ratings of IP67 or IP68 offer even more protection, suitable for locations where fixtures might be directly exposed to water.

Color Temperature and Brightness

LED strips in a bathroom should provide enough light for clarity but also offer the flexibility to create a relaxing ambiance. Strips with a color temperature range from 3000K (warm white) to 5000K (cool white) are ideal. The warm white helps create a soothing environment, perfect for baths. In contrast, the cool white is excellent for shaving or makeup application tasks.

Durability and Quality

Consider the durability of the LED strip lights. Look for options that boast a long operational lifespan—typically 25,000 to 50,000 hours—minimizing the frequency of replacements. Durability doesn’t encompass the operational life and the construction quality, which should withstand the moist conditions of a bathroom without deteriorating.

에너지 효율성

LED lights are favored for their energy efficiency. Evaluate the wattage per foot and the lumens produced. Efficient LEDs use less power but emit enough light, balancing operational costs and environmental impact. This efficiency is crucial in a space like a bathroom, where lights are frequently used.

Gathering Insights

Before purchasing, explore customer reviews and expert opinions. Customer experiences can reveal how the lights perform in real-world settings, highlighting issues like ease of installation or longevity. Expert reviews might discuss the technical specifications in detail, helping you understand chip quality, color accuracy (CRI), and effective heat dissipation.

Selecting the Right Product

Opt for reputable brands that guarantee quality and performance. Brands like Philips Hue are known for their reliable and innovative LED solutions that can be controlled via smartphone apps, offering versatility in lighting adjustments. This feature is particularly useful in bathrooms, allowing users to switch between functional brightness for morning routines and softer lighting for evening relaxation.

Creative and Aesthetic Uses of LED Lighting in Showers

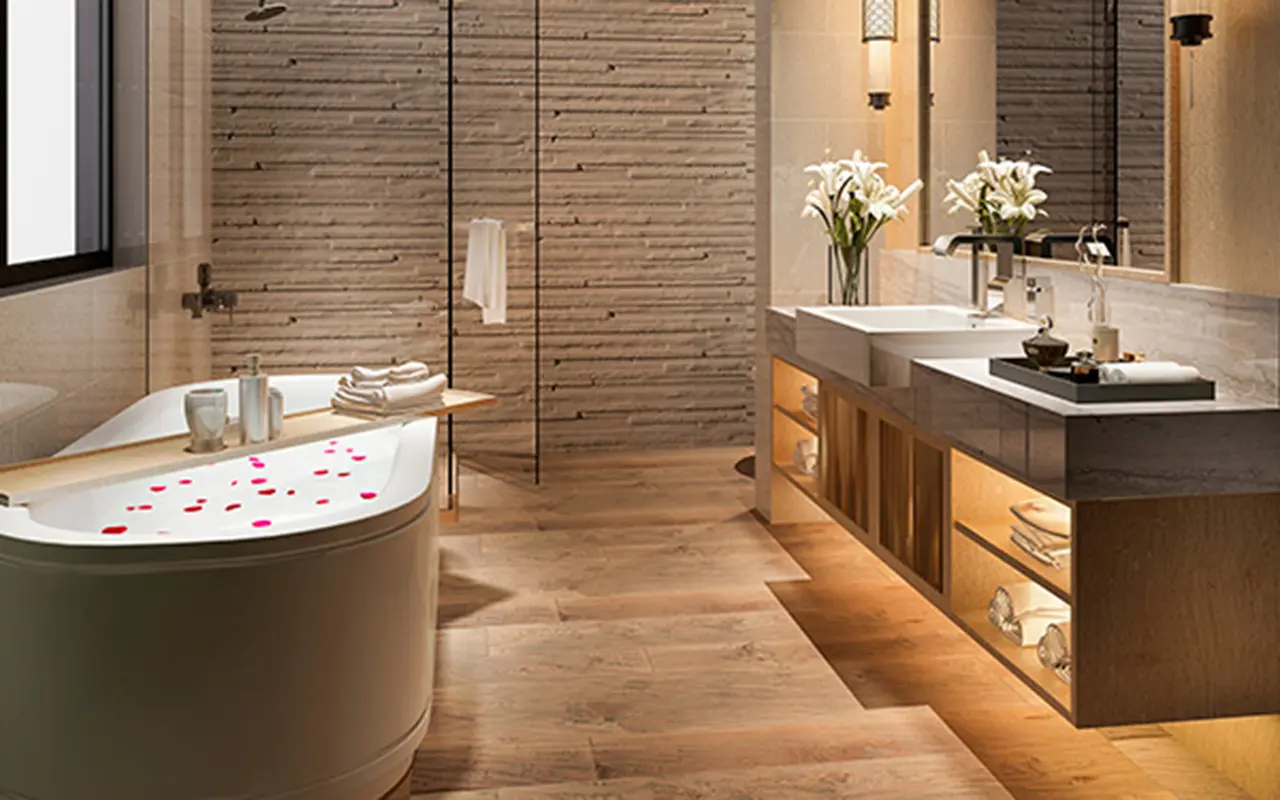
Incorporating LED strip lights into your shower elevates the functionality. It enhances the entire aesthetic of the space, transforming a standard bathroom into a modern sanctuary. These lights offer extensive opportunities for creative expression and customization, allowing you to personalize your bathroom in unique and visually appealing ways.

Creative and Aesthetic Uses of LED Lighting in Showers

Enhancing Mood with Color-Changing Capabilities

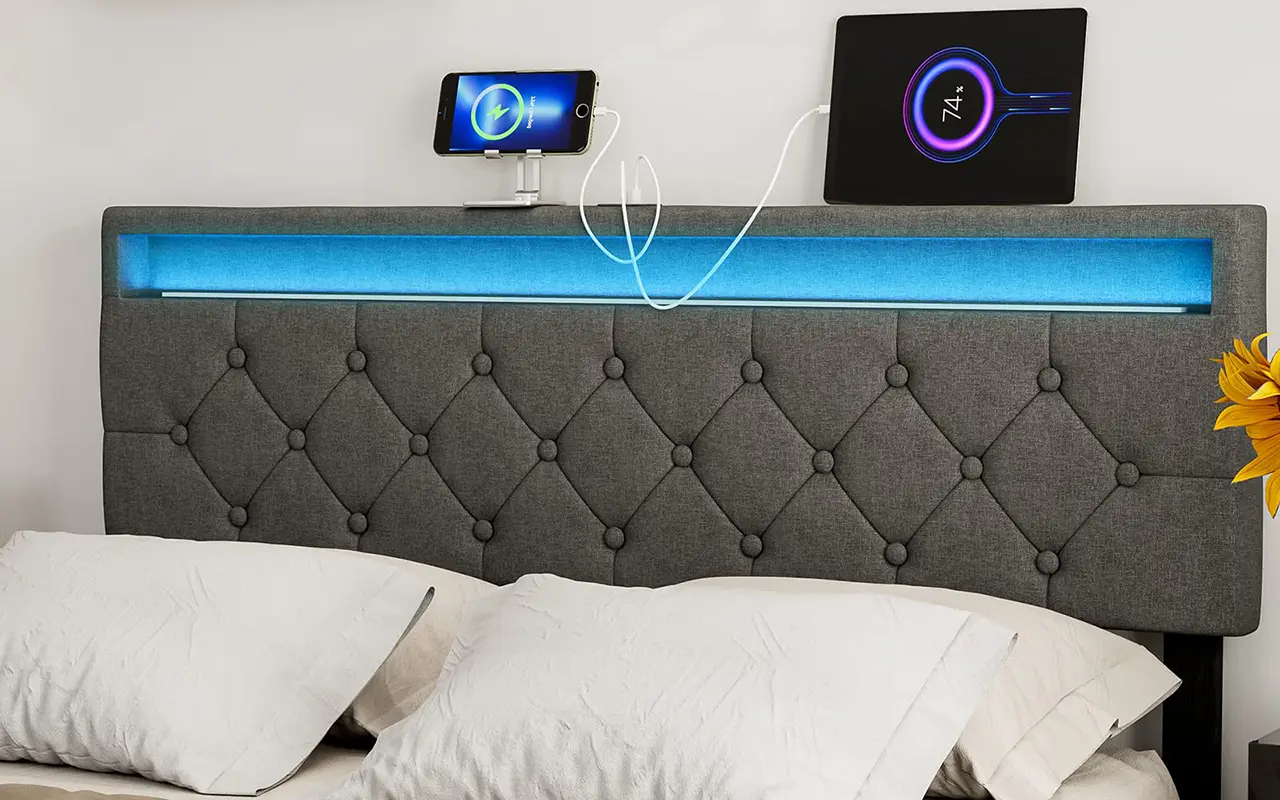
One of the standout features of LED strip lights is their ability to change colors. Equipped with RGB (Red, Green, Blue) capabilities, these lights can dramatically alter the atmosphere of your shower. You can choose soothing blues and greens to create a spa-like environment or vibrant reds and yellows to energize your morning routine. Many modern LED strips come with smart technology, enabling you to adjust colors and brightness via smartphone apps or voice commands, integrating advanced technology seamlessly into your daily life.

Architectural Highlighting

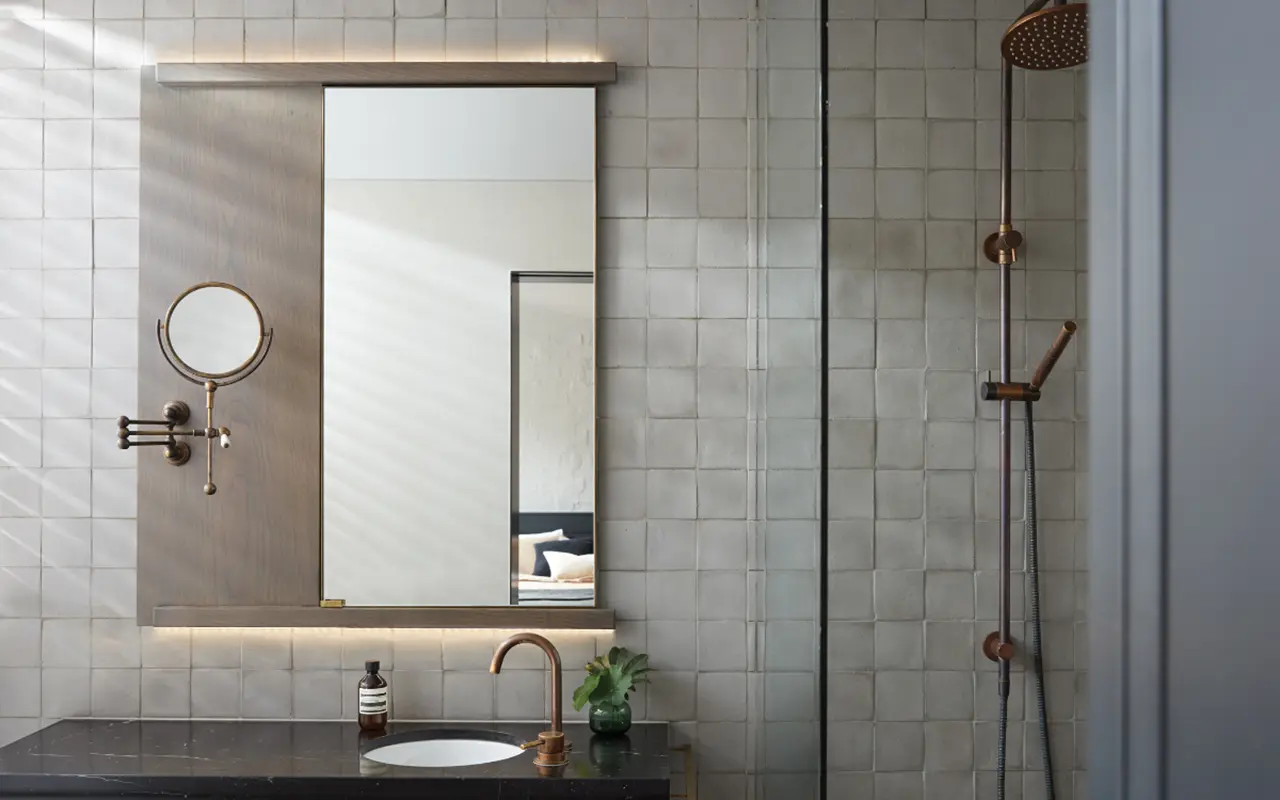
LED strip lights can also accentuate your bathroom’s architectural features. You highlight these elements by strategically placing them along the edges of a shower niche, under a bench, or around a mirror, adding depth and enhancing the overall design. This illuminates the area effectively and draws attention to the finer details of your bathroom’s architecture, adding a layer of sophistication.

Creating Layers of Light

Creatively layering your lighting can have a substantial impact. For instance, installing a softer, warmer strip along the base of your shower walls can act as a subtle nightlight. In comparison, a brighter strip positioned under the lip of a recessed shelf can provide functional task lighting. This method meets practical needs and contributes to creating a dynamic and inviting space.

Safety with Style

It’s important to consider safety, especially in wet environments like showers with a higher risk of slips. LED strip lights can be strategically placed to illuminate floors and steps, enhancing safety without compromising style. Opt for strips with a high Color Rendering Index (CRI) to ensure that the true colors of your bathroom’s tiles and décor are vividly and accurately displayed, making the area safer and more visually appealing.

Maintenance and Troubleshooting of Shower LED Lights

Effective maintenance and timely troubleshooting are vital for ensuring the longevity and performance of LED strip lights in shower settings, where high humidity and direct exposure to water can pose unique challenges.

Regular Cleaning and Inspection

Regular cleaning is crucial to prevent the buildup of dust and water spots that can degrade light quality and damage components. Use a soft, damp cloth to wipe the LED strips’ surface gently. Avoid using harsh cleaning agents or abrasive materials that could scratch or damage the lights. Periodically inspect the LED strips for wear or corrosion, particularly at the connectors and ends, where damage is likely due to moisture exposure.

Addressing Moisture Ingress

Moisture ingress can significantly impact the functionality and safety of LED lights. Ensure all ends and connections of the LED strips are properly sealed with silicone or a specialized LED waterproofing sealant. Check for any condensation or signs of moisture inside the covers of the strips. If moisture ingress is observed, consider replacing the affected sections to prevent short circuits or potential fire hazards.

Troubleshooting Flickering Issues

Flickering can indicate several issues, such as loose connections, an inadequate power supply, or a failing driver. First, ensure all connections are secure and free from corrosion. Verify that the power supply is appropriate for the load demands of the LED strips. If flickering persists, it might be necessary to replace the driver. For persistent or complex issues, consulting a professional electrician is advisable to ensure the electrical components function correctly and safely.

When to Seek Professional Help

While some maintenance and troubleshooting tasks can be handled as DIY projects, professional assistance is recommended for more complex issues. If you face recurring electrical problems, significant moisture damage, or need extensive repairs, hiring a qualified professional ensures that repairs are carried out effectively and in compliance with safety standards and local electrical codes.

Safety First: Electrical Considerations for Wet Areas

Safety First Electrical Considerations for Wet Areas

Ensuring the safe integration of electrical fixtures in shower areas is paramount due to the significant risks posed by the combination of electricity and water. This section delves into the essential safety measures and precautions that must be considered during installation to safeguard against potential hazards.

Understanding Electrical Codes and Standards

Firstly, being well-versed with the local and national electrical codes applicable to bathroom installations is crucial. These codes are meticulously designed to enhance safety in environments susceptible to electrical shocks or fires, especially where water is prevalent. These regulations typically dictate the appropriate materials and installation methods that are safe for use in wet locations. For instance, the National Electrical Code (NEC) in the United States specifies how electrical wiring and fixtures should be safely installed in moisture-prone areas.

Implementing GFCI Protection

A ground fault circuit interrupter (GFCI) is essential for any bathroom setup. This device is designed to prevent electrical shock by interrupting the circuit if it detects an imbalance in the electrical current, which could occur if electricity is inadvertently directed through water or a person. GFCI outlets for all bathroom electrical fixtures, including LED strip lights, are typically mandated by law and are a critical safety measure.

Choosing Waterproof Fixtures and Enclosures

They are selecting the right fixtures and enclosures specifically designed for wet environments. Ideally, These should carry an IP (Ingress Protection) rating confirming their suitability for use near water. Fixtures with at least an IP65 rating are advisable for shower installations, as they can withstand water jets. More robust protections, such as IP67 or IP68, are suitable for areas within the shower that may experience occasional or continuous submersion.

Professional Installation and Regular Maintenance

Engaging a certified electrician is strongly recommended due to the complexities associated with installing electrical systems in bathrooms. A professional can ensure all installations comply with safety standards and are optimally functional. They are skilled in managing the intricate details of wiring and securely installing fixtures, providing peace of mind. Moreover, regular inspections and maintenance conducted by a professional are vital to maintain safety standards. These checks help identify and rectify potential issues, such as wire degradation or fixture corrosion, which could lead to severe hazards if left unaddressed.

Comparing IP65, IP67, and IP68: Which Is Best for Showers?

Choosing the correct Ingress Protection (IP) rating for LED lighting in your shower is essential to ensure longevity, safety, and effectiveness. Below, we explore the distinctions between IP65, IP67, and IP68 ratings to help you decide the best fit for your bathroom environment.

Comparing IP65 IP67 and IP68 Which Is Best for Showers

IP65 Rating: Ideal for General Shower Use

The IP65 rating offers protection against dust ingress and low-pressure jets of water from any direction. It is generally sufficient for most areas within a shower that are exposed to occasional splashes but are not directly in the line of water jets. For instance, if you’re considering overhead lighting or lighting positioned around the upper walls of the shower, IP65 is typically adequate. This level of protection is suitable for zones where the lighting will not be submerged or subjected to heavy water flow.

IP67 Rating: Enhanced Water Resistance

IP67-rated lighting increases protection by offering dust-tight capabilities and the ability to withstand temporary immersion in water up to 1 meter deep for about 30 minutes. This rating is particularly advantageous for installations lower in the shower, such as in-floor lighting or along the lower walls where water may collect or splash more vigorously. For bathrooms that see a lot of water—perhaps from multiple shower heads or particularly splash-heavy baths—IP67 lighting can provide that extra layer of security against water damage.

IP68 Rating: Superior for High-Exposure Areas

IP68 represents the pinnacle of water-resistant lighting, designed for continuous submersion in water deeper than 1 meter. This rating is paramount for areas of the shower or bathroom that are consistently wet or submerged, such as lighting within the shower floor or in a sit-down area. If your shower design involves high water exposure scenarios or you want the highest assurance against water ingress, IP68 is recommended.

Selecting the Appropriate IP Rating

Your choice should be informed by the specific conditions and locations within your bathroom where the lighting will be placed. For typical shower setups, IP65 often suffices, especially for ceiling and higher wall placements. For closer-to-floor installations or areas where lights might get submerged occasionally, consider IP67. For complete peace of mind in fully submerged or very wet conditions, IP68 is your go-to option.

DIY vs. Professional Installation: What You Need to Know

Whether to install LED strip lights in your shower by yourself or hire a professional involves weighing the benefits and risks associated with each option. Below, we break down the pros and cons of DIY and professional installation methods to help guide your decision.

DIY Installation: Is It Right for You?

Pros:

  • Cost-Effective: Undertaking the installation yourself can save on labor costs, which can be considerable, especially for more complex setups.
  • Flexible Timing: DIY allows you to work at your convenience, fitting the project around your schedule and pace, which can be particularly beneficial if you have a busy lifestyle.
  • Personal Achievement: A unique satisfaction comes from completing a home improvement project on your own, not to mention the ability to customize the installation to your exact specifications.

Cons:

  • Potential for Errors: Without a solid background in electrical work, you might run into issues. Incorrectly installed lights in a wet environment like a shower can lead to serious problems, including electrical hazards or light damage.
  • Time Investment: If you’re not experienced, the installation could take much longer than planned, leading to frustration and delays in your bathroom’s usability.
  • Warranty Issues: Some manufacturers may only honor a warranty if the installation is performed by a certified professional, which could be problematic if you encounter defects or operational issues.

Professional Installation: Why Consider It?

Pros:

  • Expertise and Compliance: A professional electrician will bring expertise and an understanding of local codes and safety standards, ensuring the installation is safe and compliant.
  • Reduced Risk: Professionals are trained to handle electrical installations safely, reducing the risk of accidents related to water and electricity—a common concern in bathroom settings.
  • Quick and Efficient: With the right tools and experience, a professional can complete the installation quicker and more efficiently than an amateur.

Cons:

  • Higher Initial Cost: While hiring a professional ensures a safer and potentially more reliable installation, it does come at a higher cost due to labor charges.
  • Dependence on Scheduling: You’ll need to work around the professional’s schedule, which might not always align with your immediate needs or preferences.

Making the Right Choice

When deciding between DIY and professional installation, consider your skill level, the project’s complexity, and the importance of safety in your decision-making process. For straightforward projects, a capable DIYer might be successful. However, it’s often wiser to opt for professional installation for installations that involve intricate electrical work or high safety risks—common in shower environments. This ensures that your lighting is installed correctly, safely, and by all relevant regulations, providing peace of mind and potentially better longevity and functionality of your lighting.

자주 묻는 질문

A: For shower installations, LED strip lights should have at least an IP65 rating, which protects against water jets, for areas that might be submerged, such as near the shower floor, IP67 or IP68 ratings are recommended for enhanced protection.

A: To ensure longevity and optimal performance, LED strip lights in showers should be checked and cleaned every few months to prevent dust and moisture accumulation. Inspecting for any wear or damage, such as cracked seals or exposed wires, is also wise.

A: While DIY installation is possible for those with a good understanding of electrical systems, hiring a professional is recommended for safety. Professionals can ensure that all electrical codes are met and that the installation is done correctly and safely, especially in a wet environment like a shower.

A: LED strip lights in showers offer both aesthetic and functional benefits. They can enhance the ambiance of your bathroom, provide adequate lighting for safety, and be customized to fit any design scheme. They’re also energy-efficient, which can help reduce your power bills.

A: For shower ceilings, LED strip lights with a high IP rating (at least IP65) are crucial. Choosing lights with a color temperature of 3000K to 5000K will provide bright enough light for functionality while still creating a relaxing atmosphere.

A: Flickering can be caused by loose connections, moisture ingress, or a failing power supply. Check all connections first and ensure they are dry and secure. If the problem persists, replacing the power supply or consulting with a professional may be necessary.

A: Yes, color-changing LED strip lights can be used in showers if they meet the IP ratings for water resistance. They add a dynamic element to your shower by allowing you to adjust the lighting color and intensity based on your mood or desired ambiance.

A: Clean your LED strip lights with a damp cloth, avoiding harsh chemicals that could damage the light’s surface. Ensure the lights are switched off and cool to the touch before cleaning, and avoid saturating any part of the light strip with water.

A: Ensure all LED strip lights are correctly rated for use in wet conditions (IP65 or higher) and installed with a GFCI outlet to prevent electrical hazards. Regular inspections should be conducted to ensure the integrity of the lights and wiring, especially in a wet environment like a shower.

결론

Summarize the critical points discussed, emphasizing the blend of aesthetic appeal with safety considerations when installing LED strip lights in showers. This wrap-up reinforces the need for diligent planning, adherence to safety standards, and the potential transformative impact of well-chosen, properly installed lighting to make showers safer and more enjoyable.

In wrapping up our exploration of using LED strip lights in showers, we must partner with a trusted manufacturer at the forefront of LED technology. 유니탑, one of China’s leading producers of LED 스트립 조명 그리고 LED 네온 플렉스, has established itself as a beacon of quality and innovation in the LED industry. With years of expertise crafting durable and high-performance lighting solutions tailored to meet specific environmental needs, Unitop is the go-to source for top-tier LED products. Whether you have further questions about integrating LED lighting into your bathroom or specific requirements for a customized setup, don’t hesitate to 유니탑에 문의 immediately. Let their team of experts help you illuminate your spaces safely and beautifully.

0 답글

댓글을 남겨주세요

토론에 참여하고 싶으신가요?
자유롭게 기여해 주세요!

답글 남기기

이메일 주소는 공개되지 않습니다. 필수 필드는 *로 표시됩니다