Are you considering switching to LED strip lights and wondering whether a starter is necessary for their installation? Rest assured that you’re not alone in this quest for knowledge. With years of expertise in LED technology, we’re here to provide clear, authoritative answers that will illuminate your path to a brighter, more efficient lighting solution.
LED strip lights operate without a starter and are designed for direct connection to a low-voltage power supply. This setup simplifies installation and enhances usability compared to traditional fluorescent lights requiring a starter.
Continue exploring as we unpack the versatility and efficiency of LED strip lights, along with practical guidance on installation and customization. Discover how to maximize their benefits and troubleshoot common issues to ensure your lighting project shines.
Understanding LED Strip Lights: No Starters Required
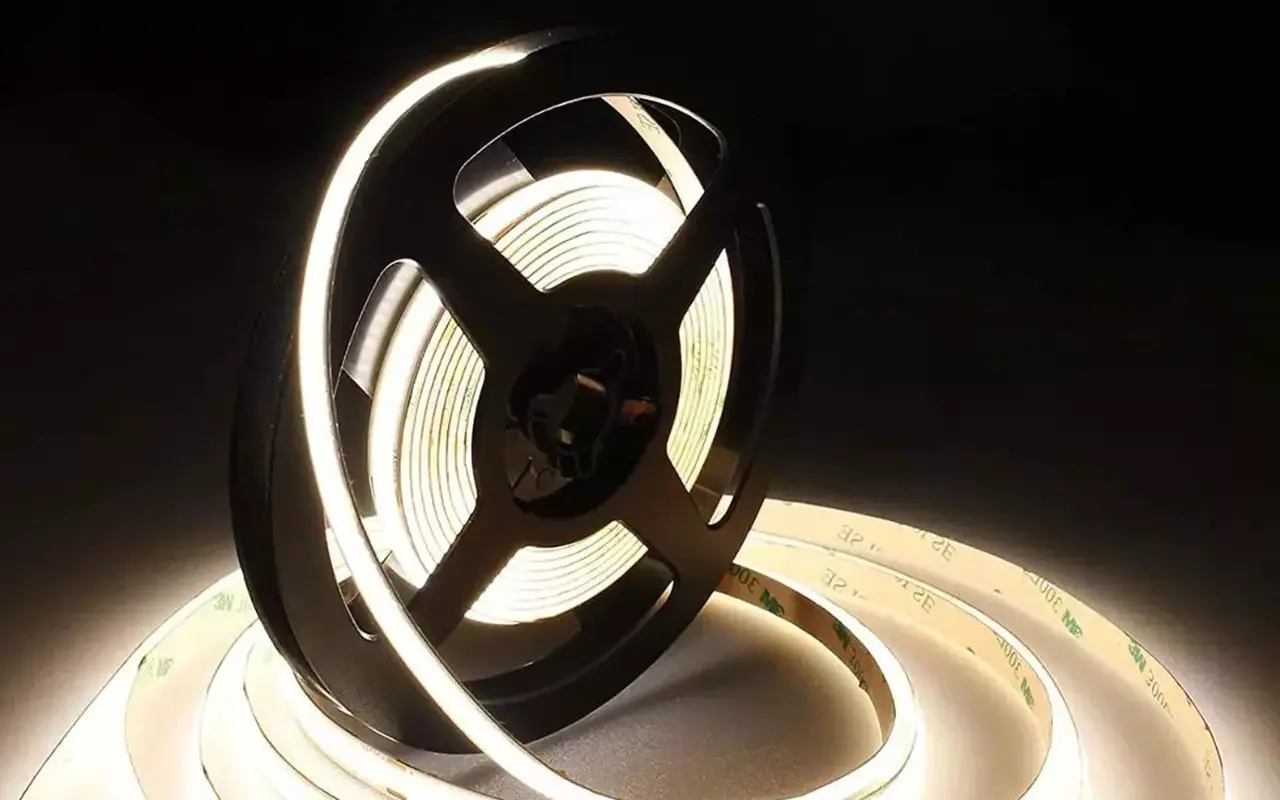
LED strip lights, a revolutionary approach to modern lighting, do not require starters, which significantly simplifies their installation and use. These lights consist of numerous small, efficient LEDs fixed onto a flexible circuit board, making them ideal for various applications, from enhancing home decor to lighting up commercial spaces.
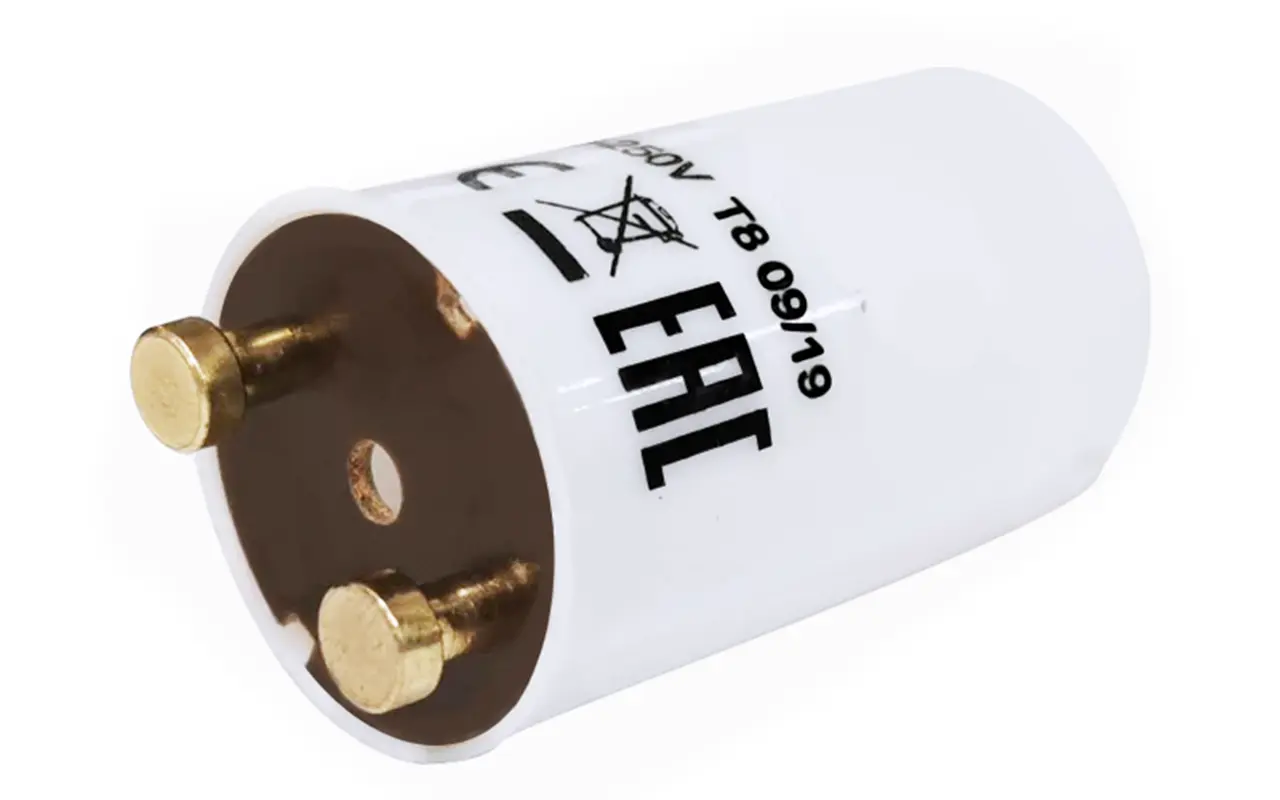
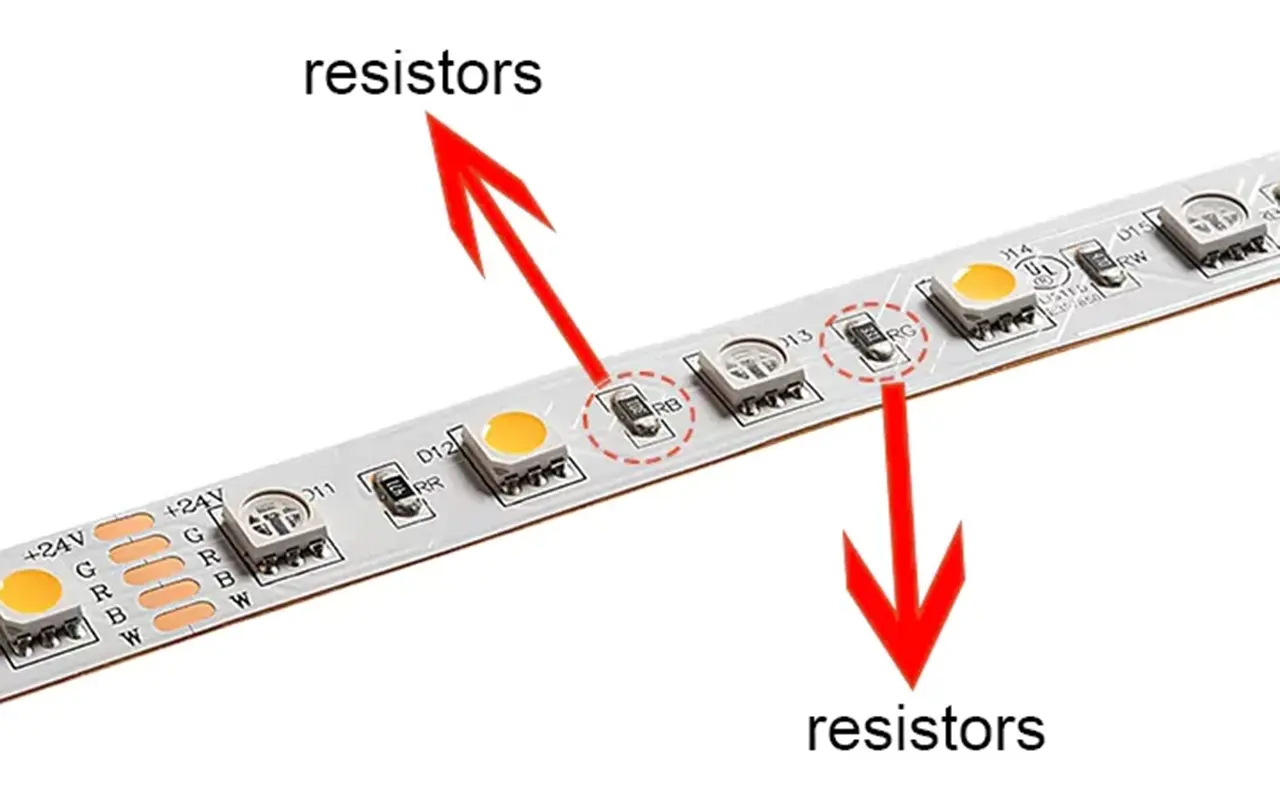
The foundational technology behind LED strip lights sets them apart from traditional lighting options like fluorescent tubes. Traditionally, fluorescent lights require a starter, which helps to ignite the light, and a ballast to stabilize the light once it’s running. These components are critical in managing the electrical currents that fluorescent lights need to operate. However, LED strip lights bypass these requirements entirely. They connect directly to a low-voltage power supply, typically 12V or 24V, which reduces installation complexity and minimizes the risk of electrical hazards, enhancing the overall safety of the lighting system.
This direct connection to a power source means LED strips offer a continuous, stable output without the flickering or slow start-up times associated with their fluorescent counterparts. Moreover, eliminating the starter and ballast removes potential failure points, increasing reliability and decreasing maintenance needs. This aspect is particularly appealing in residential and commercial settings where long-lasting, low-maintenance lighting solutions are prized.
Another notable advantage of LED strip lights is their adaptability. They can be cut at marked intervals along the strip, allowing for precise customization to fit specific installation needs. This feature is particularly beneficial when you need to adjust the length of the lighting to fit specific areas perfectly, ensuring there are no dark spots or excess overlap. Whether you’re accenting kitchen cabinets, backlighting TVs, or highlighting retail product displays, LED strips can be tailored to meet the exact needs of your project.
The design of LED strip lights to operate without starters simplifies their use. It enhances their versatility and safety, making them a preferred choice for various lighting projects. Their ability to provide consistent and reliable illumination wherever needed and their energy efficiency make them an intelligent choice for anyone looking to upgrade their lighting solutions.
Choosing the Right Power Supply for LED Strip Lights
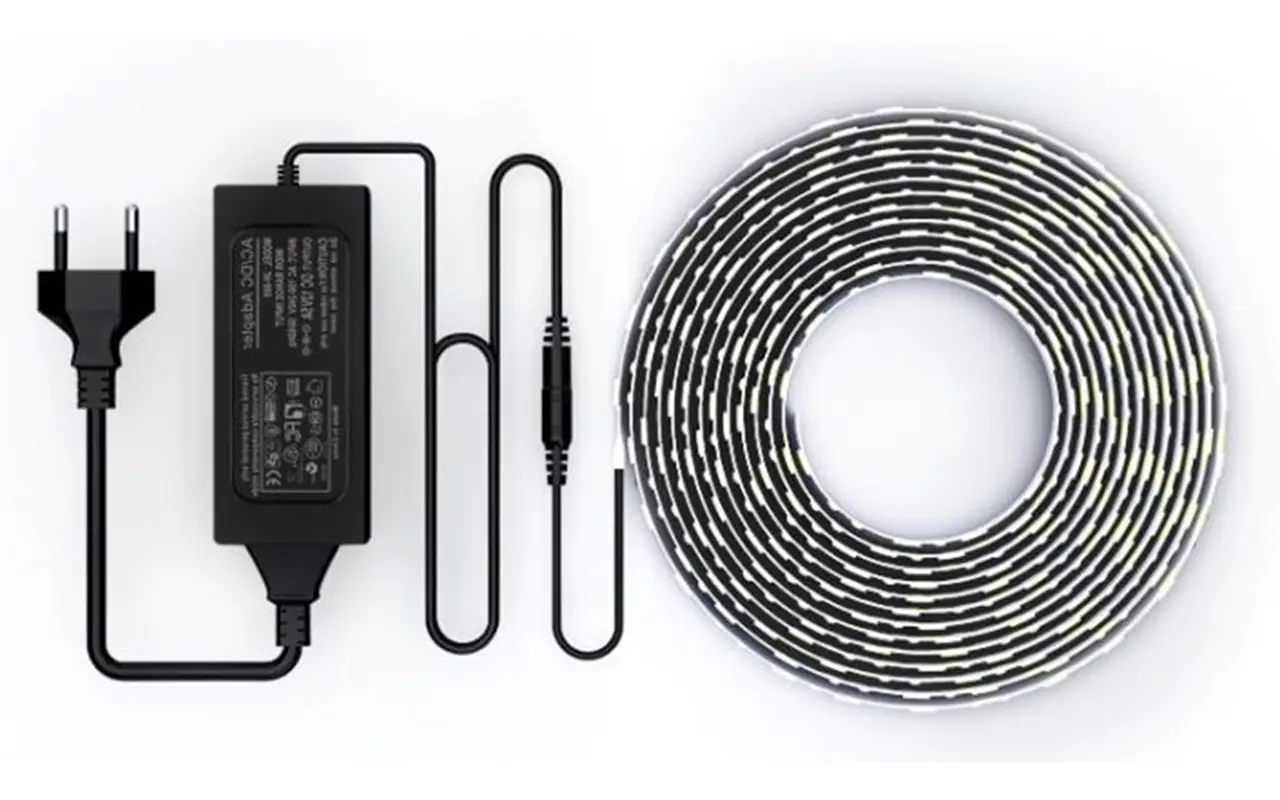
Selecting the right power supply for your LED strip lights is crucial for ensuring their optimal performance and longevity. It’s important to carefully match the power supply to your LED strips’ voltage and current requirements to prevent potential overheating and ensure efficient operation.
Understanding Voltage Requirements: First, identify the voltage requirement of your LED strips, typically 12V or 24V. The power supply’s output voltage must match your LED strip’s voltage requirement. Using a power supply with a higher voltage than your LED strips are rated for can lead to overheating and premature failure. In comparison, a lower voltage can result in inadequate illumination.
Calculating Required Wattage: Next, calculate the total wattage needed by multiplying the wattage per unit length of the strip by the total length you plan to install. This calculation ensures that the power supply can handle the cumulative load without the risk of underpowering or overheating. For example, if each meter of your LED strip consumes 10 watts and you have 10 meters, you’ll need a power supply that can provide at least 100 watts.
Considering Current Draw: Consider the current draw, especially for larger installations. The current draw, measured in amperes, indicates how much current the LED strip will pull from the power supply. Ensure that your power supply can handle this current draw comfortably to maintain safety and functionality. Opting for a power supply that exceeds your calculated current requirement can offer additional reliability and safety.
Selecting the Right Power Supply: When choosing a power supply, look for one that offers slightly more wattage and amperage than your calculations require. This approach ensures that the power supply isn’t constantly operating at its maximum capacity, which can extend its lifespan and improve safety. Additionally, select a power supply with robust safety features, such as over-voltage, over-current, and short-circuit protection, to safeguard your LED strips and the power supply from potential damage.
By adhering to these guidelines, you can ensure that your LED strip lighting installation is bright and effective but also safe and durable. Remember, a high-quality power supply is key to achieving a successful LED lighting setup.
Installation Essentials for LED Strip Lights
Installing LED strip lights effectively enhances the ambiance and functionality of any space, but it demands careful planning and precision. Here’s a concise guide on how to ensure a successful installation:
1. Planning: The first step is meticulous planning. Measure the intended installation area accurately, considering length, corners, and potential obstacles such as furniture or appliances. This pre-planning phase is crucial as it helps visualize the setup and identify challenges that could arise during the installation. Creating a detailed sketch or using design software can be extremely helpful for intricate designs or large areas.
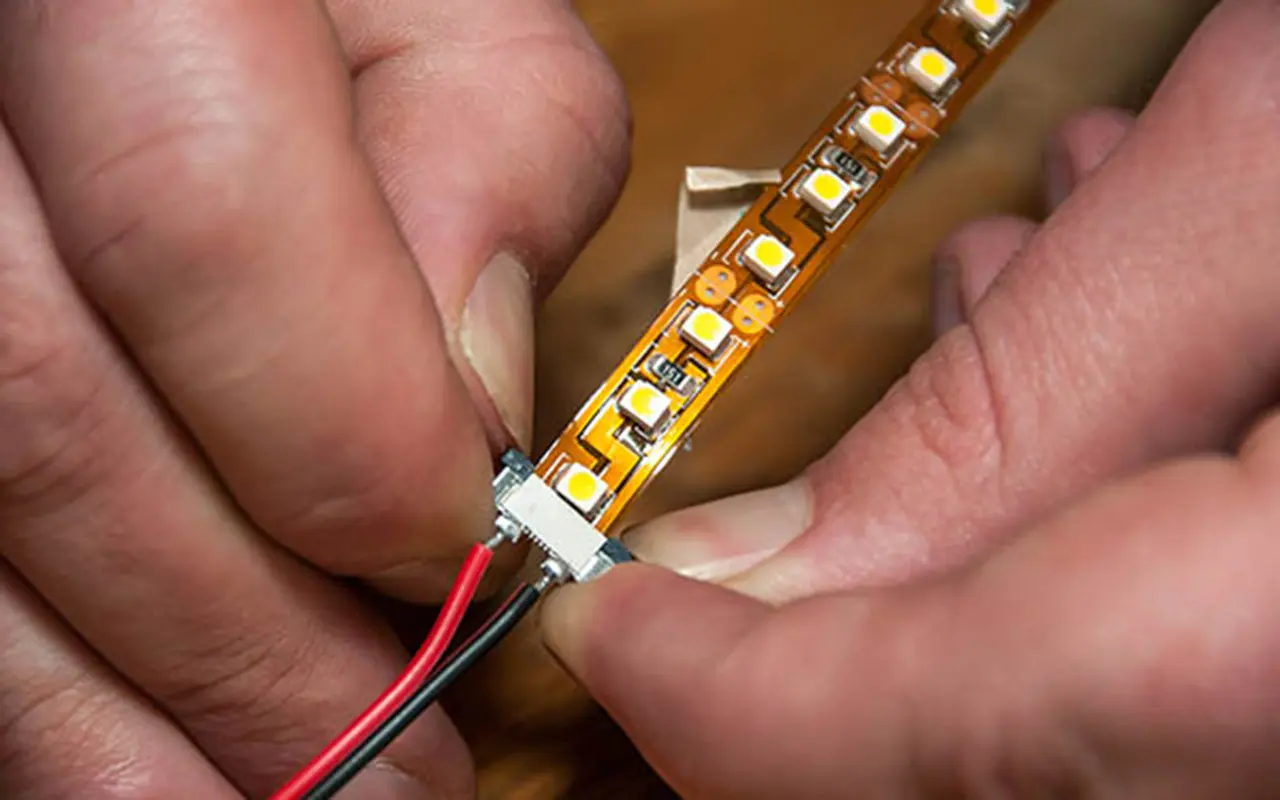
2. Connecting: Connect the LED strips to the power supply with a solid plan. This step is critical and requires attention to detail to ensure all connections are secure and correctly aligned. For strips that include features like dimming or color changing, this is also when you should connect them to the appropriate controllers. Ensure the connections are tight and the polarity is correct to prevent electrical issues.
3. Securing: Once the strips are connected and tested, the next step is securing them. Most LED strips come with an adhesive backing, which makes installation straightforward. Clean the surface thoroughly before applying the strips to ensure the adhesive sticks well. Consider mounting clips for areas exposed to moisture or where extra security is needed. These clips provide additional support and can be especially useful in outdoor areas or high-traffic sections of your home.
4. Testing: After installation, thoroughly test the entire system to ensure everything works correctly. Check for uniform brightness and color accuracy across all sections of the strip. If any part of the strip displays dimming or flickering, re-check the connections and ensure no voltage drop across the strip.
Following these steps will help you achieve a flawless installation, ensuring that your LED strip lights work perfectly and enhance the desired areas effectively. Keep your workspace clean, use the right tools, and don’t rush the process to avoid common installation errors like misaligned strips or inadequate securing.
The Role and Setup of Controllers and Dimmers
Integrating controllers and dimmers into LED strip lighting systems significantly enhances their functionality, offering precision control over lighting effects that can completely transform any environment. Here’s a breakdown of how controllers and dimmers work and some tips on setting them up for optimal performance.
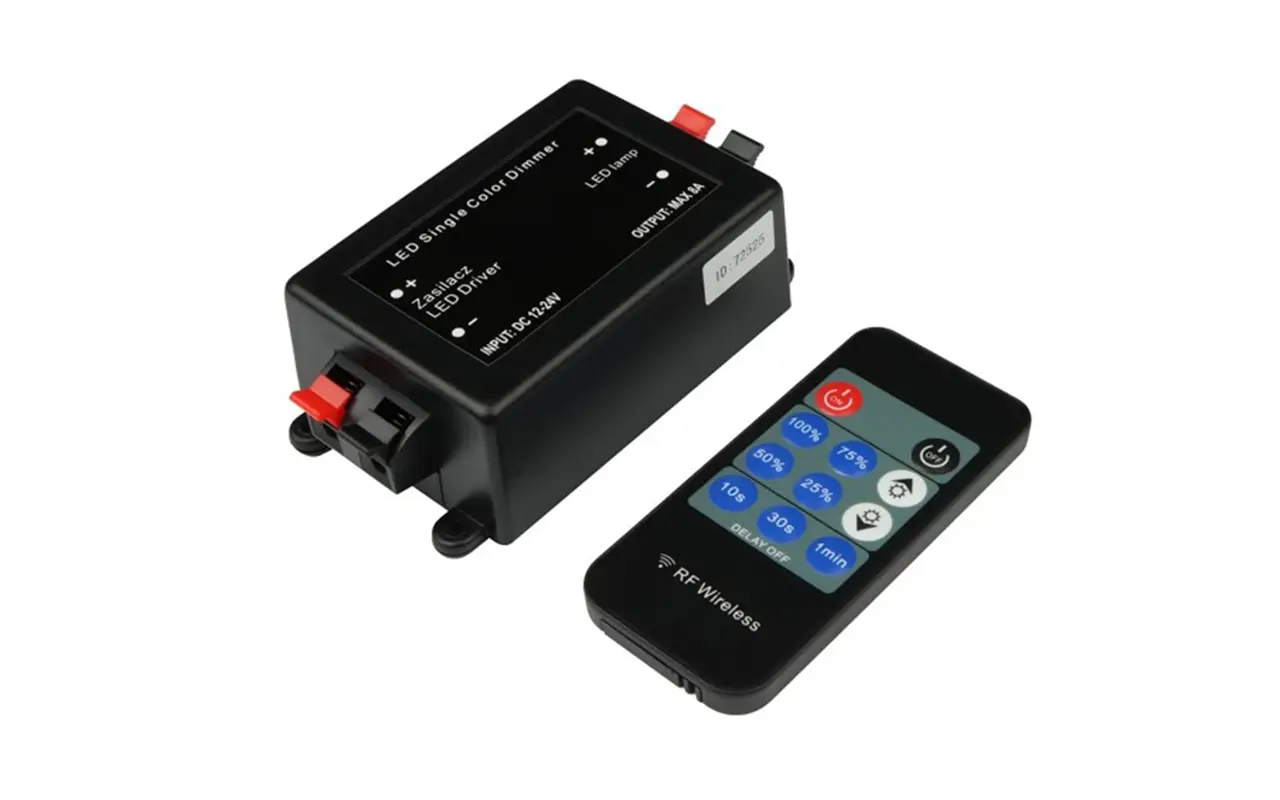
Understanding Basic Controllers and Dimmers: Basic dimmers and on/off switches provide adequate control for straightforward lighting needs. These simple devices are ideal for adjusting the brightness of LED strips to suit different times of day or specific room requirements. Installation is typically straightforward—connect the dimmer directly between the power supply and the LED strip. Common types include rotary or slider dimmers that regulate the voltage supplied to the LEDs, allowing for smooth transitions in lighting intensity.
Exploring Advanced Controllers: More complex lighting setups might require RGB (Red, Green, Blue) and RGBW (Red, Green, Blue, White) controllers. These advanced controllers can mix colors and create various hues and effects. RGBW controllers bring added functionality with a white channel, providing purer whites and improved color mixing, enhancing everything from home ambiance to commercial display lighting.
Installation and Wiring Tips: Properly installing these controllers is crucial and generally requires some basic understanding of electrical wiring. The controller should be wired in series with the LED strip and the power supply. For RGB and RGBW systems, this means connecting multiple color channels on the controller to the corresponding pins on the LED strip. Secure and correct polarization of all connections is essential to avoid electrical issues. Additionally, many modern controllers offer wireless connectivity, enabling control through smartphone apps or remote controls, which can simplify the setup process and offer user-friendly flexibility.
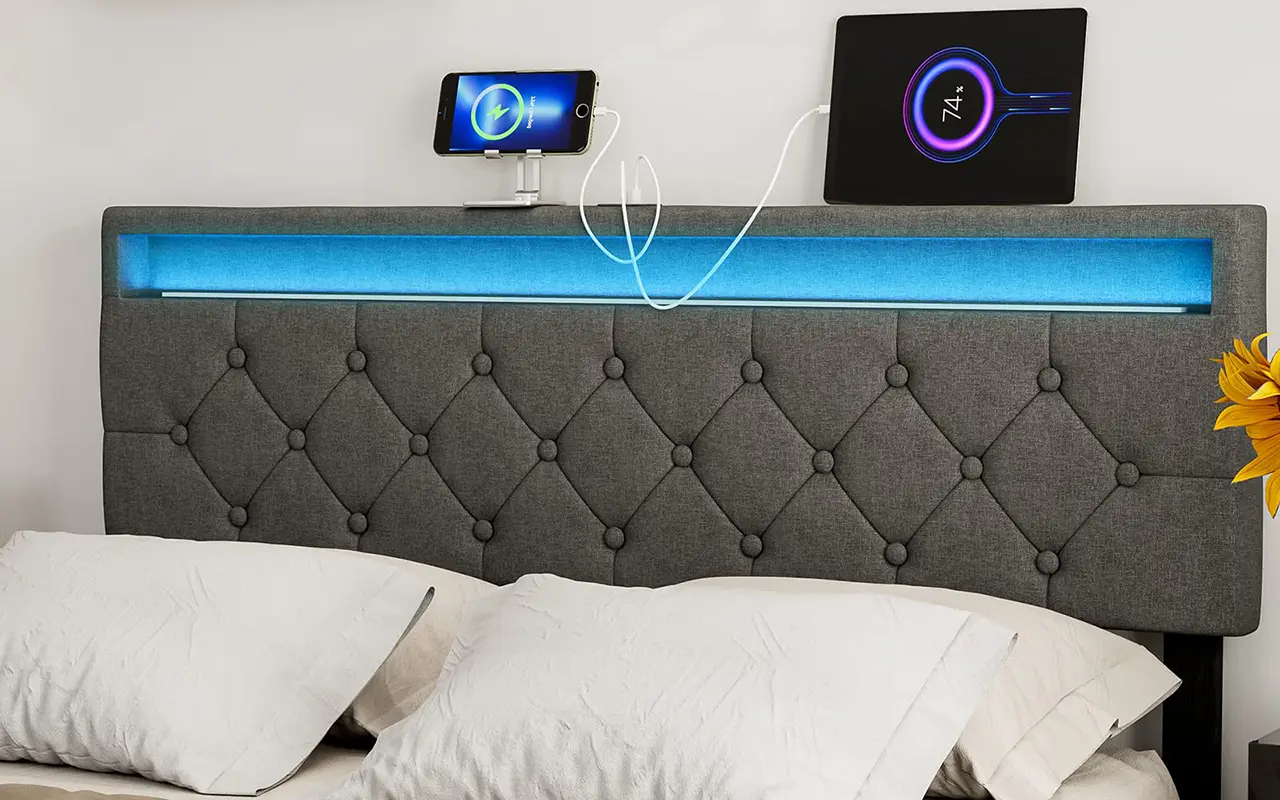
Maximizing Creative Potential: By effectively using controllers and dimmers, you can tailor your lighting to match any mood or event, from a calm, relaxing ambiance with soft, dimmed lights to a lively party atmosphere with vibrant, dynamic colors. The versatility provided by these devices makes LED strips a powerful tool for personalizing your space.
When installing controllers and dimmers, following a detailed guide or consulting with a professional is helpful to ensure safety and functionality. Proper setup extends the life of your LED lighting. It ensures it performs efficiently, meeting your lighting needs while providing an aesthetically pleasing experience.
Common Issues and Troubleshooting LED Strip Lights
Even the most reliable LED strip lights can sometimes face operational issues. Knowing how to identify and resolve these common problems can extend life and enhance the functionality of your lighting setup. Here’s a detailed look at typical issues and effective troubleshooting techniques:
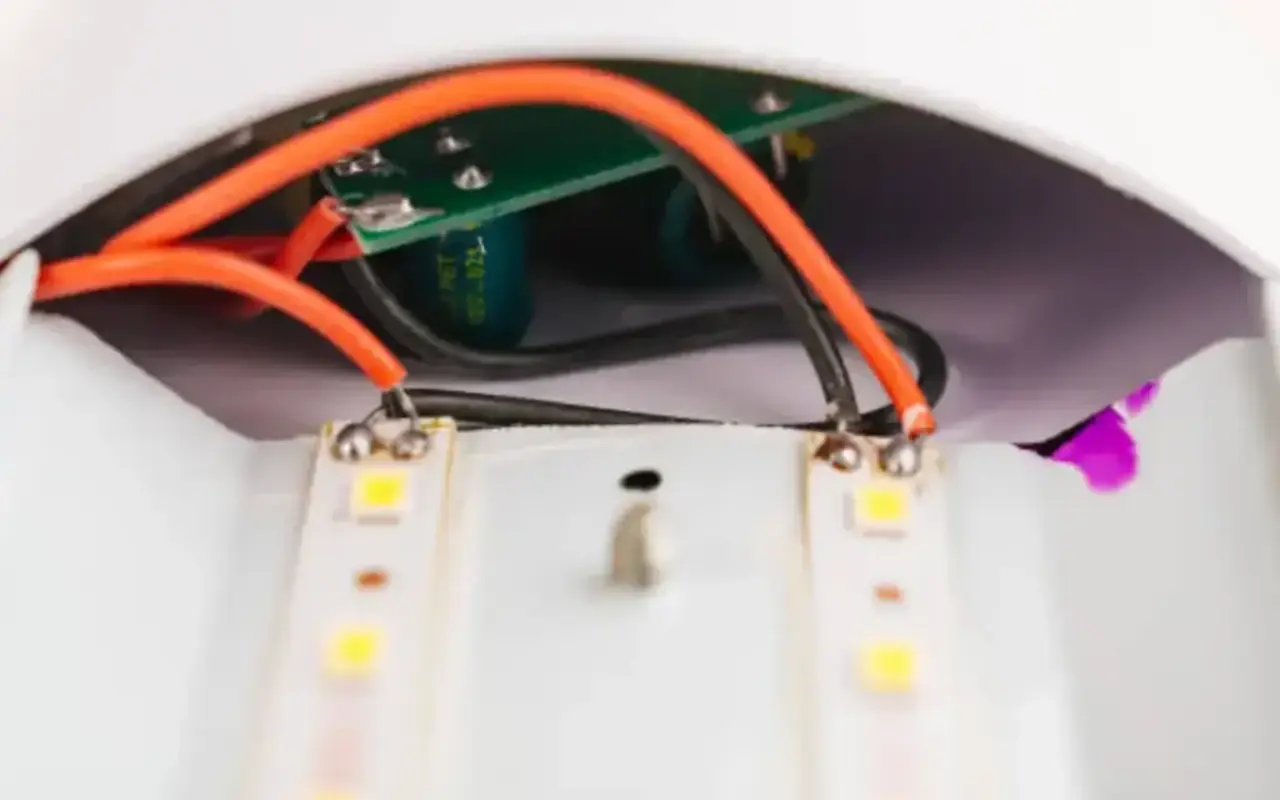
Flickering Lights: Flickering is a frequent issue that can often be traced back to connection problems. First, ensure tight and secure connections between the LED strips and the power supply. Loose connections can disrupt the current flow and cause flickering. If the problem persists after checking the connections, the next step is to examine the power supply. A power supply that doesn’t match your LED strips’ voltage and current demands may lead to intermittent flickering. Consider upgrading to a power supply that adequately meets or exceeds your LED strip’s specifications.
Uneven Brightness: If you notice the brightness fading towards the end of the strip, you might be dealing with voltage drop, which is common in longer runs of LED strips. To address this, you can power the strip from both ends to equalize the voltage distribution across the length of the strip. Alternatively, installing a higher voltage power supply or using shorter strip segments connected in parallel can help maintain consistent brightness.
Color Inconsistencies: Color inconsistencies, especially in RGB or RGBW strips, can ruin the aesthetic appeal of your lights. This issue usually arises from incorrect wiring. Double-check that each color channel is properly connected and that there are no crossed wires. It’s also crucial to ensure uniform voltage across the strip. If some sections display different colors inaccurately, consider replacing faulty segments or connectors to restore uniform color output.
Regular Maintenance: Regular checks and maintenance are key to preventing these issues. Periodically inspect all parts of your LED strip setup for signs of wear or damage. Ensure all connections remain secure and clean the strips occasionally to prevent dust buildup, which can impede performance. Use a soft, dry cloth to gently wipe down the strips, keeping them clean and functional.
By promptly addressing these common LED strip light issues and performing regular maintenance, you can ensure your lighting continues to function effectively and remains visually appealing. Remember, a little troubleshooting can go a long way in preserving the quality and longevity of your LED lighting investment.
Advanced Wiring Techniques for Custom LED Setups
Implementing custom LED lighting setups requires creativity and technical expertise, especially when it involves complex wiring techniques. These advanced setups allow tailored lighting solutions to transform any space into a visually dynamic area. Here’s a detailed guide to managing these sophisticated configurations safely and effectively.
Connecting Multiple Strips to a Single Power Supply: Connecting several LED strips to a single power supply is often necessary for large-scale or multi-section installations. This is efficiently achieved using a power connector block, which lets you branch multiple strips from one power source. Calculating the total wattage of all the strips you intend to connect is critical to ensure that the power supply can handle the load without overheating. For instance, if the combined wattage of the strips is 250 watts, choosing a power supply that can deliver at least 300 watts will provide adequate power and a safety buffer.
Integration with Smart Home Systems: As smart home technology becomes more integrated into our daily lives, adding LED strip lights to these systems can enhance functionality and convenience. Connecting your LED strips to a smart home system through a compatible controller lets you control your lights via smartphone apps or voice commands through devices like Amazon Alexa or Google Home. This setup adds a layer of convenience and allows for greater flexibility in how lighting is used and controlled in your home or business.
Professional Consultation: Given the complexity of these installations, a solid understanding of electrical wiring fundamentals is essential. Improper wiring can lead to serious safety hazards, such as short circuits or fires. Consulting with or hiring a professional electrician is highly recommended for intricate or extensive installations. They can ensure that all components meet safety standards and are properly installed.
Strategic Planning: Before beginning any installation, it’s advisable to plan thoroughly. Draft a detailed layout that includes the placement of power supplies, paths for wiring, and locations for controllers. This planning helps prevent installation errors and ensures that the final setup is aesthetically pleasing and functionally sound.
By mastering these advanced wiring techniques and considering professional advice for complex setups, you can create custom LED lighting installations that are safe, efficient, and perfectly tailored to your lighting needs.
자주 묻는 질문
What is the role of a starter in traditional lighting, and why is it unnecessary for LED strip lights?
In traditional fluorescent lighting systems, a starter is used to help ignite the light by providing a brief surge of high voltage. It also works in tandem with a ballast to stabilize the light once it is running. LED strip lights, however, do not require this because they operate on a steady, low-voltage supply directly from a power source. This direct connection eliminates the need for both a starter and a ballast, simplifying the installation and reducing the potential for component failure.
What happens if I try to use a starter with LED strip lights?
Using a starter with LED strip lights can lead to electrical mismatches and potential failure of the lighting system. Since LED strips are engineered to operate with a direct and steady low-voltage supply, introducing a starter could disrupt this setup, potentially damaging the LEDs or causing them not to function properly. It’s important to adhere to the specified installation guidelines for LED strips to ensure safety and optimal performance.
Q: Do LED strip lights require a starter like fluorescent lights?
A: No, LED strip lights do not require a starter. Unlike fluorescent lights that need a starter and a ballast to regulate the current, LED strips are designed to work efficiently with a direct connection to a low-voltage power supply.
Q: Can I use my existing fluorescent light fixtures for LED strips?
A: You can use existing fixtures, but modifications may be necessary. Since LED strips do not require a ballast or starter, you would need to bypass these components if they are part of your existing fluorescent fixtures.
Q: What should I check if my LED strip lights start flickering?
A: If your LED strip lights flicker, check the connections to ensure they are secure and aligned. Also, verify that the power supply adequately supports the strip’s power requirements. Sometimes, replacing a faulty power supply can resolve this issue.
Q: How do I prevent voltage drop in my LED strip light installations?
A: You can power the strips from both ends to prevent voltage drop, especially over long runs. Using a higher voltage power supply or installing shorter segments in parallel may also help.
Q: Is it possible to control the brightness of LED strip lights?
A: Yes, you can control the brightness of LED strip lights using dimmers. Ensure your LED strips are dimmable and have a compatible LED dimmer switch to regulate their brightness.
Q: Can LED strip lights be integrated with smart home systems?
A: Absolutely! LED strip lights can be integrated with smart home systems for control via apps or voice commands. Make sure to use LED strips compatible with smart controllers, and check that your smart home system supports this functionality.
Q: What are the best practices for installing LED strip lights to ensure they last longer?
A: For long-lasting LED strip installations, ensure all connections are secure, and the power supply matches the strip’s requirements. Regular maintenance, like checking connections and cleaning the strips, can extend their lifespan.
Q: How can I achieve custom color settings with my LED strip lights?
A: To customize color settings, use RGB or RGBW LED strips with a suitable controller. These controllers allow you to mix colors and program dynamic effects, giving you full control over the ambiance of your space.
결론
LED strip lights offer a versatile and efficient solution for decorative and practical lighting applications. Understanding how they work, how to install them properly, and how to troubleshoot common problems can help you maximize their benefits and enjoy reliable, dynamic lighting in your space.
In wrapping up our exploration of LED strip lights, it’s essential to recognize the role of industry leaders in shaping the market. One standout example is 유니탑, one of China’s leading manufacturers of LED 스트립 조명 그리고 LED 네온 플렉스. Renowned for their dedication to quality and innovation, Unitop continues to set industry standards. If you have any further questions or specific requirements, don’t hesitate to 유니탑에 문의 directly. Their expert team is ready to provide tailored solutions that illuminate your space perfectly. Connect with Unitop today to enhance your lighting experience with state-of-the-art LED technology.
관련 게시물

Tom은 현재 다음의 영업 관리자입니다. 유니탑(중국) 유한공사. 그는 LED 조명 업계에서 2005년부터 근무하고 있습니다. 그는 영업 및 마케팅, 공장 관리 분야의 전문가입니다. 보디빌딩을 좋아하고 애플의 열렬한 팬이기도 합니다! 그는 열심히 일하는 사람이며 새로운 것을 배우고 시도하는 것을 좋아합니다.
이메일: tom@unitopledstrip.com WhatsApp: +86-18680307140



댓글을 남겨주세요
토론에 참여하고 싶으신가요?자유롭게 기여해 주세요!