LED Neon Signs: A Brief Overview
What Are LED Neon Signs?
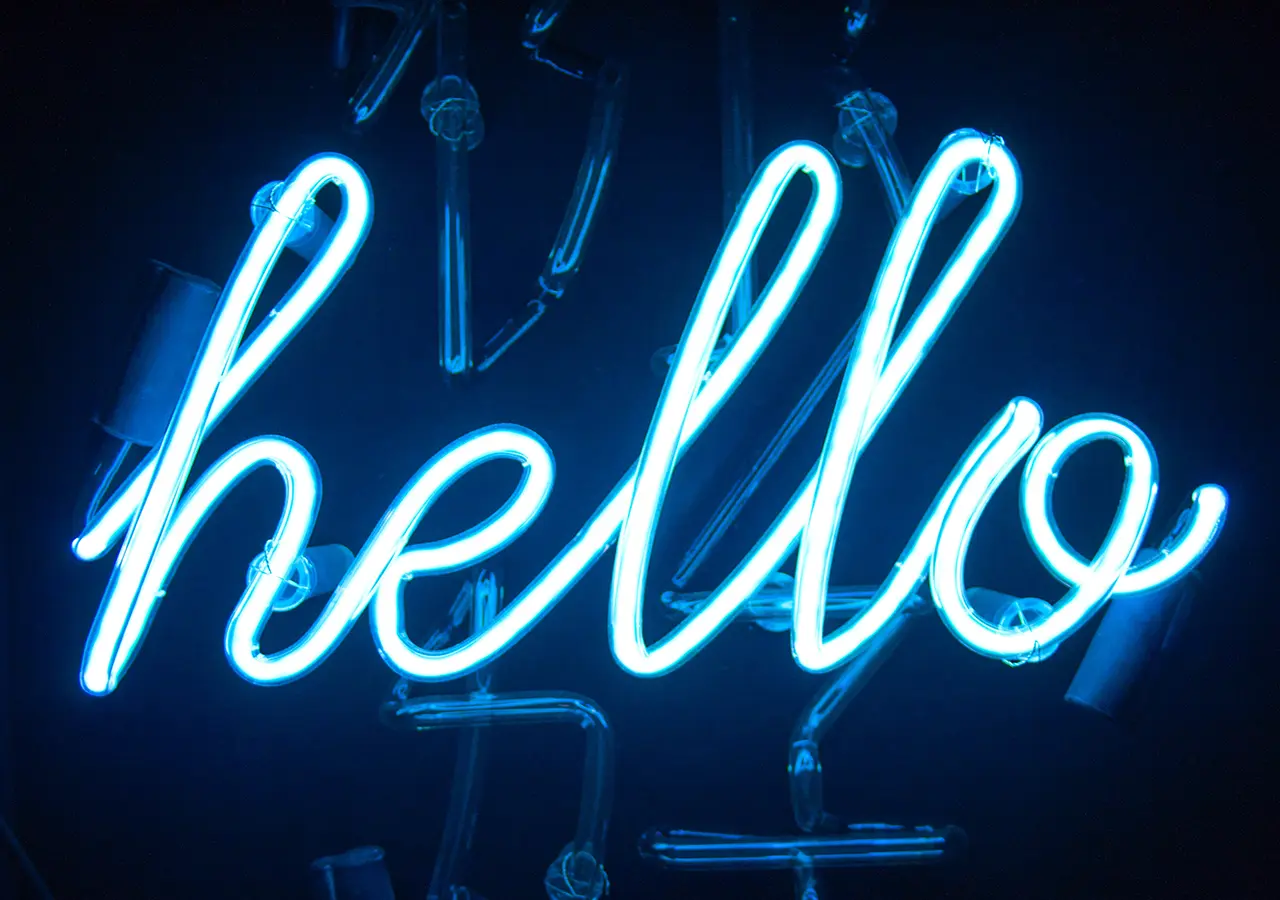
LED neon signs serve as a modern alternative to traditional glass neon lights. They replace fragile glass tubes with flexible and durable silicone or PVC materials, making them perfect for commercial and residential applications.
How Do LED Neon Signs Work?
LED neon signs use LED lights encased within a flexible, translucent material that diffuses the light, creating the appearance of a continuous glowing line. We call this LED light as LED Neon flex, or LED neon strip or LED neon light or LED neon light strip. When arranged correctly, these lights form intricate patterns, letters, and shapes that replicate the look of traditional neon signs.
The Benefits of LED Neon Signs
High Visibility
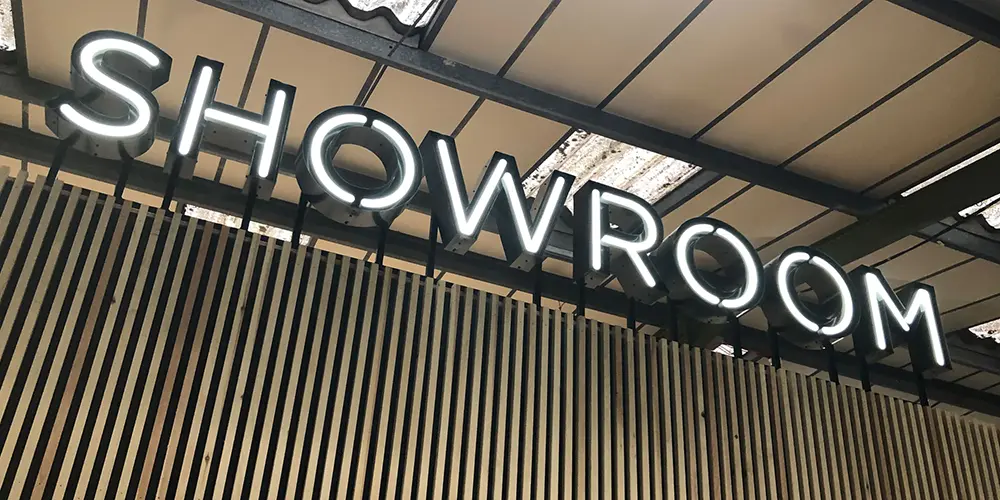
LED neon signs grab attention from a distance, making them ideal for advertising and decoration purposes.
에너지 효율성
LED technology consumes significantly less power than traditional neon, resulting in lower energy costs and a smaller carbon footprint.
경제성
Thanks to lower material and manufacturing costs, LED neon signs are more budget-friendly than glass neon signs.
Eco-friendliness
Producing less waste and using fewer resources during production, LED neon signs are an environmentally friendly choice.
Versatility
The flexibility of LED neon strips allows for endless customization options, from simple text to complex designs and patterns.
Durability
Silicone or PVC materials make LED neon signs more resistant to breakage, allowing them to withstand harsh conditions and last longer.
Attracting Customers
Eye-catching LED neon signs can draw potential customers to a business, increasing foot traffic and sales.
Materials and Tools Needed for Your DIY LED Neon Sign
Choosing the Right LED Neon Light Strip
When selecting an LED neon light strip, consider the color, brightness, and flexibility that best suit your project. Static color options include pink, red, blue, purple, yellow, and green, while dynamic color-changing strips offer even greater variety.
Essential Tools for the Project
- LED neon light strip
- Backing material (e.g., transparent acrylic sheet or wooden board)
- Cutting tools (scissors, utility knife)
- Soldering iron and solder
- Wire strippers
- Power adapter
- Mounting hardware (e.g., screws, adhesive)
Designing Your LED Neon Sign
Selecting a Theme or Style
Before starting your project, decide on a theme or style for your sign. Some popular options include:
Retro/vintage
Capture the nostalgic charm of classic neon signs with retro-inspired designs.
Graphic
Create striking visual impact with bold shapes and patterns.
Typography
Craft a message with stylish, expressive lettering.
Floral/Decorative
Incorporate organic shapes and intricate details for a softer, more elegant look.
Drafting Your Design
Sketch your design on paper or use design software to create a digital blueprint. Consider factors such as size, font, and layout, and ensure that the design suits the dimensions and flexibility of your chosen LED neon light strip.
Choosing the Right Backing Material
Popular backing material options include:
Clear Acrylic Sheet
Clear acrylic sheets are lightweight, durable and provide a modern, minimalist look. They also allow light to pass through, creating a stunning halo effect
Wooden Board
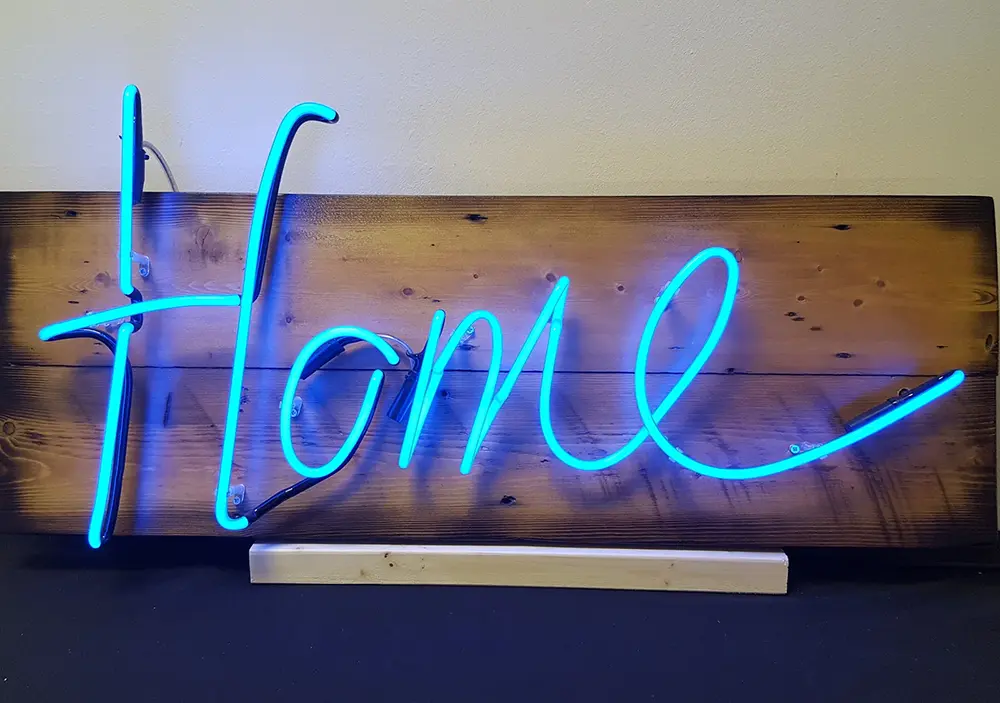
Wooden boards offer a rustic, natural aesthetic that complements many design styles. They are sturdy and easy to work with but may require additional sealing or treatment to protect against moisture and damage.
Other Options
Other backing materials, such as metal or fabric, can also be used, depending on your LED neon sign’s desired look and feel.
Constructing Your LED Neon Sign
Cutting and Preparing the Base
Following your design blueprint, cut your chosen backing material to the desired size and shape. Ensure the surface is clean and free from debris before proceeding.
Attaching the LED Neon Flex Strips
Using your design as a guide, carefully shape the LED neon light strip to form the desired pattern, text, or image. Secure the strip to the backing material with adhesive, zip ties, or mounting clips, depending on the material and strip type.
Soldering and Securing the Wires
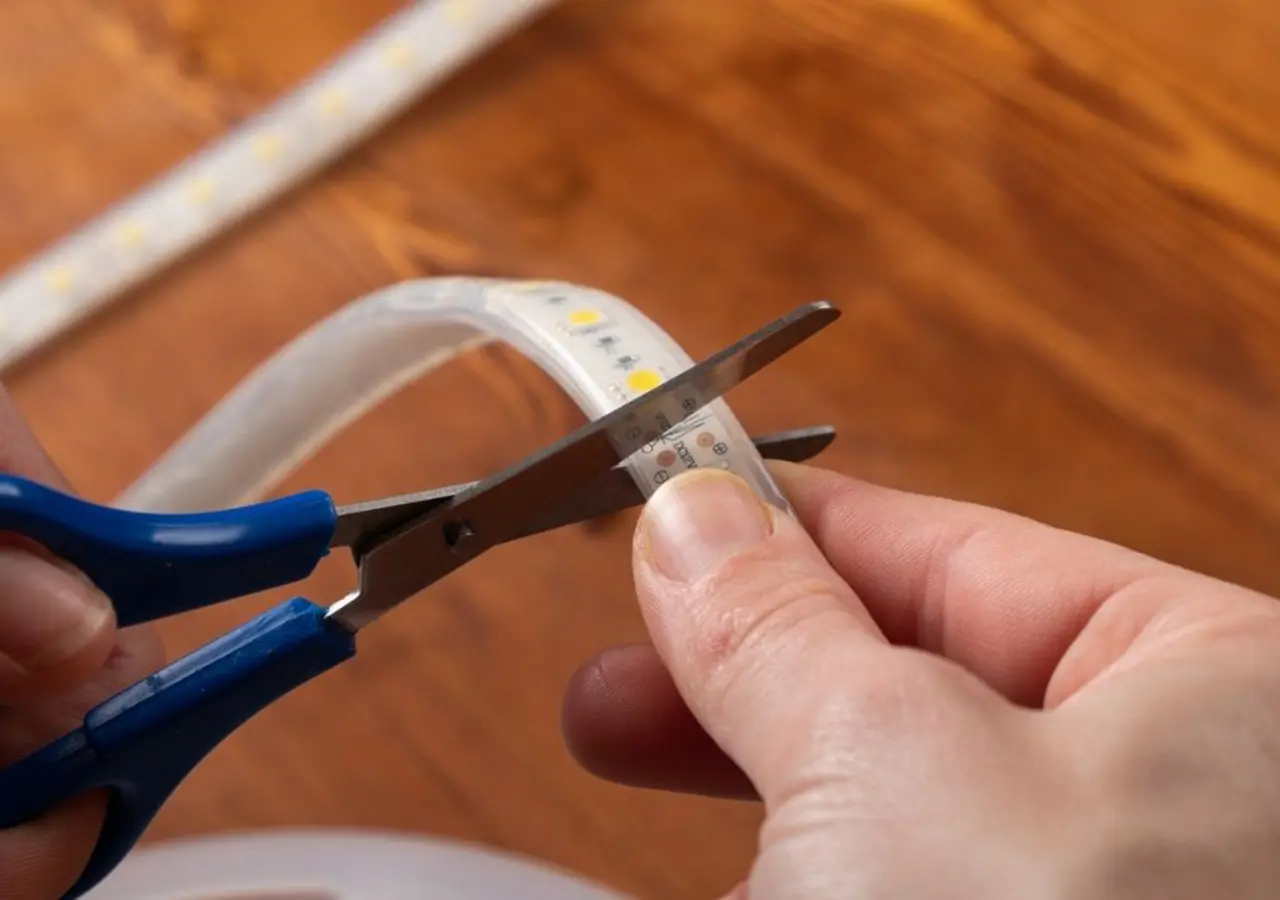
Trim any excess LED neon light strip, then strip and solder the necessary wires to connect the strip to the power adapter. Ensure that the solder joints are secure and properly insulated to avoid potential electrical issues.
Concealing the Connections
Hide any visible connections or wires with cable covers, heat shrink tubing, or by routing them along the edges of the backing material.
Connecting the Power Source
Attach the power adapter to the LED neon light strip, ensuring that the voltage and amperage ratings are compatible.
Testing and Troubleshooting
Plug the power adapter into an outlet to test your LED neon sign. If any issues arise, check the connections, solder joints, and power adapter for faults, and make any necessary adjustments.
Here is an example how to make your own neon sign
Installing and Displaying Your Own LED Neon Sign
Ideal Locations for Hanging Your Sign
Choose a prominent location for your LED neon sign that maximizes visibility and complements the surrounding environment. Popular options include storefront windows, bedroom walls, and entertainment areas.
Installation Tips and Tricks
Secure your LED neon sign to the chosen surface using appropriate mounting hardware, such as screws, anchors, or adhesive strips. Ensure the sign is level and properly supported to prevent damage or accidents.
Here is an example how to install your own LED neon sign
Comparing LED Neon Signs to Traditional Neon Signs
Material
LED neon signs use durable silicone or PVC, while traditional neon signs rely on fragile glass tubes.
Power Usage
LED neon signs consume less power than traditional neon signs, saving energy.
Price
LED neon signs are generally more affordable than their traditional counterparts.
Maintenance
LED neon signs require less maintenance and are less susceptible to breakage and degradation.
Brightness
LED neon signs provide comparable brightness to traditional neon signs, with some models offering even greater luminosity.
설치
LED neon signs are lightweight and easy to install, whereas traditional neon signs can be cumbersome and require professional installation.
안전
LED neon signs pose fewer safety risks, as they do not contain hazardous gases or generate excessive heat.
The Advantages of DIY LED Neon Signs
Cost Savings
Creating your own LED neon sign can save money compared to purchasing a pre-made sign or commissioning a custom design.
Creative Satisfaction
Designing and building your own LED neon sign allows for personal expression and the satisfaction of bringing your vision to life.
Customization
DIY LED neon signs offer unlimited customization options, ensuring your sign is unique and tailored to your needs.
Frequently Asked Questions About LED Neon Signs
How long do LED neon signs last?
LED neon signs can last for up to 50,000 hours or more, depending on factors such as usage and environmental conditions.
Can LED neon signs be used outdoors?
Yes, many LED neon signs are designed for both indoor and outdoor use. Ensure that your sign is specifically rated for outdoor use and follow any additional installation instructions provided by the manufacturer.
Are LED neon signs safe to touch?
LED neon signs generate very little heat and are generally safe to touch. However, it is always best to handle your sign with care to avoid damaging the LED lights or connections.
Can I change the color of my LED neon sign?
Some LED neon light strips offer color-changing capabilities, allowing you to change the color of your sign with the use of a remote control or smartphone app. Be sure to select a color-changing strip if this feature is important to you.
결론
Light Up Your Life with DIY LED Neon Signs
Creating your own LED neon sign is an exciting and rewarding project allowing you to express your creativity, personalize your space, and attract customers. By following this step-by-step guide, you’ll be well-equipped to design, construct, and display a captivating LED neon sign that reflects your unique style and vision. So why wait? Dive into the world of DIY LED neon signs and brighten up your life with a dazzling display of light and color.
Partner with Unitop: Your Expert LED Neon Strip Provider in China
When embarking on the journey to create your custom LED neon sign, working with a reliable and experienced supplier is essential. Look no further than 유니탑, a renowned expert in LED neon strip manufacturing based in China. We offer an extensive range of high-quality, tailor-made LED neon strips, catering to your distinct needs and desires.
With Unitop, you can be confident that you’re using top-of-the-line materials, ensuring a stunning and durable LED neon sign. Our professional and dedicated team is committed to supporting you throughout the process, providing valuable guidance and insight at every step. Don’t hesitate to 문의하기 for assistance while crafting the ideal LED neon sign that showcases your unique vision and flair.
관련 문서
트랙백 & 핑백
댓글을 남겨주세요
토론에 참여하고 싶으신가요?자유롭게 기여해 주세요!
답글 남기기

Tom은 현재 다음의 영업 관리자입니다. 유니탑(중국) 유한공사. 그는 LED 조명 업계에서 2005년부터 근무하고 있습니다. 그는 영업 및 마케팅, 공장 관리 분야의 전문가입니다. 보디빌딩을 좋아하고 애플의 열렬한 팬이기도 합니다! 그는 열심히 일하는 사람이며 새로운 것을 배우고 시도하는 것을 좋아합니다.
이메일: tom@unitopledstrip.com WhatsApp: +86-18680307140





awesome post.
Merci beaucoup pour cet article informatif ! La transition vers des enseignes LED néon semble être une excellente manière de combiner esthétique et durabilité. J’aimerais en savoir plus sur le processus d’assemblage des bandes LED et si vous avez des conseils spécifiques pour les débutants souhaitant se lancer dans ce type de projet DIY. Où est ce que je peux vous contacter ?
you are always welcome to write us email at tom@unitopledstrip.com
Turns out, building your own LED neon sign is the modern equivalent of trying to assemble IKEA furniture without the manual. But hey, if you’re up for a challenge and want your room to look like a neon circus threw up, this step-by-step guide might just be your ticket to dazzling confusion!
Thanks for liking our guide, hope this guide will benefit a lot of people who want to build their own LED neon sign.