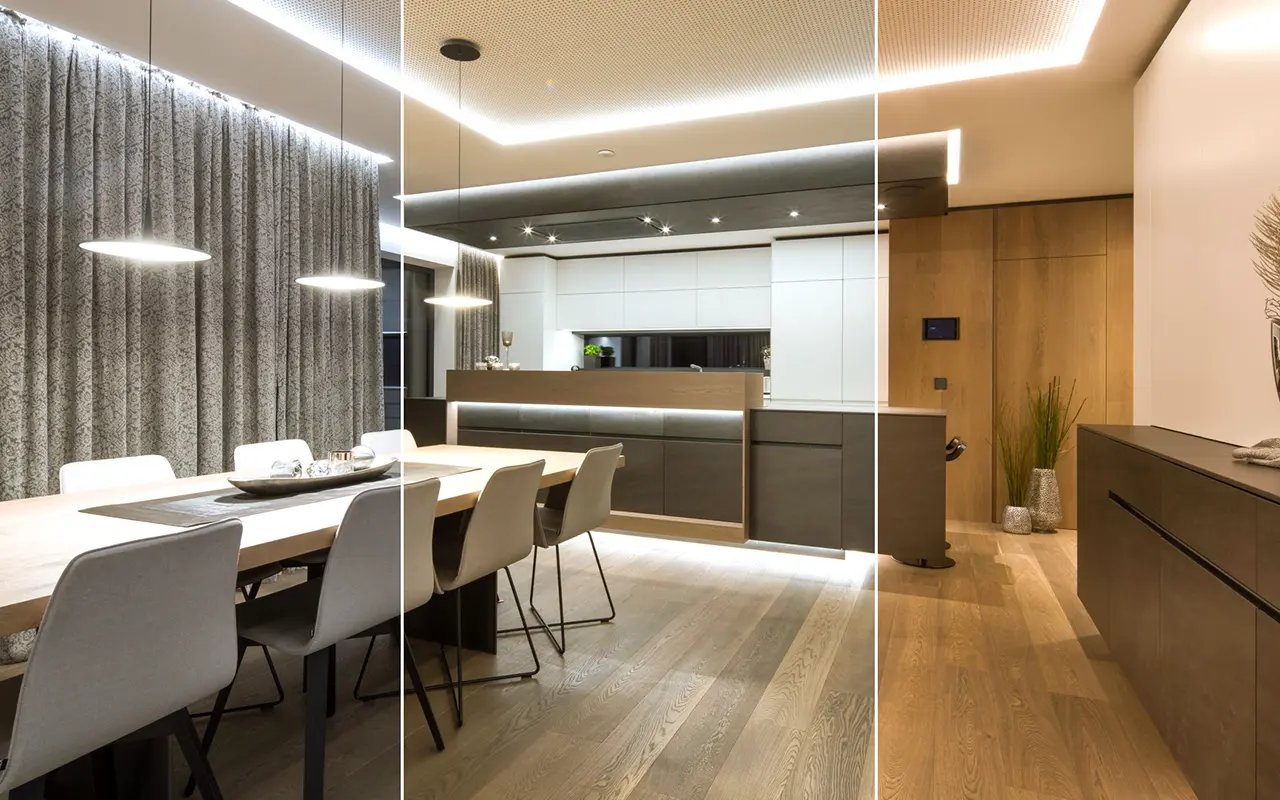
The ambiance of a space can be significantly transformed with just a tweak in the lighting. While overhead lights have their place, a soft glow from a hidden source can sometimes add a magical touch, making the environment cozy and inviting.
Good lighting isn’t just about aesthetics. It impacts our mood, performance, and mental health. A well-lit kitchen, for instance, can invigorate the morning routine. At the same time, a softly lit dining area can provide a tranquil spot to unwind.
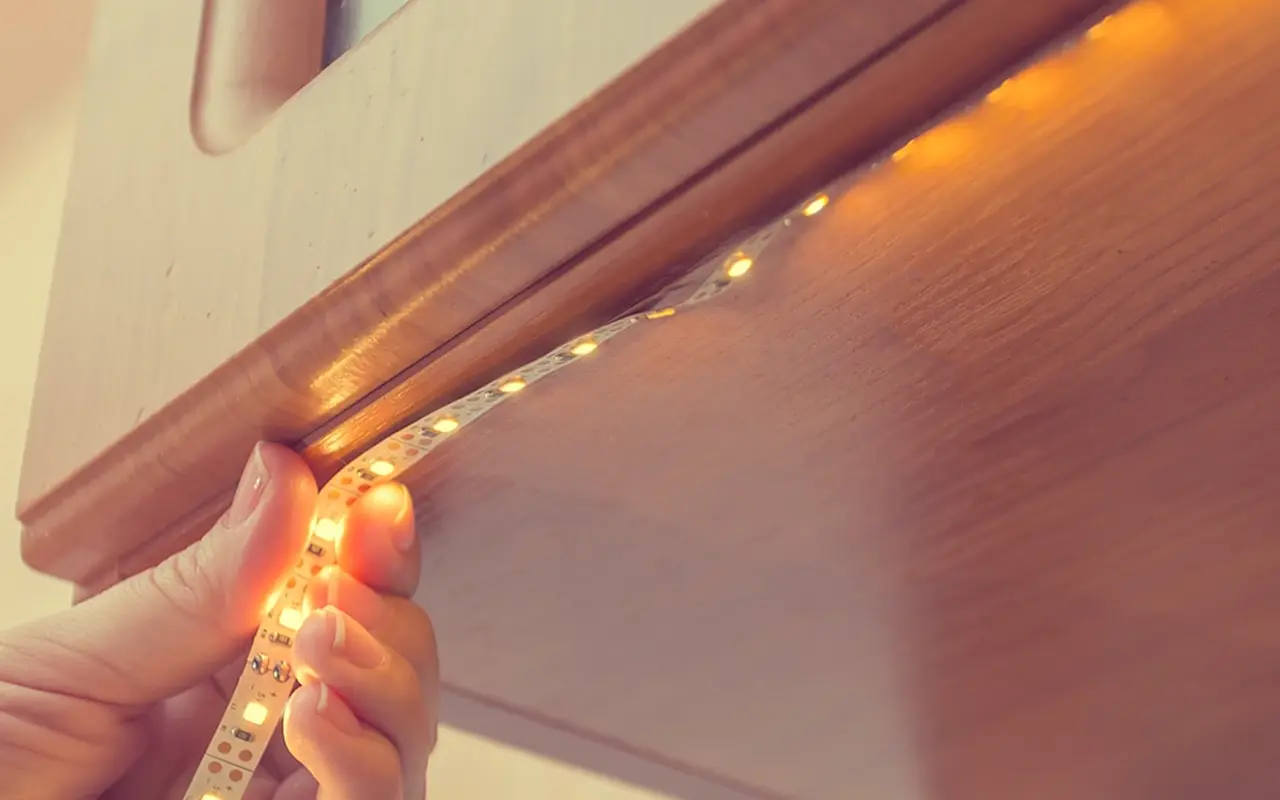
LED strips are a game-changer in modern lighting design. They are energy-efficient, long-lasting, and versatile. Installing them under counters not only caters to functional lighting but also accentuates the aesthetics, adding a modern and elegant touch to your space.
This easy guide is a simple guide on how you can install LED strip lights under counters in your kitchen.
Preparation Before Installation
Embarking on installing LED strips under your counters requires a blend of preparation and a dash of excitement. A well-prepared endeavor smoothens the process and elevates the outcome, marrying functionality with aesthetics.
Selecting the Right LED Strips
The market has many LED strips, each boasting unique features and benefits. The proper selection is paramount as it sets the tone for your space both in terms of brightness and color. It’s akin to choosing the right palette before painting a masterpiece.
Types of LED Strips
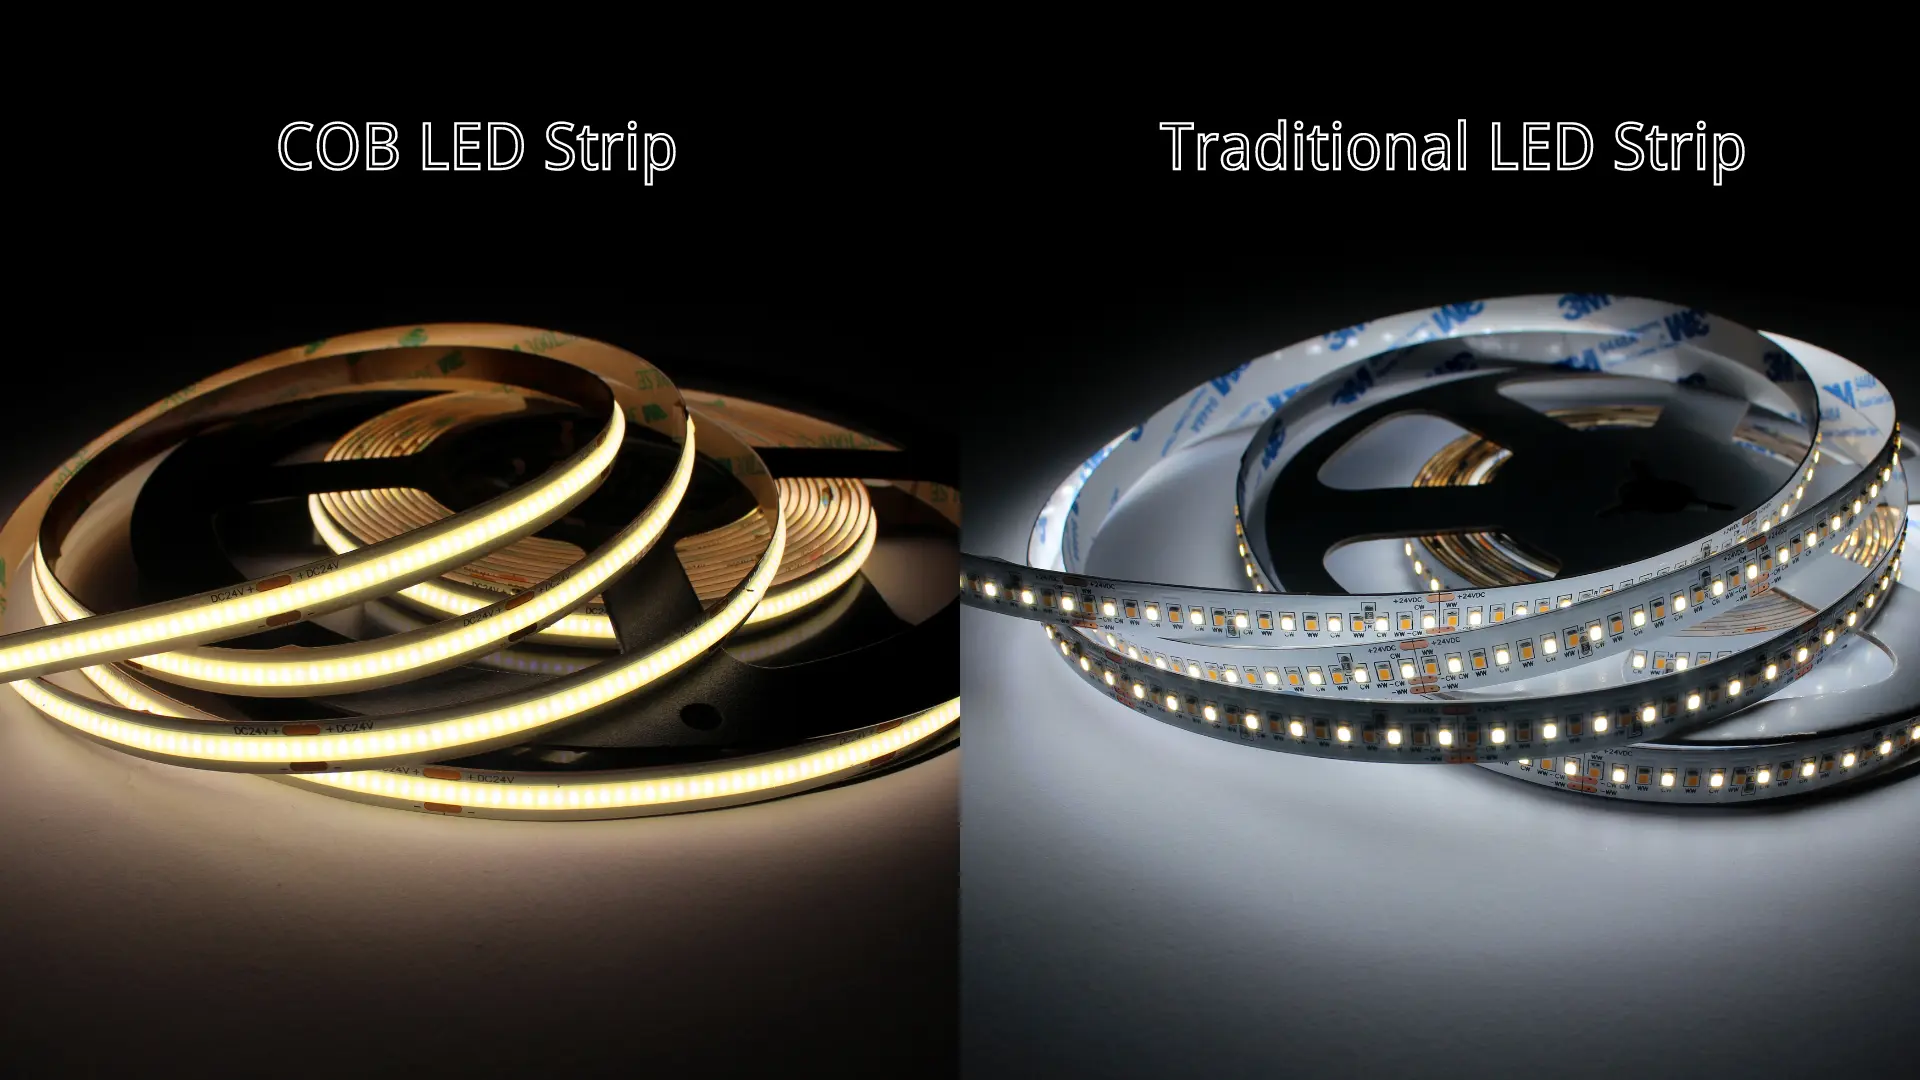
The spectrum of LED strips ranges from static color-changing to programmable LEDs. However, COB (Chip on Board) LED strips are the hallmark choice for the elegance and subtlety required for under-counter lighting. They are lauded for their uniform light distribution and sleek profile, which nestles impeccably under counters, casting a gentle glow.
Considerations Based on Counter Material and Location
Every counter tells a different story, dictated by its material and location. The adhesive prowess of LED strips may flirt differently with a wooden surface compared to a granite one. Similarly, proximity to a power source is a practical aspect that can’t be overlooked. Examining these facets beforehand lays down a path without hurdles during the installation.
Gathering Necessary Tools and Materials
A craftsman is only as good as his tools. Having the right tools and materials at your beck and call is the precursor to a hassle-free installation. It’s about creating a conducive environment where your DIY spirit can flourish.
List of Tools
Here’s a compiled checklist to ensure you’re battle-ready:
- Measuring tape: Ensure the LED strips fit like a glove for precise measurements.
- Sharp scissors or a cutter: To trim the LED strips at the designated cut lines.
- Wire strippers: A must-have to prepare the wires for connections.
- Wire nuts: To secure wire connections, ensuring they remain intact over time.
- Solderless connectors: For those who prefer a solder-free, clean, and easy connection.
Where to Purchase or Rent Them
Arming yourself with the right tools is just a click or a short drive away. Local hardware stores are treasure troves filled with all the necessary tools. For the digital savvy, online platforms like Amazon and Home Depot are your go-to destinations. They not only provide a vast array of options but also deliver right to your doorstep, making the process utterly convenient. So, whether you decide to purchase or rent, both avenues are laden with options to equip you for the task ahead.
단계별 설치 가이드
With the preparation out of the way, it’s time to roll up your sleeves and immerse in the heart of the installation. Every step is a stride towards transforming your space into a vibrant spectacle, with LED strips accentuating the contours of your counters.
Double-Check Your Lights Before Cutting or Installing
A stitch in time saves nine. Ensuring the operational integrity of your LED strips before taking the plunge will save you from any post-installation blues. Connect them to a power source, light them up, and ensure they shine bright and suitable.
Taking Measurements and Making Cuts
Precision is the hallmark of professionalism. Accurate measurements are the blueprint that guides your scissors as you trim the LED strips to the desired length.
Measuring the Length Needed
The narrative of your counters is told by the inches and feet. Unroll the measuring tape and record the length and breadth where the LED strips will reside. Every inch measured is a step toward a flawless installation.
Deciding on the Positioning
It’s not just about the length but where the light will cast its glow. Ponder upon the positioning, visualize the trajectory of light as it escapes from the LED strips, and bathe your counter in a soft glow.
Preparing the Strip-to-Power Connection
Connecting your LED strips and the power source builds the bridge between darkness and light. Prepare the strip-to-power connection, ensuring it can channel the electricity seamlessly.
Connecting Two Lengths of LED Strip
When the counter takes a turn, so must your LED strips. Connecting two lengths allows the light to flow uninterrupted, mirroring the contours of your counter.
Strip-to-Strip Connector
The strip-to-strip connector is your ally in maintaining a continuous stream of light. Utilize it to navigate through corners, ensuring the LED strips are harmonized.
Strip-to-Strip “No Wire” 커넥터
When the journey of your LED strips is longer, the “no wire” connectors step in, ensuring the connection remains seamless and the aesthetic remains intact.
Testing and Mounting the LED Strips
A test run is imperative before the LED strips find their permanent abode under your counters. It’s the rehearsal before the grand premiere.
Cleaning and Drying the Surface
A clean, dry surface resembles a blank canvas, ready to hold the LED strips firmly. Wipe away any residue and bid farewell to moisture, and you have the perfect setting for the installation.
Marking the Positions
손에 마커를 들고 LED 스트립이 지나갈 경로를 스케치합니다. 로드맵이 스트립을 표면에 붙일 때 안내해 줄 것입니다.
스트립을 표면에 부착하기
접착의 순간은 LED 스트립이 어디에 위치하여 빛을 발할지 조용히 약속하는 순간입니다. 접착 백킹을 벗겨내고 표시와 정렬한 다음 단단히 누릅니다.
전원에 연결하기
LED 스트립의 생명줄은 전원에서 흘러나옵니다. 안전한 연결을 보장하여 사용자의 명령에 따라 LED 스트립에 불이 들어올 수 있는 기반을 마련하세요.
조명 테스트
스위치를 켜면 변화가 시작됩니다. LED 스트립이 살아나면서 카운터 아래에서 은은한 빛을 내며 앞선 모든 단계에 투자한 노력을 증명해야 합니다.
선택적 사용자 지정
LED 스트립 조명의 장점은 조명 능력과 적응성에 있습니다. 미적 및 기능적 선호도에 맞는 사용자 지정 옵션을 살펴보고 다용도로 활용할 수 있습니다.
조광기 설치
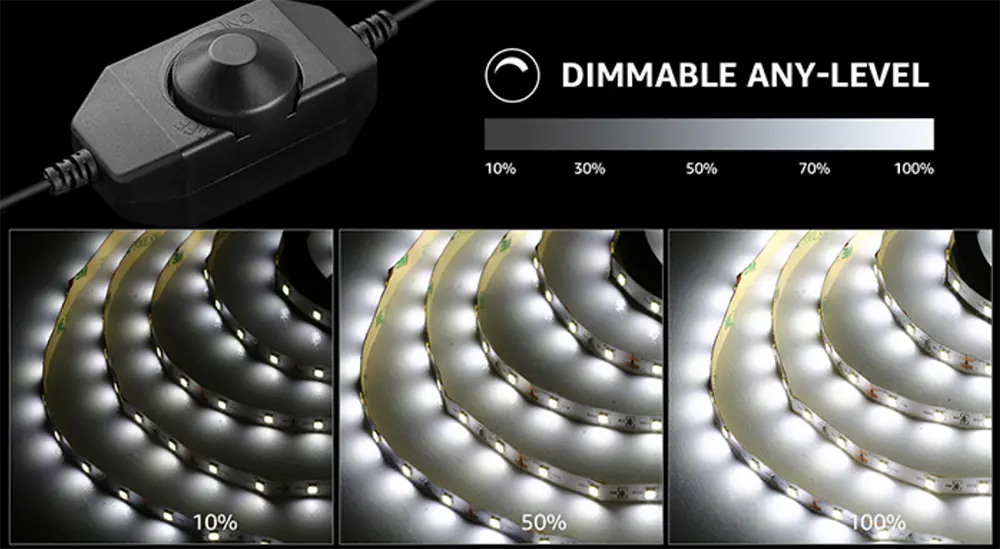
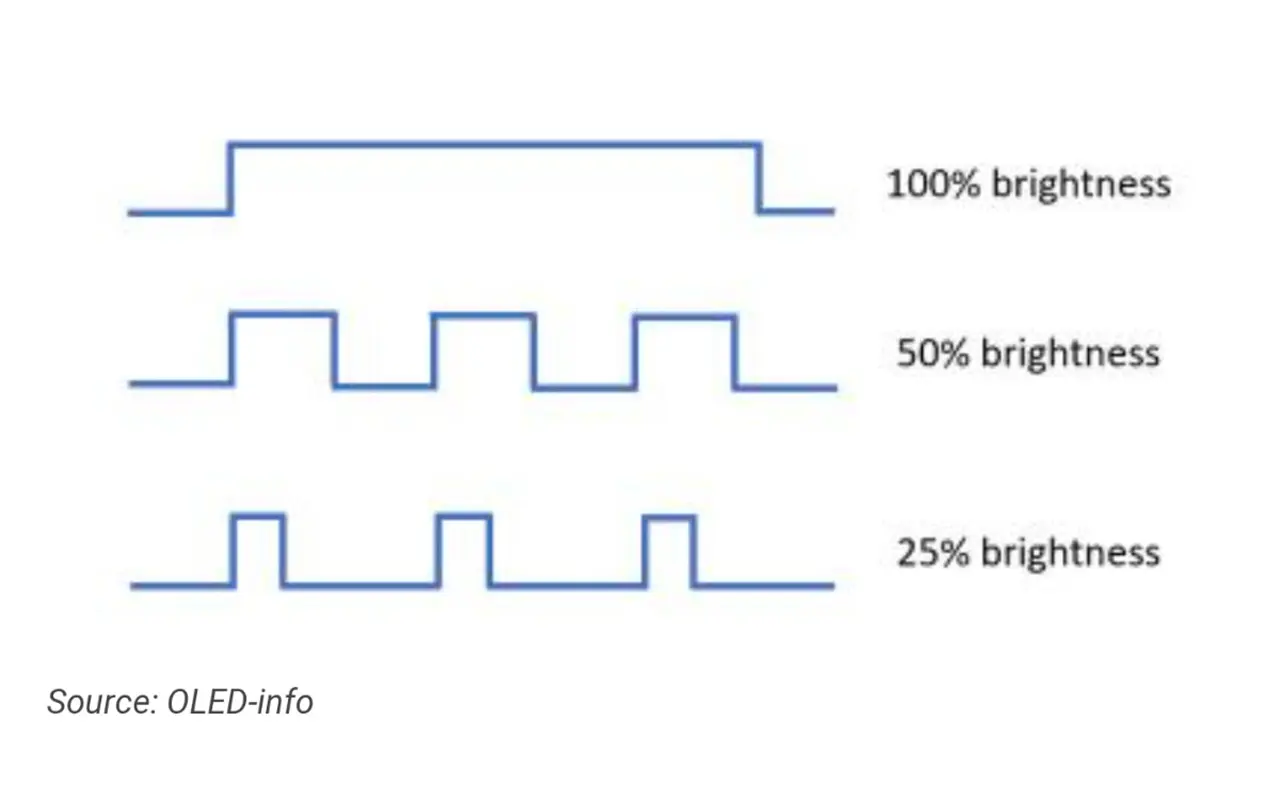
조광기는 단순한 장치가 아니라 분위기를 제어할 수 있는 장치입니다. 밝기를 조절하여 분위기를 활기차게 만들거나 어둡게 하여 아늑하고 친밀한 분위기를 연출할 수 있습니다.
조광기의 종류
조광기 선택은 자신의 스타일과 원하는 조명 제어 수준을 반영합니다. 회전식 디머는 클래식한 촉감의 경험을 제공합니다. 이와는 대조적으로 터치 디머 또는 스마트 디머는 공간의 밝기에 따라 모던하고 세련된 인터페이스를 제공합니다.
설치 단계
조명을 설치하기 위한 여정은 편리하고 접근하기 쉬운 위치를 선택하는 것부터 시작됩니다. 제조업체의 지침을 성실히 따르고 각 연결이 안전한지 확인하세요. 터치나 회전으로 LED 스트립의 밝기를 조절할 수 있는 조광기가 그 보답입니다.
색상 변경 옵션 살펴보기
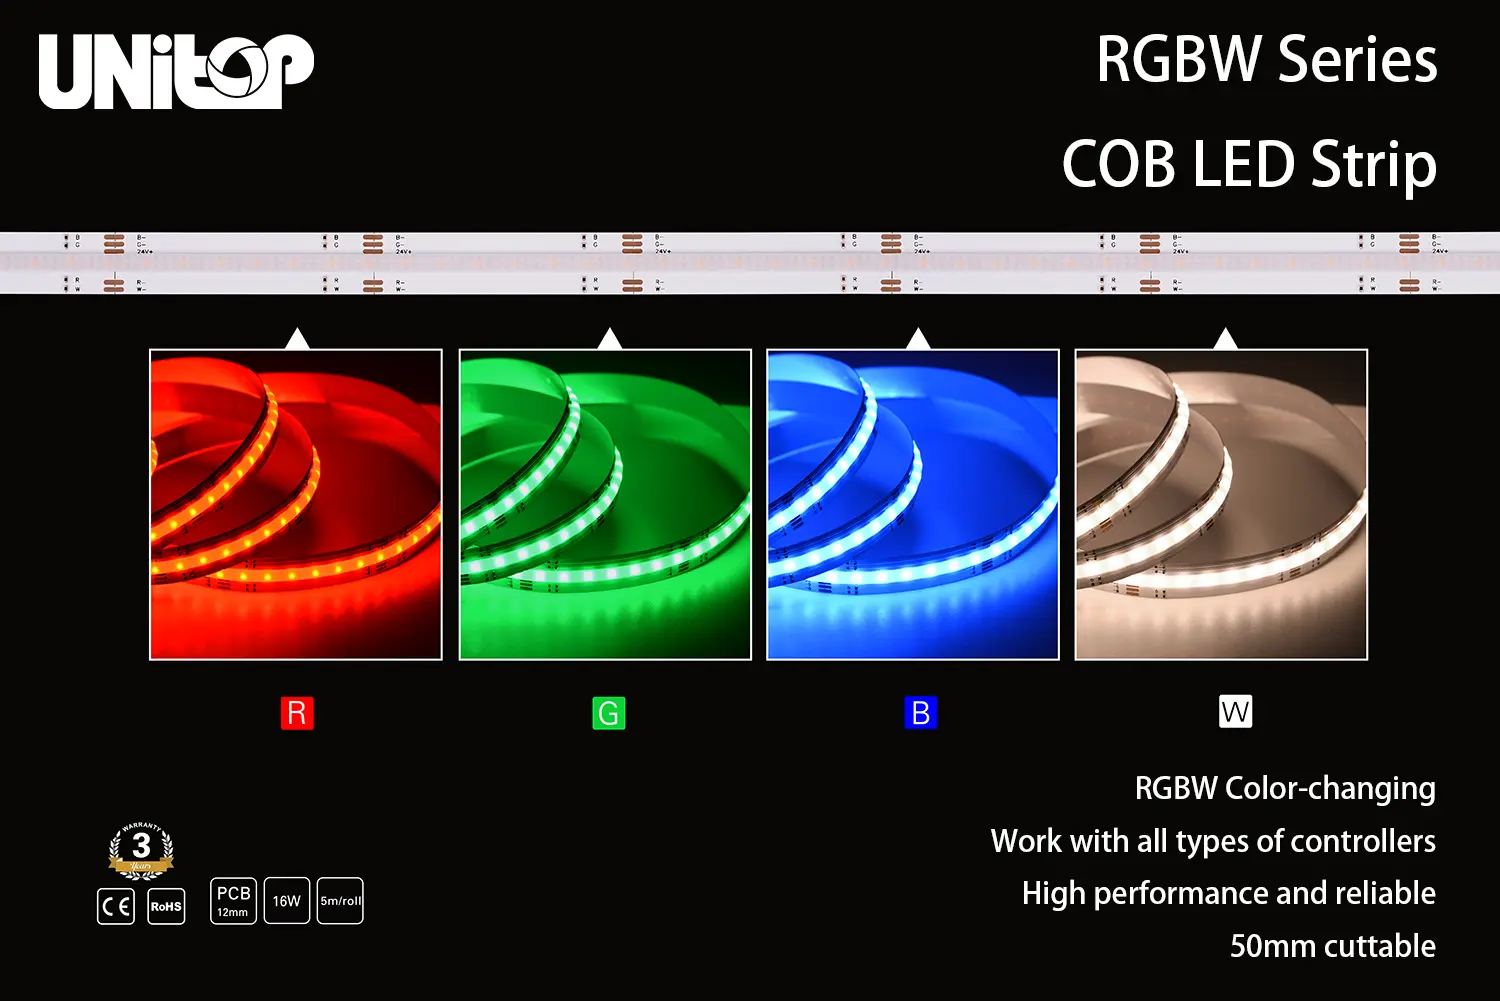
색상은 조명의 향신료이자 분위기를 한층 더 돋보이게 하는 기발한 요소입니다. 카운터를 캔버스로 변신시키는 색상 변경 옵션을 살펴보고 내 안의 예술가적 재능을 발휘해 보세요.
사용 가능한 제품
설치 및 사용 방법
컬러의 세계로 뛰어들기 위해서는 제품 설명서를 꼼꼼하게 훑어보는 것부터 시작해야 합니다. 설치 과정의 각 단계는 역동적이고 색이 변하는 조명 설정을 향한 한 걸음씩 나아가는 과정입니다. 작동 지침을 준수하면 기분이나 상황에 따라 색상이 변하는 공간의 문턱에 도달하게 됩니다. 카운터가 화려한 조명 쇼의 무대가 되고, 여러분은 연출자가 됩니다.
일반적인 문제 해결
아무리 잘 짜여진 계획이라도 문제가 발생할 수 있지만, LED 스트립 설치와 관련된 많은 일반적인 문제에는 간단한 해결책이 있으니 걱정하지 마세요. 약간의 인내심과 문제 해결에 대한 이해만 있다면 이러한 문제를 해결하는 데 큰 도움이 됩니다.
깜박이는 조명 해결
깜박이는 불빛은 성가시기는 하지만 일반적으로 설정에 사소한 문제가 있다는 신호이며, 확인되면 쉽게 해결할 수 있는 경우가 많습니다.
가능한 원인
느슨한 연결, 부적절한 전원 공급 장치 또는 호환되지 않는 조광기 스위치로 인해 LED 스트립 설치에 깜빡이는 불빛의 유령이 따라다닐 수 있습니다. 이러한 각 요소는 안정적인 조명을 위해 LED 스트립이 갈망하는 안정적인 전기 흐름을 방해할 수 있습니다.
솔루션
먼저 모든 연결부를 점검하여 단단히 고정되어 있는지 확인하세요. 느슨한 전선이 깜빡임 현상의 유일한 원인일 수 있습니다. 전원 공급 장치가 의심되는 경우, 보유하고 있는 LED 스트립의 길이와 유형에 적합한지 확인하여 업그레이드가 필요할 수 있습니다. 마지막으로, 호환되지 않는 조광기 역시 파티를 망칠 수 있습니다. 조광기와 LED 스트립이 동일한 전기 언어를 사용하는지 확인하거나 호환되는 조광기를 구입하여 조명 설정에 평화를 되찾으세요.
응답하지 않는 조광기 문제 해결하기
LED 스트립 조명의 세계에서 갑자기 스스로 의지가 생겨난 조광기는 드물지 않습니다. 하지만 대부분의 경우 간단한 문제 해결 단계에 따라 해결되는 문제이므로 걱정하지 마세요.
일반적인 문제 해결 단계
조광기로 연결되는 모든 연결을 검사하여 해결책을 찾기 시작하세요. 잘못 작동하는 전선이 문제의 원인일 수 있습니다. 모든 케이블이 정상이라면, 특히 수년 동안 충실한 하인 역할을 해온 조광기라면 조광기가 불량 요소일 수 있습니다. 호환되는 새 조광기로 교체하면 문제가 해결될 수 있습니다. 마지막으로 호환성 점검이 필요합니다. 조광기, LED 스트립, 전원 공급 장치가 일치하는지 확인해야 하는데, 일치하지 않으면 조광기가 응답하지 않을 수 있습니다. 각 단계를 수행할 때마다 조명 분위기를 다시 제어할 수 있게 되어 깜빡임 없는 밝은 조명의 안식처로 안내합니다.
결론
약간의 노력과 인내심을 발휘하여 공간을 현대적이고 밝은 조명의 안식처로 탈바꿈시켰습니다. LED 스트립의 포장을 뜯는 순간부터 은은한 조명을 감상하는 순간까지 보람찬 여정이었습니다. 이제 카운터가 따뜻하고 매력적인 분위기를 발산하여 아늑한 저녁이나 생산적인 오후를 보낼 수 있는 분위기를 조성합니다.
기억을 더듬어 중요한 단계를 다시 한 번 정리해 보면 설치 과정에서 놓친 부분이 없는지 확인할 수 있습니다:
1. 적합한 LED 스트립을 선택하고 필요한 도구를 준비합니다.
2. 정확한 측정과 세심한 커팅.
3. 3. 스트립-전력 연결 준비 및 스트립 커넥터가 있는 모서리 탐색.
4. 4. 카운터 아래에 스트립을 청소하고, 위치를 표시하고, 부착합니다.
5. 전원에 연결하고 불빛이 예상대로 반짝이는지 확인합니다.
6. 원하는 경우 조광기 또는 색상 변경 옵션으로 개인화합니다.
이제 커피 한 잔을 마시며 카운터 언더 카운터 LED 조명이 만들어낸 새로운 분위기를 만끽할 시간입니다. 은은한 조명이 미적 매력을 더하고 공간에 기능적인 매력을 더합니다. 이른 아침의 분주함에 활기를 더하든, 한밤의 야식에 고요한 빛을 드리우든, 새로 설치한 LED 스트립은 이제 집의 개성을 표현하는 데 없어서는 안 될 부분입니다. 앞으로 더 많은 빛의 순간을 기대해 주세요!
빛나는 공간을 향한 여정에서 가장 중요한 것은 최고의 파트너와 협력하는 것입니다. 유니탑, 중국 최고의 LED 스트립 조명 그리고 LED 네온 플렉스 는 LED 분야에서 품질과 혁신의 등대 역할을 하고 있습니다. 추가 문의 또는 맞춤형 LED 솔루션이 필요한 경우, 광채로 가는 길은 다음과 같습니다. 유니탑과 멀리 떨어진 곳에서 연락. 전문성과 전문성을 바탕으로 빛나는 꿈을 실현할 준비가 되어 있습니다.
관련 문서

Tom은 현재 다음의 영업 관리자입니다. 유니탑(중국) 유한공사. 그는 LED 조명 업계에서 2005년부터 근무하고 있습니다. 그는 영업 및 마케팅, 공장 관리 분야의 전문가입니다. 보디빌딩을 좋아하고 애플의 열렬한 팬이기도 합니다! 그는 열심히 일하는 사람이며 새로운 것을 배우고 시도하는 것을 좋아합니다.
이메일: tom@unitopledstrip.com WhatsApp: +86-18680307140



댓글을 남겨주세요
토론에 참여하고 싶으신가요?자유롭게 기여해 주세요!