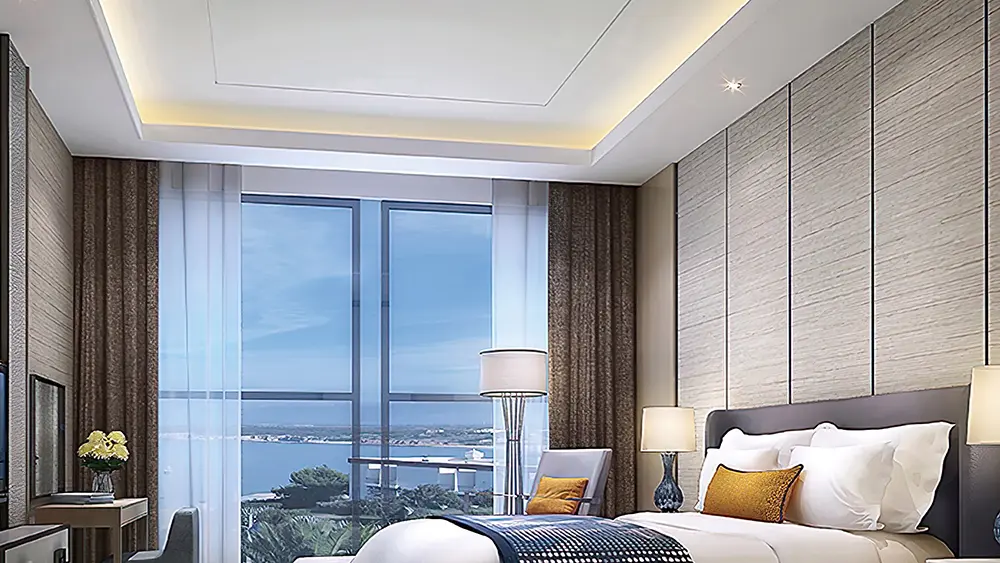
Want to give your space a dazzling makeover? Installing LED strip lights on the ceiling might be the perfect solution! These lights aren’t just eye-catching; they transform ordinary spaces into extraordinary ones. But how do you install them like a pro? That’s what we’re here to explore!
Installing LED strip lights correctly is more than just sticking them to the ceiling. You want your décor to blend well, save energy, and be safe. This guide is for you if you want to upgrade your home or create an appealing atmosphere for your business.
Allow me to introduce myself – I’m Tom. Having been in the LED lighting industry since 2005, I’ve seen and done it all. I have learned a lot about simple home installations and complex commercial projects. I am excited to share this knowledge. Let’s figure out how to install LED strip lights on your ceiling without any trouble.
Ready to light up your life? Whether you’re new to playing with LEDs or experienced, this guide is for everyone. Let’s dive right in, shall we? Everything you need, from the must-have tools to the common mistakes to avoid, is right here. Happy lighting!
Why Choose LED Strip Lights?
Energie-efficiëntie
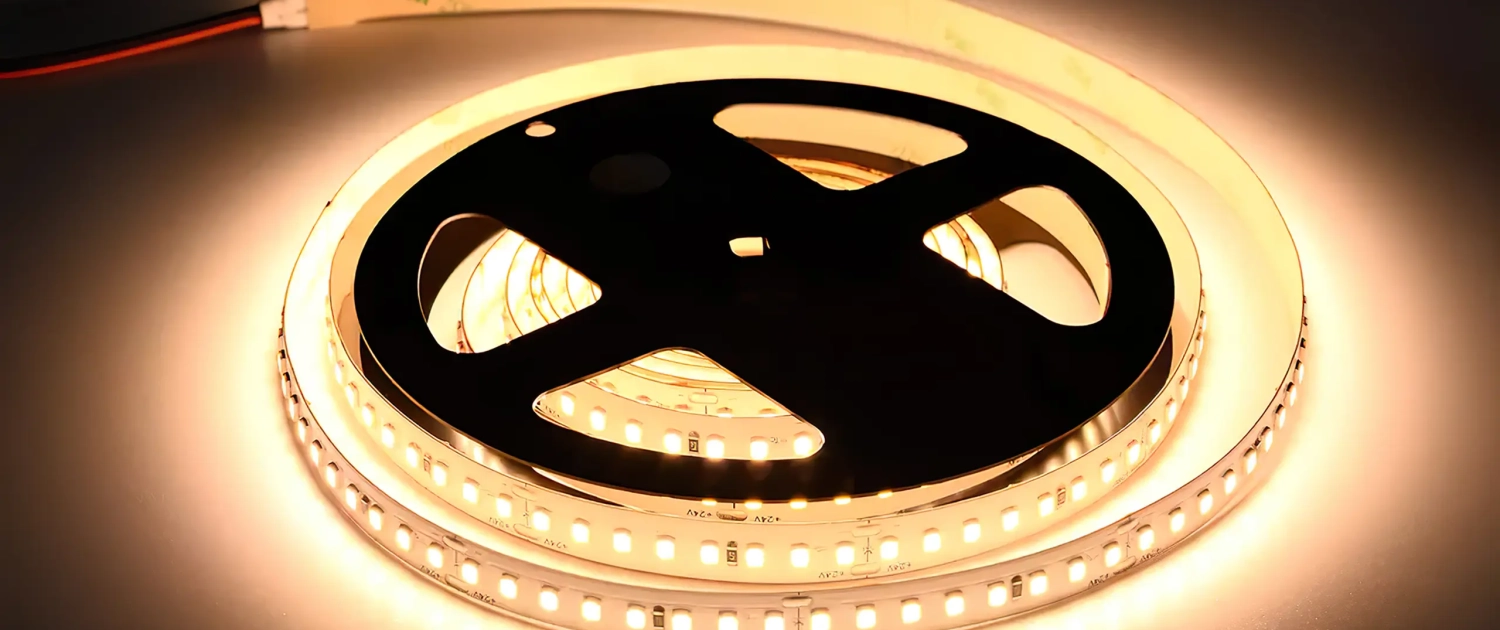
LED strip lights consume less energy compared to conventional lighting solutions. They translate more energy into light rather than wasting it as heat. This not only lowers your energy bills but also helps in reducing your carbon footprint. It’s an elegant step towards a greener future.
Versatility in Design
The magic of LED strip lights lies in their versatility. You can customize them by trimming and selecting colors that match your décor. From living rooms to kitchens, they bring creativity into any space.
Veiligheidsoverwegingen
LEDs are cool to the touch and run on low voltage, reducing the risk of electric shocks or burns. They come with the peace of mind that safety doesn’t have to be compromised for style.
Tools, Materials, and Pre-Requisites
Essentieel gereedschap
Installing LED strip lights is a thrilling DIY project but demands the right tools. Here’s an expanded list of tools you’ll need:
A pair of scissors: Cut the LED strips to the desired length.
Soldering iron (if required): You may need a soldering iron to securely connect different strips together.
Draadstrippers: Wire strippers are necessary to remove insulation from wire ends, making connections easier.
Measuring tape: To accurately measure the area where the strip lights will be installed, ensuring a perfect fit.
Ladder: To safely reach elevated areas during installation.
Toolbox: The toolbox contains useful tools such as screwdrivers, pliers, a utility knife, and possibly a drill for brackets.
Choosing the Right LED Strip Lights
Choosing the right LED strip light is important to get the effect you want. Consider these key aspects:
Brightness Level: Consider the room’s requirements. A living room might need gentle lighting, while a workspace may need brighter lights.
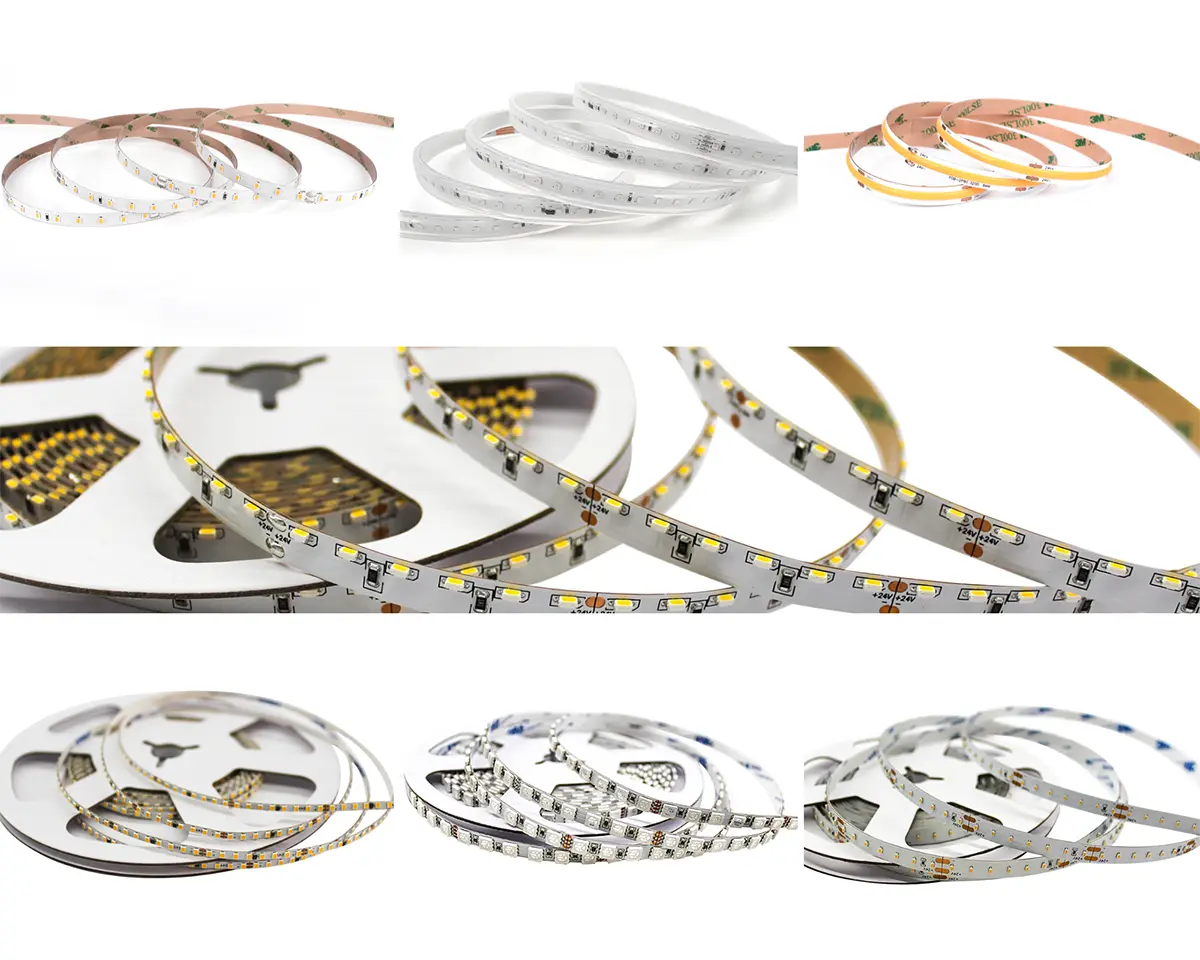
Color Spectrum: Decide between single-color or multi-color strips. Multi-color options can create dynamic effects, adding character to your space.
Water Resistance: Check the IP rating if installed in a bathroom or other humid environment. An IP67 rating ensures water resistance for areas exposed to moisture.
Length: The LED strip must be long enough to cover the desired area but can usually be cut to size.
Voltage and Power: Confirm that the power adapter matches the LED strip’s voltage to prevent overheating and other electrical issues.
Required Skills & Some Points to Ponder
You don’t need to know a lot about electricity to install LED strip lights, but knowing some basics can help. Here’s what to keep in mind:
Basic Electrical Knowledge: Understanding positive and negative connections, soldering, and how to handle simple wiring is essential.
Steady Hand and Patience: This isn’t a race. Take your time to measure, cut, and place the strips accurately.
Reading the Manual: LED strips might have unique features or installation requirements. Always refer to the product manual for specific instructions.
Trial Connection: Before finalizing the installation, test the connections and lighting to ensure everything works as intended.
Consider Professional Help if Needed: Don’t hesitate to seek professional assistance if the task seems too complex. Safety and proper installation should be paramount.
Planning and Preparing the Ceiling for Installation
Proper planning and preparation set the stage for successfully installing LED strip lights. Clean and measure carefully to ensure everything is in the right place. Also, remember to follow safety rules.
Waar moeten LED strips op een plafond worden geplaatst?
Plaatsing is een centrale factor bij het bereiken van het gewenste verlichtingseffect. Waar je je LED strips plaatst, kan van grote invloed zijn op hoe je ruimte eruitziet en werkt. Overweeg deze essentiële punten:
Accentverlichting: Het benadrukken van specifieke kunstwerken, architecturale kenmerken of focuspunten met strategisch geplaatste LED strips kan de visuele aantrekkingskracht van een kamer verbeteren.
Taakverlichting: Het installeren van LED strips in werkgebieden, zoals boven een aanrecht of een werkruimte, biedt essentiële verlichting voor verschillende taken.
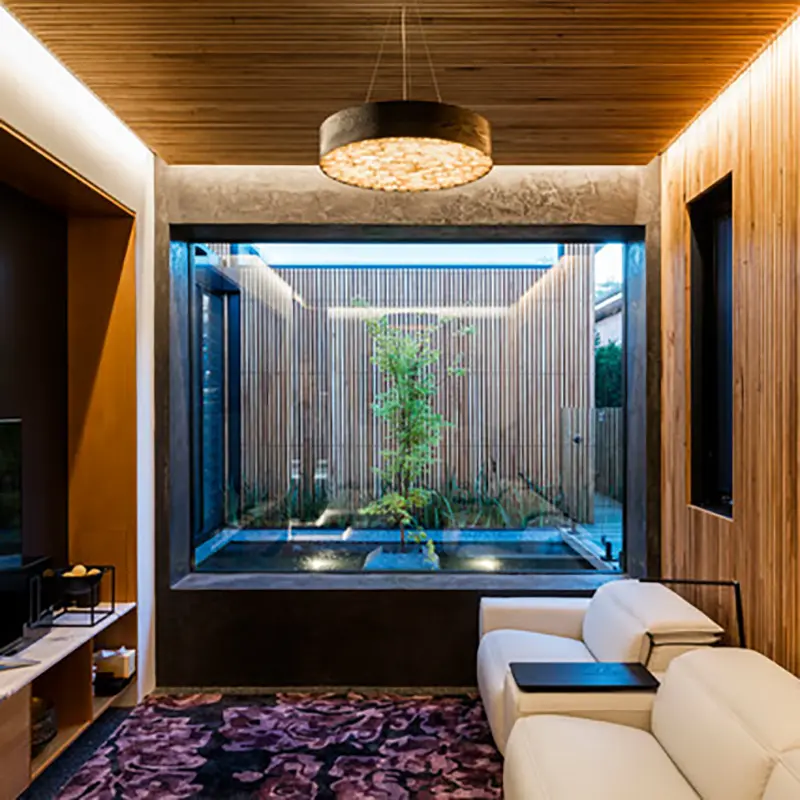
Sfeerverlichting: Zachte verlichting rond de omtrek van een kamer of achter armaturen creëert een gezellige, uitnodigende sfeer die perfect is om te ontspannen.
Speciale kenmerken Verlichting: Als je nissen, inhammen of andere unieke architecturale kenmerken hebt, kunnen LED-strips deze details accentueren.
Schoonmaken en meten
Een onberispelijke installatie vereist een schone en nauwkeurig opgemeten ruimte. Zo gaat u te werk:
Schoonmaken: Zorg ervoor dat het oppervlak schoon, stofvrij en droog is. Dit garandeert een betere hechting van de kleeflaag op de LED-strips. Meestal is een milde schoonmaakoplossing en afvegen met een droge doek voldoende.
Meten:
1. Meet met een meetlint het gebied op waar de LED-strips moeten komen.
2. Meet de strook zorgvuldig, inclusief hoeken en bochten, om de exacte lengte te vinden die je nodig hebt.
3. Dubbelcheck om fouten te voorkomen die kunnen leiden tot onnodige bezuinigingen of verlengingen.
Veiligheidsmaatregelen
Veiligheid moet altijd uw prioriteit zijn. Hoewel het installatieproces over het algemeen eenvoudig is, is het van cruciaal belang om deze veiligheidsmaatregelen in acht te nemen:
Schakel de stroom uit terwijl u werkt: Zorg ervoor dat de stroom is uitgeschakeld in de ruimte waar u werkt. Dit minimaliseert het risico op onbedoelde schokken of kortsluiting.
Gebruik een stabiele ladder: Gebruik een stabiele en geschikte ladder of opstapje om hoge plaatsen te bereiken. Zorg ervoor dat deze op een vlakke ondergrond staat en zorg voor een goed evenwicht.
Volg de instructies van de fabrikant: Lees en volg de richtlijnen voor het installeren en hanteren van het product.
Raadpleeg een professional bij twijfel: Als je tegen complexe problemen aanloopt of je onzeker voelt over een aspect van de installatie, is het verstandig om een professionele elektricien te raadplegen. Veiligheid en kwaliteit mogen nooit in het gedrang komen.
Stap-voor-stap handleiding voor het installeren van LED-stripverlichting
Je denkt misschien dat het moeilijk is om LED stripverlichting te installeren, maar het kan leuk zijn als je een stapsgewijze methode volgt. Deze gids laat je zien hoe je een vlekkeloze afwerking bereikt voor gewone of gespecialiseerde installaties van verlaagde plafonds.
Bedrading en montage van de lampen
De juiste bedrading en montage zijn cruciaal in het installatieproces. Laten we de verschillende stappen in detail bekijken:
Zoek de stroombron
Begin met het vinden van een stopcontact in de buurt van waar de LED-strip zal beginnen. Deze locatie moet gemakkelijk toegankelijk zijn en de zichtbare bedrading minimaliseren. Als er geen stopcontact is op de perfecte plek, kun je een elektricien vragen een nieuw stopcontact te installeren. Zo blijft de ruimte er mooi uitzien.
Knip de lamp op maat
Meet de benodigde lengte en gebruik een schaar om de lamp op de gemarkeerde plaatsen door te knippen. Volg altijd de aangegeven kniplijnen die speciaal zijn ontworpen om het circuit te behouden. Knippen op niet-gemarkeerde plaatsen kan de strips beschadigen.
Verwijder de zelfklevende achterkant
Het verwijderen van de zelfklevende achterkant vereist zorgvuldigheid. Doe het langzaam om ervoor te zorgen dat de lijm niet samen met de achterkant loslaat. Een juiste verwijdering zorgt voor een maximale kleefkracht voor een stevige bevestiging.
Plak de lampen aan het plafond
Druk de lampjes stevig op het gereinigde oppervlak en volg daarbij het geplande pad. Zachtjes maar stevig drukken helpt bij het hechten. Regelmatige controles voorkomen problemen zoals afbladderen of uitzakken.
Sluit de voeding aan
Steek tot slot de voedingsadapter in het stopcontact en sluit deze aan op de LED-strip. Om de bedrading er professioneel uit te laten zien, gebruik je clips of kabelgoten om de bedrading netjes en georganiseerd te houden.
LED-stripverlichting installeren in een verlaagd plafond
Door LED-strips toe te voegen aan een verlaagd plafond ziet het er mooi uit, maar je moet voorzichtig en precies zijn.
Snijd een kanaal in het plafond: Bepaal het beste pad en snijd een kanaal in het plafond om de LED-strip in te leggen. Dit vereist wellicht speciaal gereedschap en een vaste hand.
Leg de LED-strip in het kanaal: Plaats de LED-strip in het kanaal en zorg ervoor dat hij vlak zit.
Verberg de draden achter het plafond: Verberg de aansluitdraden zorgvuldig achter het plafond voor een strakke en naadloze look.
Je lampen plaatsen
Alignment is crucial in the installation process. Use your eyes, a level tool, and a measuring tape to ensure the strip is straight. Minor adjustments might be needed to maintain a uniform appearance.
How to Put Up LED Strip Lights on Ceiling Corners?
Navigating corners can be tricky but is quite manageable with the right approach:
Cutting: Cut the LED strips at the marked corner points. These points are designed for precise bending without damaging the lights.
Use Connectors: Special connectors are available to maintain the flow around corners. The lights can smoothly go around corners without any gaps or interruptions.
Tips and Tricks for a Professional Finish
LED strip lights offer a versatile and elegant lighting solution. The installation is easy, but can be like art if you give it attention and creativity. Here’s how to achieve a professional finish, making your space functional and stylish.
Controlling Your Lights
Having control over your lighting can transform the ambiance of any room. Here’s how to maximize that control:
Use a dimmer switch
A dimmer switch allows you to adjust the intensity of your lights effortlessly. The dimmer switch can set the mood, whether you want romance or better lighting for work.
Use multiple colors
LED strip lights come in a variety of colors. You can mix and match to create themes or change the environment based on your mood or the season.
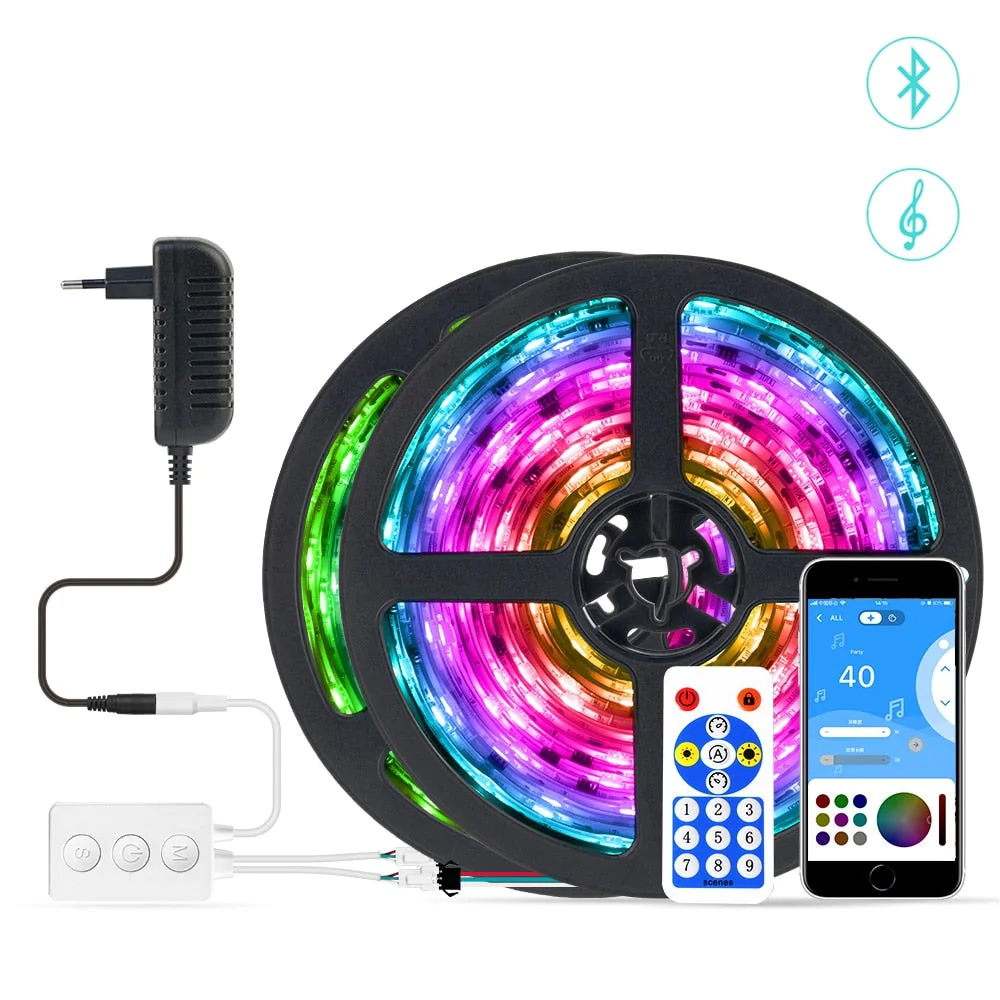
Install remote-controlled lights
Remote-controlled LED lights provide convenience at your fingertips. You can use a remote to turn off the lights or change their color while in bed.
Install motion-sensor lights
Motion sensors are great for hallways and bathrooms. They turn on the lights when needed and off when not in use. This smart addition enhances safety and saves energy.
Add a timer
Adding a timer to your LED strip lights can contribute to energy efficiency. Schedule them to turn on and off according to your routine, ensuring they are only in use when necessary.
Hiding Wires
Exposed wires can diminish the sleek appearance of your LED installation. Here’s a solution:
How to Hide LED Light Power Cord and Connectors?
Invest in cable covers that match your wall or ceiling color. Running the cables through the walls is another professional touch. To hide the wires and achieve a sleek, polished look, use these techniques.
Adjusting Brightness
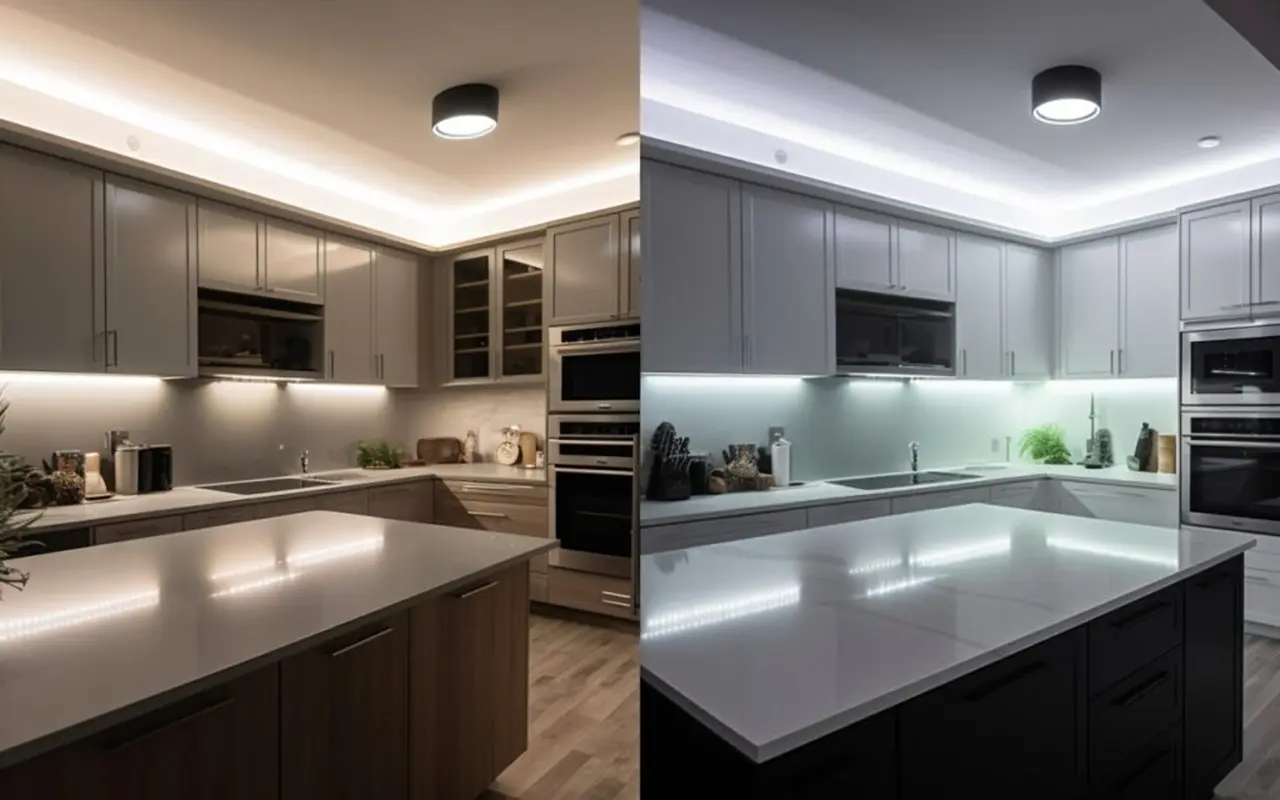
Different spaces call for different brightness levels. Feel free to experiment to find what suits your space best. The right brightness level can make any room feel peaceful, like a well-lit kitchen or cozy bedroom.
Color Coordination
Selecting the perfect color requires an artistic touch. Select colors that go well with the current furniture, wall color, or accessories. Feel free to express yourself with contrasting or complementary colors. LED lights can become an integral part of your décor, not just a functional addition.
Common Mistakes and How to Avoid Them
The installation of LED strip lights can be an exciting yet complex task. Even seasoned DIYers may need help understanding common pitfalls. The secret to a smooth installation is knowing what mistakes to watch out for and how to avoid them.
Problemen met oververhitting
LEDs may be more energy-efficient than traditional bulbs but can still generate heat. Overheating issues can arise if you’re not careful:
Avoid Insulating Materials: Don’t cover LEDs with anything that could trap heat, such as foam or heavy fabric. This might cause overheating and reduce the lifespan of your lights.
Ensure Proper Ventilation: Place LEDs in a well-ventilated area or provide space for dissipating heat. This ensures your lights perform efficiently for a long time.
Inconsistent Lighting
Inconsistent brightness or color can ruin the visual impact of your LED strip lights:
Use Quality LED Strips: Opt for trusted brands known for their quality. It ensures that all the LEDs in a strip are consistent in brightness and color.
Check Compatibility: Ensure all components, including power supplies and controllers, are compatible to avoid brightness inconsistency.
Safety Mistakes
Safety should never be an afterthought when working with electrical systems:
Read Instructions Carefully: Always read and follow the guidelines provided by the manufacturer.
Consult Professionals When in Doubt: It’s wise to consult a professional if something doesn’t seem right. A simple consultation could prevent significant issues down the line.
Maintenance and Care
The journey continues once you have installed your LED strip lights. To make your LED system last longer and stay bright, take care of it regularly.
Cleaning Tips
LEDs require gentle handling:
Wipe Gently: Use a dry or slightly damp cloth to wipe the surface of your LED strip lights. Heavy or wet cleaning can damage the lights.
Avoid Harsh Chemicals: Avoid cleaning agents that might corrode or damage the LED surface.
Replacing Sections
LEDs are robust, but sometimes sections can go wrong:
Easy Replacement: Cut out the wrong section and replace it with a new one. Make sure to properly cut along the designated lines and connect the new piece.
Warranty and Support
Your LED strip lights likely come with a warranty and support package:
Keep Documents Handy: Always have your warranty and support documents accessible. In case something goes wrong, these documents can save you a lot of time and money.
Understand Your Coverage: Knowing what’s covered under the warranty helps you take the proper steps in the event of a malfunction.
FAQ's
Hoe lang gaan LED-striplampen mee?
LED strip lights typically last 25,000 to 50,000 hours, depending on their quality and usage. To make them last longer, install and maintain them correctly as instructed by the manufacturer.
Can LED strip lights be repaired?
Yes, LED strip lights can often be repaired. If a section is damaged, it can usually be cut out and replaced with a new segment using connectors. However, it’s essential to ensure compatibility and follow the correct procedures.
How to install LED strip lights on the ceiling without damaging the wall?
Carefully plan and use proper mounting methods to install LED strip lights without damaging the wall. To protect your walls and ceiling, use adhesive backings, mounting clips, or brackets during installation.
How do you stick LED strips to a room?
Sticking LED strips in a room usually involves using the adhesive backing of most LED strips. First, make sure to clean the surface well. Then, peel off the protective layer. Finally, press the strips firmly onto the surface.
How do you connect LED strip lights to a power supply?
To connect LED strip lights to a power supply, follow these steps:
1. Cut the strip to the desired length.
2. Attach connectors, if necessary.
3. Connect the strip to the correct power adapter. To install safely and effectively, make sure the voltage and wattage match each other.
Where should I place LED strips on the ceiling?
Placement of LED strips on the ceiling depends on the design and lighting effect you desire. Common places for lighting include edges, coving, and specific patterns.
How to install LED strip lights in the false ceiling?
To install LED strip lights in a false ceiling, you need to create spaces in the ceiling for the lights. To achieve a seamless look, measure carefully, plan well, and maybe consult with a professional.
How can I hide LED strips on the ceiling?
You can hide LED strips on the ceiling in different ways. One way is to embed them in coving. Another way is to place them behind architectural features. You can also use specially designed channels. The goal is to create a clean and discreet lighting effect.
Are LED strips easy to install?
Generally, LED strips are considered user-friendly and suitable for DIY installation. Even beginners can easily follow a guide, use the right tools, and take their time.
Can I use double-sided tape to hang LED lights?
You can use double-sided tape to hang LED lights, but it might not be as durable as the adhesive made for LED strips. Using it as a temporary fix is okay, but it’s not advisable for permanent use.
Conclusie
LED strip lights are more than just a trend. They’re a statement of style, efficiency, and creativity. You don’t have to be a professional to install them. With this comprehensive guide, you’re well on your way to transforming your space like a pro. So go ahead, experiment, and let your lights shine bright.
Looking to take your LED lighting project to the next level? Turn to Unitop, one of China’s top LED-strip verlichting en LED neon flex manufacturers. We pride ourselves on quality, innovation, and customer service that’s second to none. If you’ve got more questions or need a hand with your lighting project, uitsteken. We’re here to help and can’t wait to light up your space. Unitop has your back every step of the way.
Gerelateerd artikel

Tom is nu de Sales Manager van Unitop (China) Co.. Hij is in de LED Verlichting industrie sinds 2005. Hij is een expert in verkoop & marketing, en fabrieksmanagement. Hij houdt van bodybuilding, en hij is ook een gekke Apple-fan! Hij is een hardwerkende man en houdt ervan te leren en nieuwe dingen te proberen.
Email: tom@unitopledstrip.com WhatsApp: +86-18680307140


Laat een reactie achter
Wil je meedoen aan de discussie?Voel je vrij om bij te dragen!