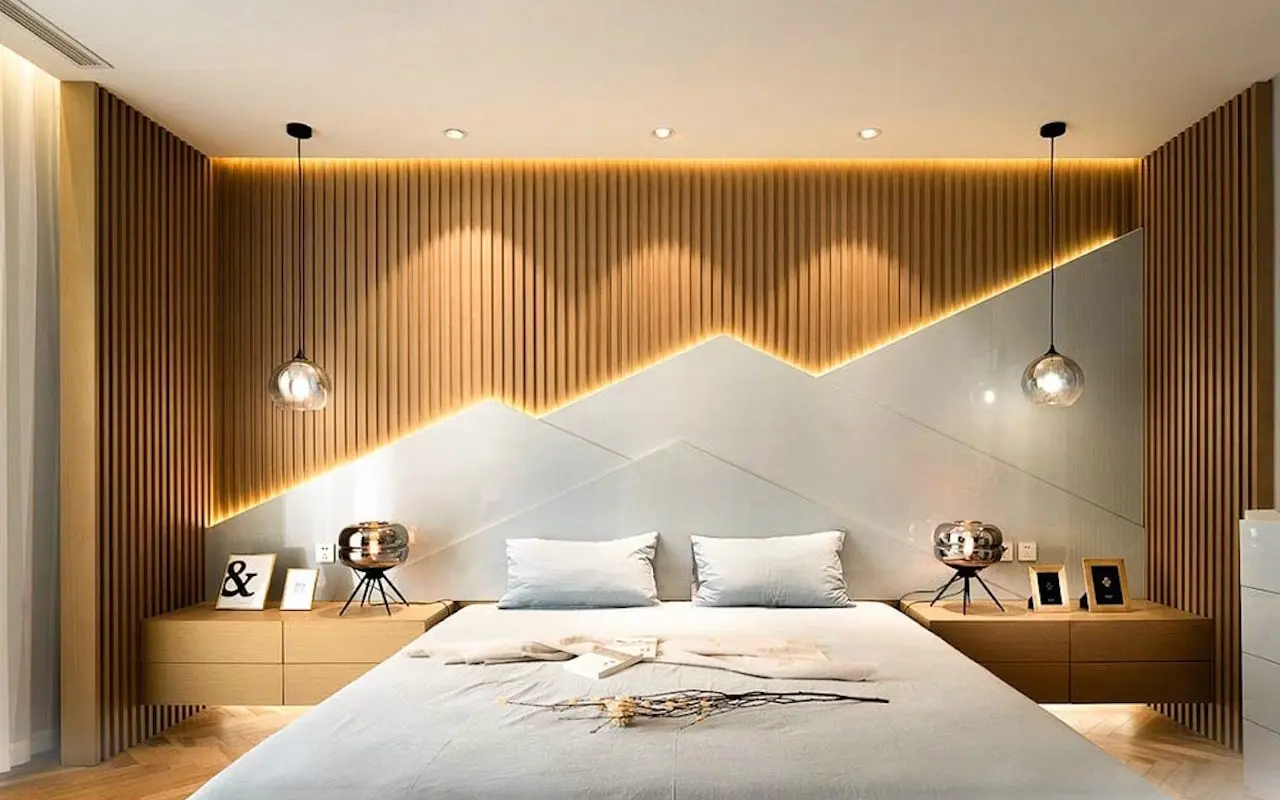
LED cove lighting is popular for adding elegance and warmth to modern spaces. The popularity of this light comes from its ability to imitate natural daylight. This makes the atmosphere much better. This guide will help you install LED cove lighting easily so you can achieve a soft, ambient glow in your home.
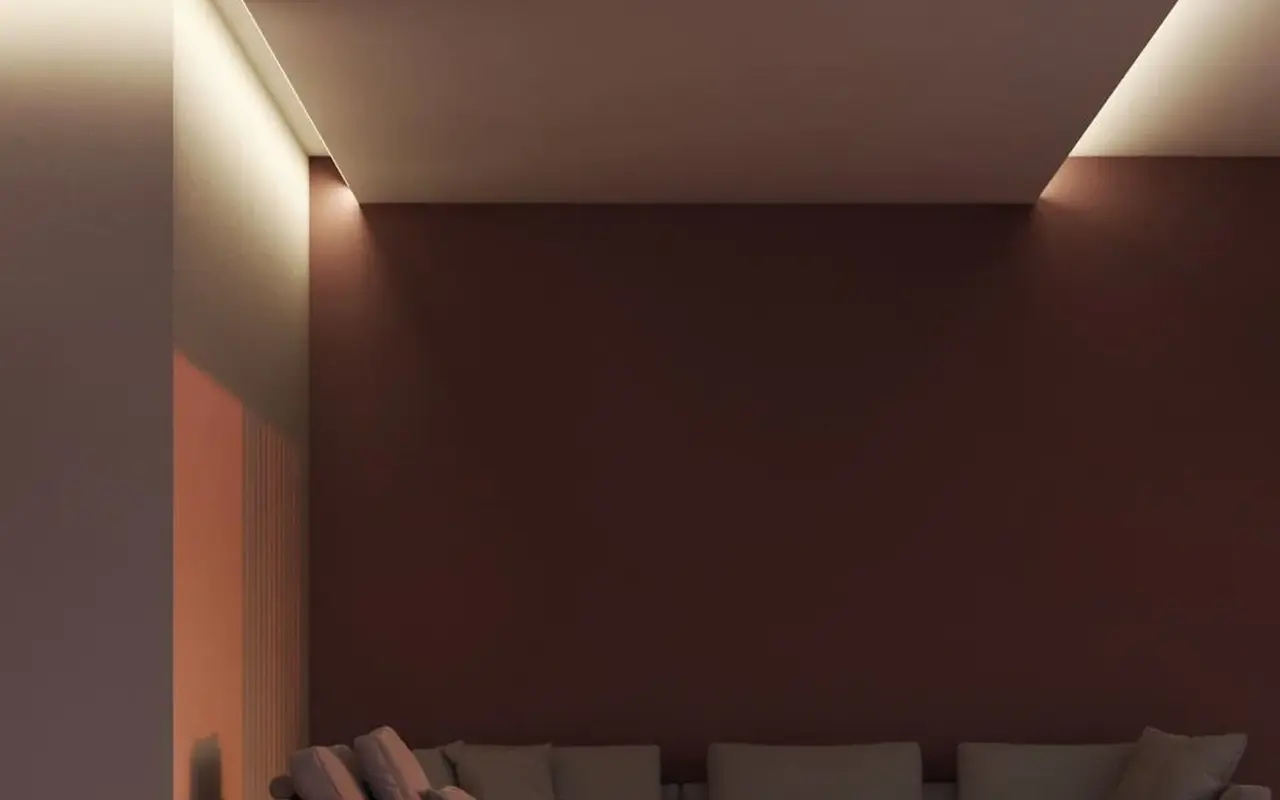
Cove lighting is when LED strips are hidden in the ceiling or walls for indirect light. The light bounces off things nearby, making the room look different with a gentle glow. This type of lighting highlights architectural details and creates a cozy, welcoming vibe.
You’ll need the right tools to start this journey: LED strip lights and patience. With a systematic approach, installing cove lighting can be a straightforward DIY project.
Why LED Strip Lights are a Top Choice
LED strip lights have completely changed the way we use cove lighting. They have many advantages over traditional lighting.
Энергоэффективность
The hallmark of LED strip lights is their energy efficiency. Unlike traditional incandescent or compact fluorescent lamps (CFLs), LED strip lights are energy-efficient. This can lead to an energy reduction of up to 80%. LED strip lights can help you save energy and money on electricity bills.
Durability and Long Lifespan
LED strip lights are very durable and last a long time. LED lights last up to 25,000 hours or more, 25 times longer than incandescent bulbs. These lights are made to last because of their strong materials and durable design. The longer lifespan means you don’t have to replace them as often or spend as much on maintenance. That’s why they’re a practical choice for cove lighting.
Color Varieties to Match Your Mood
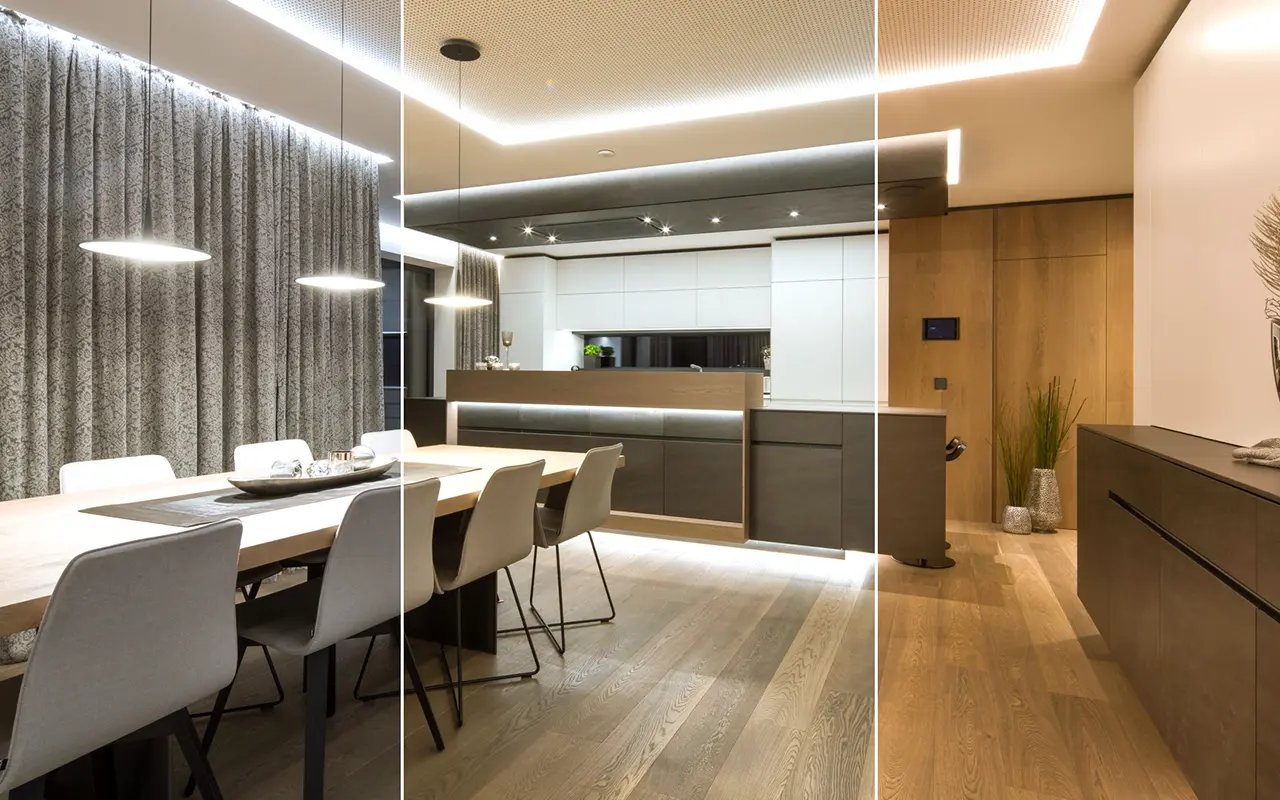
The color versatility of LED strip lights is truly unrivaled. You can choose from many different colors to create different moods in your space. The choices are endless, from warm, comforting glows to vibrant, energetic hues. RGB LED strip lights can mix colors so that you can make custom colors for any mood or occasion. Cove lighting benefits from this feature by providing personalized lighting experiences.
Preparing for Your Project
Proper preparation is the cornerstone of a seamless LED cove lighting installation project.
Gathering Essential Tools
Having the right tools at your disposal is crucial.
To measure the area, you’ll need a measuring tape.
Use a pencil to mark it and a straightedge to make lines.
Also, have a ladder to reach high spots.
It might be helpful to have screwdrivers and a wire stripper when installing.
To make the installation go smoothly, keep these tools in a toolbox or bag for easy access.
Selecting Premium LED Strip Lights
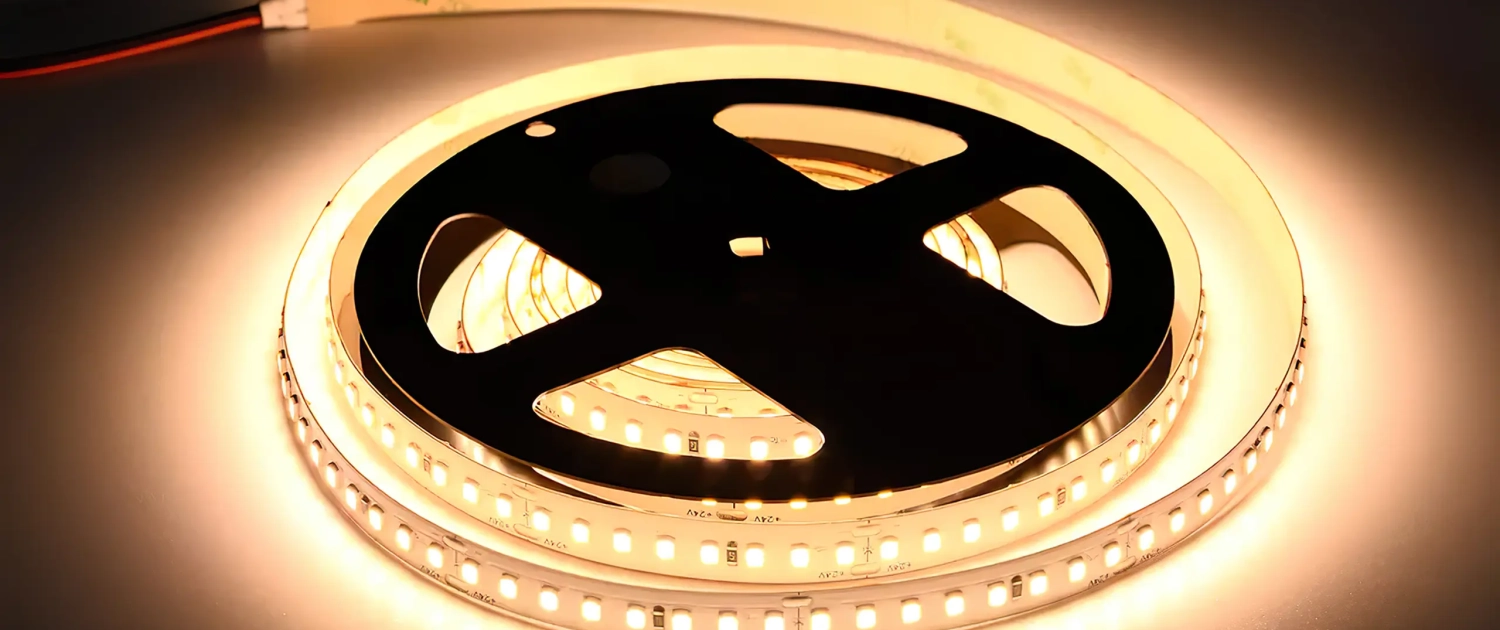
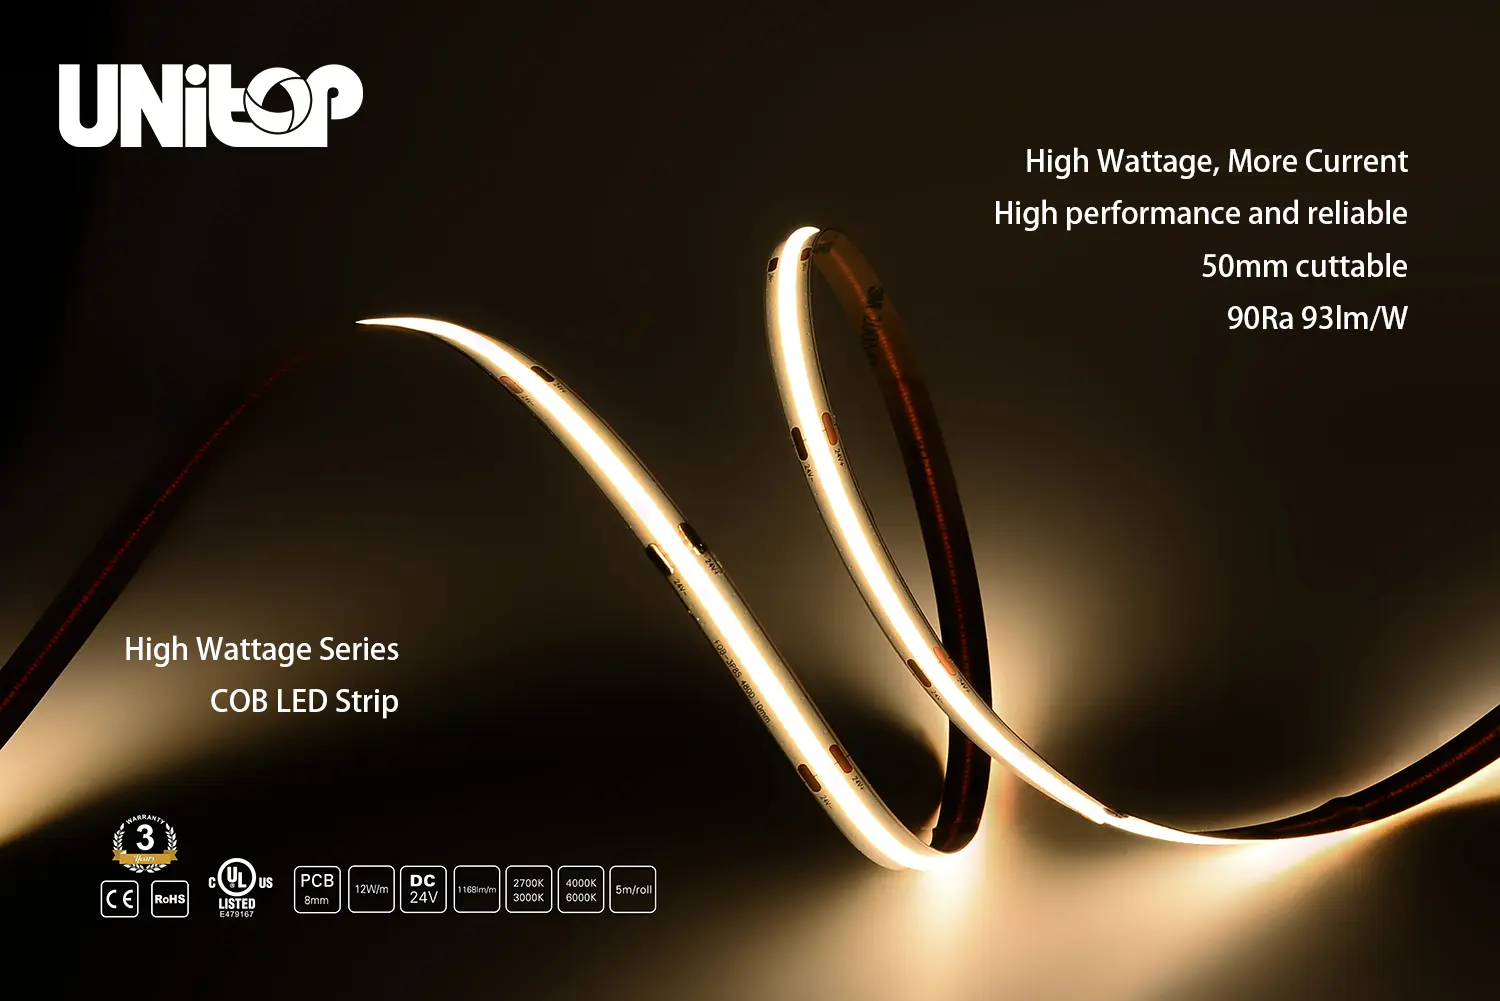
Selecting the right LED strip lights is pivotal to the success of your project. Consider brightness, color temperature, and color rendering index when choosing lighting. It’s important to check the LED strip’s IP rating to see if it is resistant to dust and water. This is especially important if the installation area gets wet. Unitop LED strip lights are known for their high quality, making them a reliable choice. Also, consider how long the LED strip lights should cover the area.
Prioritizing Safety: What to Know
Safety should be the priority in any electrical project. Ensure the workspace is free from clutter and water sources to prevent accidents. Before installing, switch off the power to avoid electrical shocks. To stay safe, you should know about electrical safety or have an electrician nearby to help you. Use ladders and tools with handles that don’t conduct electricity to stay safe. Insulated handles are best. Safety is extremely important for a successful, hazard-free installation. It cannot be emphasized enough.
Understanding Cove Lighting
Cove lighting combines technology and art to light up spaces in a beautiful way softly.
What Makes Cove Lighting Unique?
Cove lighting softly illuminates a room, creating a calming effect like natural daylight. Cove lighting makes the room look better by creating a soft glow. It also reduces glare and shadows. People love cove lighting because it makes spaces beautiful. Homeowners and interior designers choose it. The balance of light is important for this. The subtle light adds sophistication and luxury to the decor.
The Impact of Design and Placement
Cove lighting works because of careful design and where LED strip lights are placed. The cove’s size, angle, color, and nearby surfaces affect the lighting. Consider reflective surfaces when planning its design to make cove lighting more beautiful. Proper placement of LED strips is crucial. They should be positioned at the best distances and angles in the cove. This ensures a consistent glow and makes the reflected light more effective. Cove lighting is different because of how it is designed and where it is placed. It can make dull spaces enjoyable.
Пошаговое руководство по установке
It would be best to have a good plan and a careful approach to the desired result to start the installation.
Planning the Layout for Maximum Effect
To start, carefully mark the walls and measure the length of the cove on each side of the room. This will help determine the total length of strip lights needed. Before installing LED strip lights, figure out how many you need so you stay supplied. Use a straightedge to make sure the lines are perfectly aligned. This will set a precise guide for the installation.
Securing the LED Strips
Position the LED strips within the cove, securing them temporarily with masking tape. This provisional setup allows for any necessary adjustments before the final installation. Make sure to position the strips to reflect light off the ceiling and walls. This is important for the desired lighting effect. It would help to place the LED strips in a way that spreads light evenly and creates a nice glow.
Wiring Essentials and Power Supply Setup
To prevent accidents, follow safety guidelines when connecting LED strips to the power supply. A proficient wiring setup is the backbone of a seamless cove lighting operation. Ensure the power supply is adequate to handle the load of the LED strips and the connections are secure. This phase is important because any mistakes can cause electrical problems or uneven lighting.
Fine-Tuning: Testing and Adjusting the Lights
After finishing the wiring, start testing to check if the cove lighting works and looks good. Switch on the lights, observing the spread and intensity of the illumination. We need to adjust the light distribution and LED strips to improve reflection. Small changes may be required during this stage to create the right atmosphere. This is an important part of installing the project.
Advanced Installation Tips
Improving your cove lighting setup can make it look better and work better. Here are some refined tips for those aiming to achieve a polished look.
Painting Tips for a Sleek Finish
The paint’s color and finish in the cove affect how light reflects and spreads. Choosing a light-colored paint with a semi-gloss finish can make the room brighter. The clean, modern backdrop complements the gentle glow of the cove lighting. If it matches your decor, try using this painting technique to make your room look more elegant and well-lit.
Creating Support Blocks and Cove Molding
Use support blocks and cove molding to make it look neater and more secure. Support blocks hold the LED strips securely, creating a sturdy and durable base. Cove molding conceals the LED strips and makes the cove blend in with nearby structures. This pair makes your cove lighting setup look better and stay strong for a long time.
Electrical Box Setup for Safe Wiring
Safety is paramount, especially when dealing with electrical installations. To keep your wiring tidy and safe, add an electrical box that is easy to access for maintenance. To keep wiring connections safe, put them in a sturdy electrical box to avoid hazards. Be careful with the wiring to prevent accidents and ensure your cove lighting lasts.
Troubleshooting Common Hurdles
Even with a well-laid plan, encountering hurdles is part of the process. Here’s a rundown on troubleshooting common issues that may arise.
Устранение мерцающего или непостоянного света
Мерцающее или нестабильное освещение может быть весьма раздражающим. Как правило, такая проблема может возникнуть из-за ослабленных соединений или несовместимого диммера. Убедитесь, что все соединения плотные и надежные. Используйте диммер, который хорошо работает со светодиодными лентами. Если проблема не решена, проверьте блок питания, чтобы убедиться, что он имеет правильное напряжение и силу тока. Сосредоточьтесь на этих областях, чтобы устранить мерцание и получить равномерное свечение, которое вы хотите.
Устранение неравномерного освещения
Неравномерное освещение может нарушить эстетический облик помещения. Возможно, светодиодная лента расположена неправильно или имеет неравномерную яркость, что и вызывает эту проблему. Проверьте положение светодиодных лент, чтобы убедиться, что они равномерно распределяют свет. При необходимости поменяйте местами части светодиодной ленты с разным уровнем яркости. Это позволит создать равномерный световой эффект.
Решения для нефункциональных световых секций
Столкновение с неработающими участками светодиодной ленты может привести к неприятностям. Обычно это указывает на неисправность ленты или соединения. Тщательно проверьте соединения между светодиодными лентами и блоком питания. Проблема может заключаться в поломке светодиодной ленты, если все соединения в порядке. Вам нужно будет приобрести новую. Убедиться в том, что каждая часть светодиодной ленты работает, чтобы сохранить очаровательное освещение бухты, очень важно.
Сохраняйте сияние: Уход после установки
Эстетическая привлекательность бухтового освещения сохраняется и после установки. Чтобы сохранить его внешний вид и работоспособность, регулярно ухаживайте за ним после установки.
Регулярная уборка и удаление пыли
Регулярный уход поможет вам сохранить первозданное состояние бухтового освещения. Со временем на светодиодных лентах и поверхности бухты всегда скапливается пыль и грязь. Чтобы сохранить яркость и цвет ламп, аккуратно удаляйте пыль или протирайте их мягкой тканью. Чтобы светодиодные ленты сияли ярко, используйте мягкое чистящее средство для тщательной очистки.
Распознавание времени замены светодиодных лент
Светодиодные ленты славятся своей долговечностью, но, как и все вещи, они имеют свой срок службы. Со временем вы можете заметить снижение яркости или небольшое изменение насыщенности цвета. Это верный признак того, что пора задуматься о замене светодиодных лент. Следите за внешним видом и функционированием бухтового освещения, чтобы сохранить его уютный и мягкий свет. При установке светодиодных лент используйте популярные бренды. Так они прослужат дольше и останутся яркими. Вам придется реже заменять их.
Заключение
Установка светодиодной подсветки - это простой способ создать красивое освещение в вашем доме. В этом руководстве описывается пошаговый подход, который облегчает понимание процесса. Оно поможет вам разобраться в сложных деталях. Когда вы увидите, как изменилось ваше пространство, вы поймете, как просто было придать ему элегантности.
Теперь, когда мягкое сияние бухты украшает вашу квартиру, в ней рождается новая атмосфера. Спокойный, уютный свет приглашает вас хорошо провести время в одиночестве или с близкими. Каждый званый вечер, каждый тихий вечер под мягким светом становится более насыщенным. Бухтовое освещение меняет ваше пространство и делает время, проведенное в нем, лучше. Установка бухтового освещения - это хорошая инвестиция, потому что оно создает благоприятную атмосферу. Оно добавляет элегантности, тепла и спокойствия вашему дому.
Для воплощения элегантности светодиодных светильников первостепенное значение имеет сотрудничество с экспертами. UnitopИзвестный производитель светодиодов в Китае, хорошо известен своими первоклассными Светодиодные ленты и Светодиодный неоновый флекс. Для поиска безупречных решений в области освещения достаточно отправить сообщение. Если у вас есть вопросы или конкретные пожелания по освещению, компания Unitop готова помочь. Мы сможем воплотить ваше видение освещения в прекрасную реальность.
Похожие статьи

В настоящее время Том является менеджером по продажам в Юнитоп (Китай) Ко, Лимитед. Он был в Светодиодное освещение промышленности с 2005 года. Он является экспертом в области продаж и маркетинга, а также управления производством. Он любит бодибилдинг, а также является безумным фанатом Apple! Он трудолюбивый парень и любит учиться и пробовать новое.
Электронная почта: tom@unitopledstrip.com WhatsApp: +86-18680307140


Ответить
Хотите присоединиться к обсуждению?Не стесняйтесь вносить свой вклад!