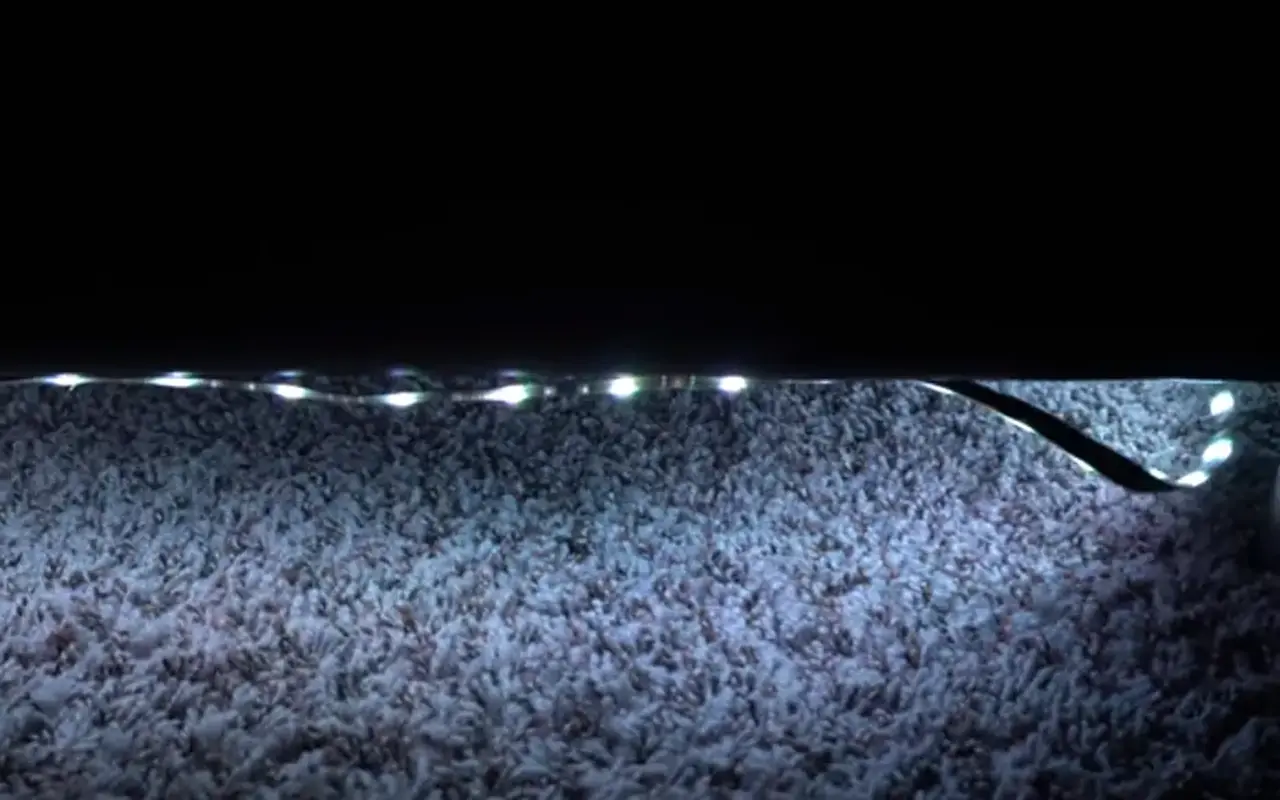
LED strip lights are popular because they make any space look beautiful and colorful. People love to use LED strip lights to decorate living rooms and create a cozy atmosphere in commercial spaces. But a problem often occurs when the lights fall, causing frustration and damage.
In this guide, we will explain why this problem happens a lot and give you instructions on how to keep LED light strips from falling off.
5 Common Reasons Why do My LED Lights Keep Falling Off
Dust or Debris on The Surface
Dust or debris on the surface can disrupt the adhesion of LED strip lights. Even a little bit of dust or other particles can stop the adhesive from sticking well. Dust and tiny particles can gather on different surfaces. This is a common reason why LED strip lights lose their grip.
Water Damage
LED strip lights can have their adhesion affected by water and moisture. Moisture can damage the adhesive when it comes into contact with water or is exposed to humidity. Over time, the adhesive gets weaker and the light strips don’t stick anymore, so they fall.
Overheating Issues
We know that LED lights generate heat, especially when enclosed or covered. If this heat builds up excessively, it can cause the adhesive to break down. The LED strip lights can fall off because they get too hot and don’t stick well.
Wire Problem
The wires connecting the LED strips can create unexpected problems. If they pull, twist, or exert undue pressure on the strips, they can lead to detachment. If the wires are not arranged properly or get tangled, the LED strips can fall due to the force they exert.
Environmental and Chemical Factors
Various environmental conditions can subtly impact the effectiveness of LED strip lights’ adhesive. The LED lights can come off because of humidity, temperature changes, or chemicals in the air. These environmental and chemical factors might not cause immediate detachment. Still, they can contribute to the LED strips losing their adhesion over time.
Preparing for the Fix
Tools You’ll Need
To fix LED strip lights efficiently, you need the right tools. The tools you need will vary based on your LED setup and the surface you’re attaching them to.
Cleaning cloths: Soft, non-abrasive cloths will help you clean the surface without scratching it.
Proper adhesive tape: Various types are available, suited to different materials and environments.
Brushes or sponges: For applying the adhesive evenly and for cleaning.
Clips or brackets: These can provide additional support for the LED strips.
Gloves: To protect your hands, especially when working with chemicals or rough surfaces.
Choosing the Right Adhesive Tape
The adhesive is a crucial part of the installation process. A well-selected adhesive ensures that the LED strip lights remain firmly in place. Here are some factors to consider:
Surface Material: Whether it’s wood, metal, or plastic, the surface material can significantly influence the type of adhesive you’ll need.
Экологические факторы: Humidity, temperature, and exposure to sunlight or chemicals can all affect the adhesive’s performance.
LED Strip Specifications: Consider the weight and composition of the LED strips, as some adhesives might not be suitable for specific types.
Choosing the wrong adhesive can lead to failure, so finding the right one is essential.
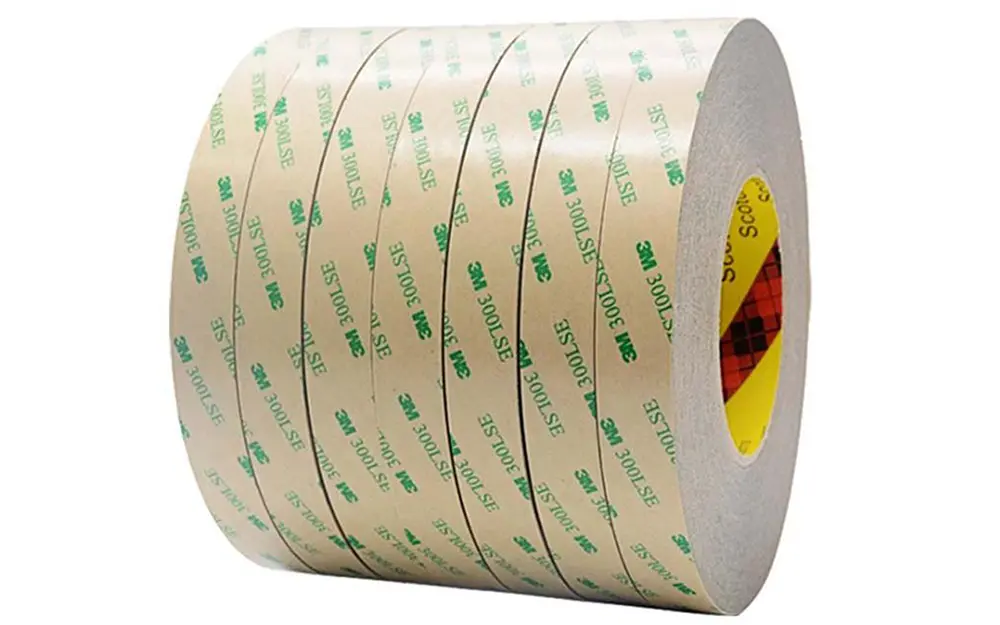
Unitop LED strip lights have genuine 3M adhesive tapes on the back for easy installation. The adhesive works well in most environments. Yet, we also have clients who need special adhesive tapes other than 3M; we can also achieve that.
Prepare the LED Mounting Surface
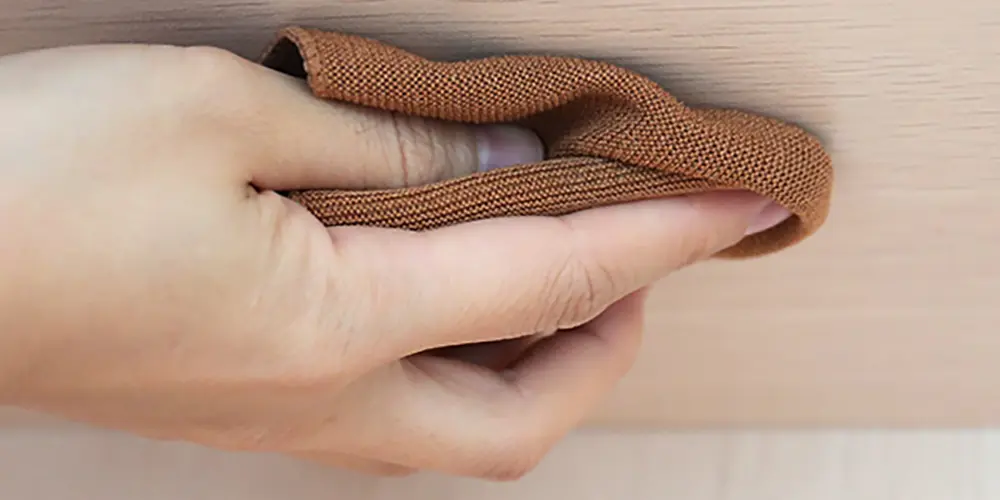
Step One: Remove Dust
A clean surface is vital for strong adhesion. You must remove any dust, oil, or debris. Here’s how:
Use a gentle scrub with soapy water or a specialized cleaner that doesn’t leave a residue.
For tougher stains or sticky substances, a soft-bristled brush might be helpful.
Afterwards, use a clean cloth to dry the surface completely. This is important because any leftover moisture could affect how well things stick.
Step Two: Even Out the Surface
An uneven surface can lead to weak spots in the adhesion of the LED strips. Here’s what you can do:
Inspect the surface for rough or uneven spots.
Gently sand or fill these areas as needed. If sanding, use fine-grit sandpaper to avoid further damage.
Wipe away any residue to leave a perfectly smooth surface, ready for the LED strips.
How to Properly Install LED Strip Lights so They Don’t Fall? A Step-by-Step Guide.
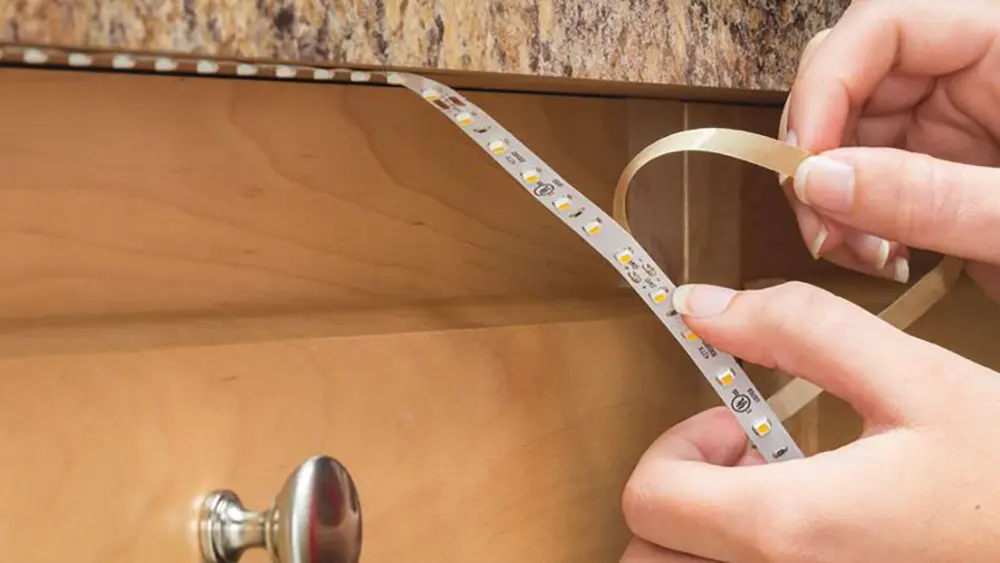
Peel off the Protective Paper of the LED Strip Back
When you’re ready to put up LED strip lights, you’ll see paper covering the sticky tape. Peeling this paper off is an important step, and here’s how to do it:
Hold the LED Strip: Using one hand, hold the strip steady.
Peel the Paper: With your other hand, carefully start peeling the protective paper away from the adhesive. Do this slowly and at a consistent angle to prevent any damage.
Smooth Out: Once peeled, smooth the adhesive to ensure it’s ready to stick.
Position in the Right Place
Positioning the LED strip lights requires foresight and careful alignment.
Mark the Position: A soft pencil or non-permanent marker can mark where the LED strips will go, helping in precise placement.
Alignment: Using a level or ruler, ensure the strips are straight, especially over longer distances.
Adjustments: Once positioned, gentle adjustments can be made before the adhesive sets, but avoid repeated repositioning.
Press Down and Let Them Dry
Pressing down and allowing the LED strip lights to dry properly solidifies the bond.
Pressure: Apply uniform pressure along the entire LED strip length, ensuring complete contact with the adhesive.
Drying Time: Different adhesives have different drying times. Patience here is essential; rushing this step can lead to failure.
Additional Support Options: Clips, Brackets, Tape Products
We can think about more ways to help those who want to be extra careful.
Clips and Brackets: These can be discreetly placed at intervals, providing physical support to the LED strips.
Specialized Tape Products: Double-sided 3M tapes designed for LED strips can provide added security and are often used with adhesives.
Environmental Considerations: In areas with high humidity or temperature fluctuations, additional support might be not just an option but a necessity.
Installing LED strip lights is a delicate balance of preparation, precision, and patience. By following these steps, you can make your space look more professional. It will also ensure that your lights stay exactly where you want them. Whether you’re working at home or professionally, these guidelines will help you succeed in your project.
Additional Tips to Prevent LED Strip From Falling Off
Using Hot Glue
Hot glue, an often-overlooked tool, can be more than handy in securing LED strips. It benefits those looking for a quick fix or a short-term solution.
When to Use: Hot glue isn’t a solution for every situation. It works well for temporary setups, such as party decorations or seasonal displays. It doesn’t need to stick for a long time.
Application Tips: A hot glue gun with an appropriate temperature setting can ensure smooth application without damaging the LED strips.
Removal Considerations: It’s worth noting that while effective, hot glue might leave a residue when removed, so careful consideration of the surface material is advised.
Managing Overheating
LED strips, while energy-efficient, can still produce heat. Managing this heat effectively can prevent problems like the weakening of adhesive.
Proper Spacing: Sometimes, all that’s needed is a little space. Proper spacing allows the heat to dissipate, reducing the risk of overheating.
Cooling Solutions: Fans or heat sinks designed to fit LED strip configurations can be a valuable investment, especially for high-intensity lights.
Monitor the Temperature: Regularly checking the strips’ temperature can help detect any potential overheating issues early, enabling timely intervention.
Mounting Techniques: Aluminum Extrusion, U Channel Diffuser
These mounting techniques offer robust solutions for those seeking a more professional touch.
Aluminum Extrusion: This method uses aluminum channels to hold the LED strips, providing a sleek and sturdy framework.
U Channel Diffuser: U Channel Diffusers not only secure the LED strips but also help diffuse the light, creating a softer glow.
Professional Installation: These methods require professional tools and expertise, so consulting or hiring a professional is wise.
How to Conceal and Hang LED Strip Lights
In the Ceiling
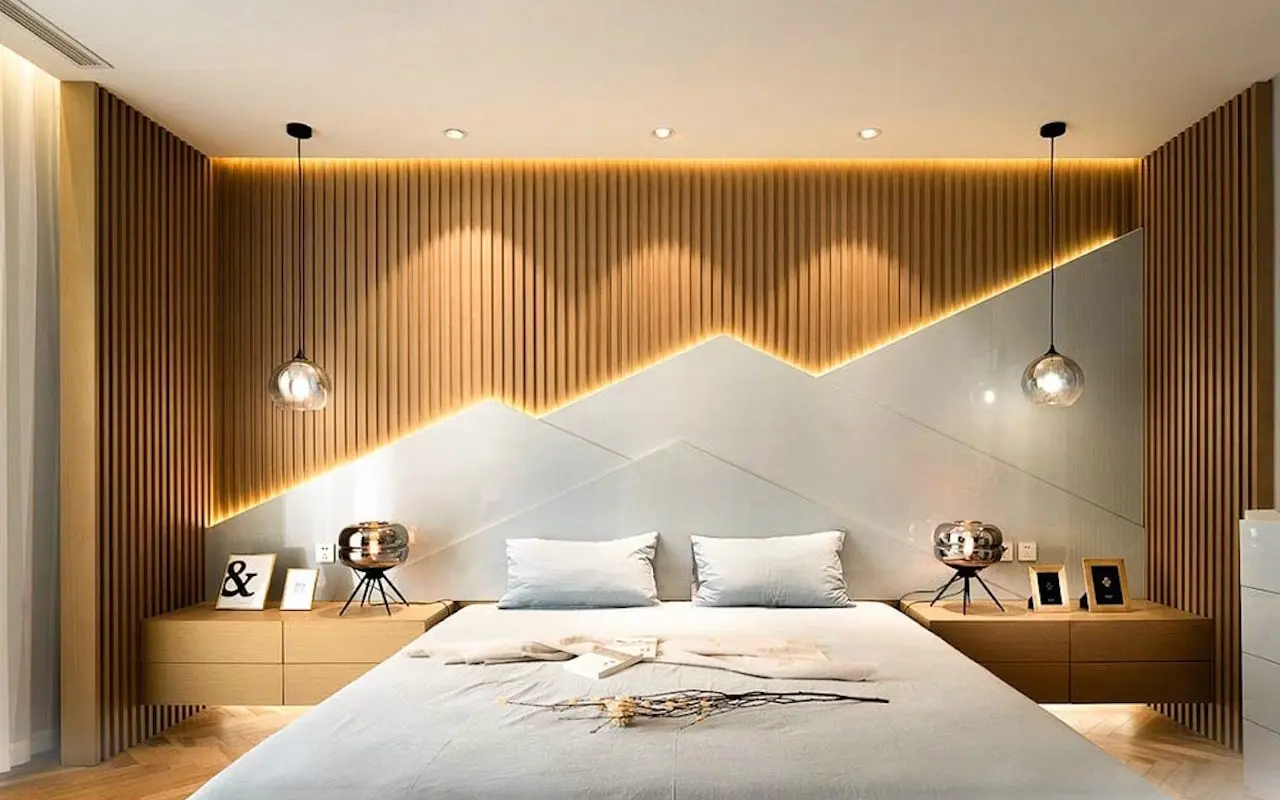
LED strips mounted on the ceiling make a room look polished and more attractive.
Recessed Channels: Recessed channels within the ceiling can conceal the LED strips, providing an elegant and seamless appearance.
Aluminum Extrusions: Similar to wall mounting, aluminum extrusions can be used in the ceiling for a durable and professional look.
Considerations: Planning is essential to ensure proper alignment, wiring, and support for the ceiling installation.
On the Wall Without Damaging
A wall-mounted setup should never mean damaging your walls.
Adhesive-backed Hooks: These hooks or clips provide support without needing nails or screws, preserving your wall’s integrity.
Alignment and Spacing: Proper alignment and evenly spaced supports are crucial for a clean, straight look.
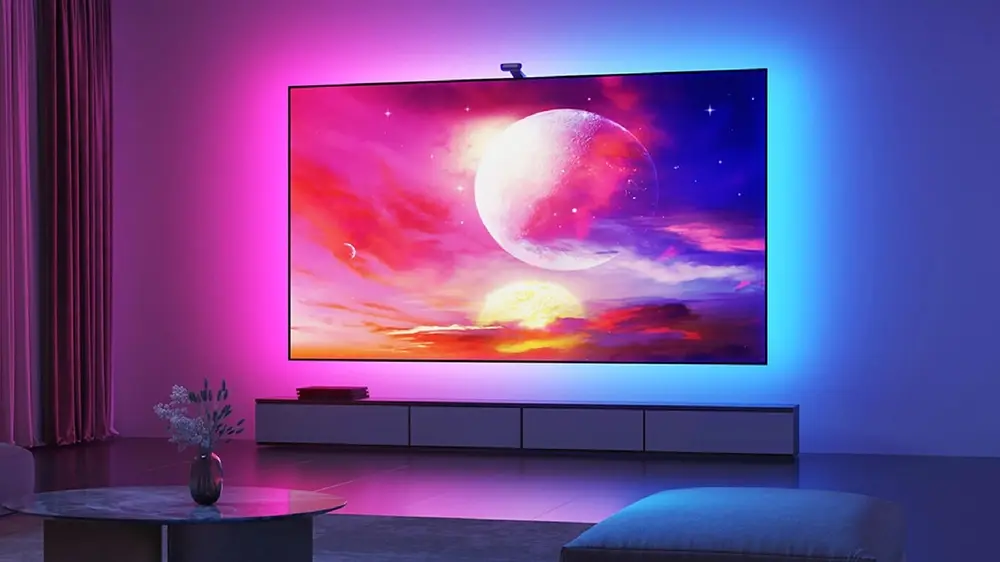
TV or Monitor LED Backlights
This popular setup can transform your entertainment experience.
Specialized Kits: There are kits specifically designed for TV or monitor backlighting, simplifying installation.
Manufacturer Instructions: If a kit is not used, carefully following the manufacturer’s guidelines can lead to optimal results.
Cable Management: Concealing or managing the cables neatly adds to the overall aesthetics, ensuring a clutter-free look.
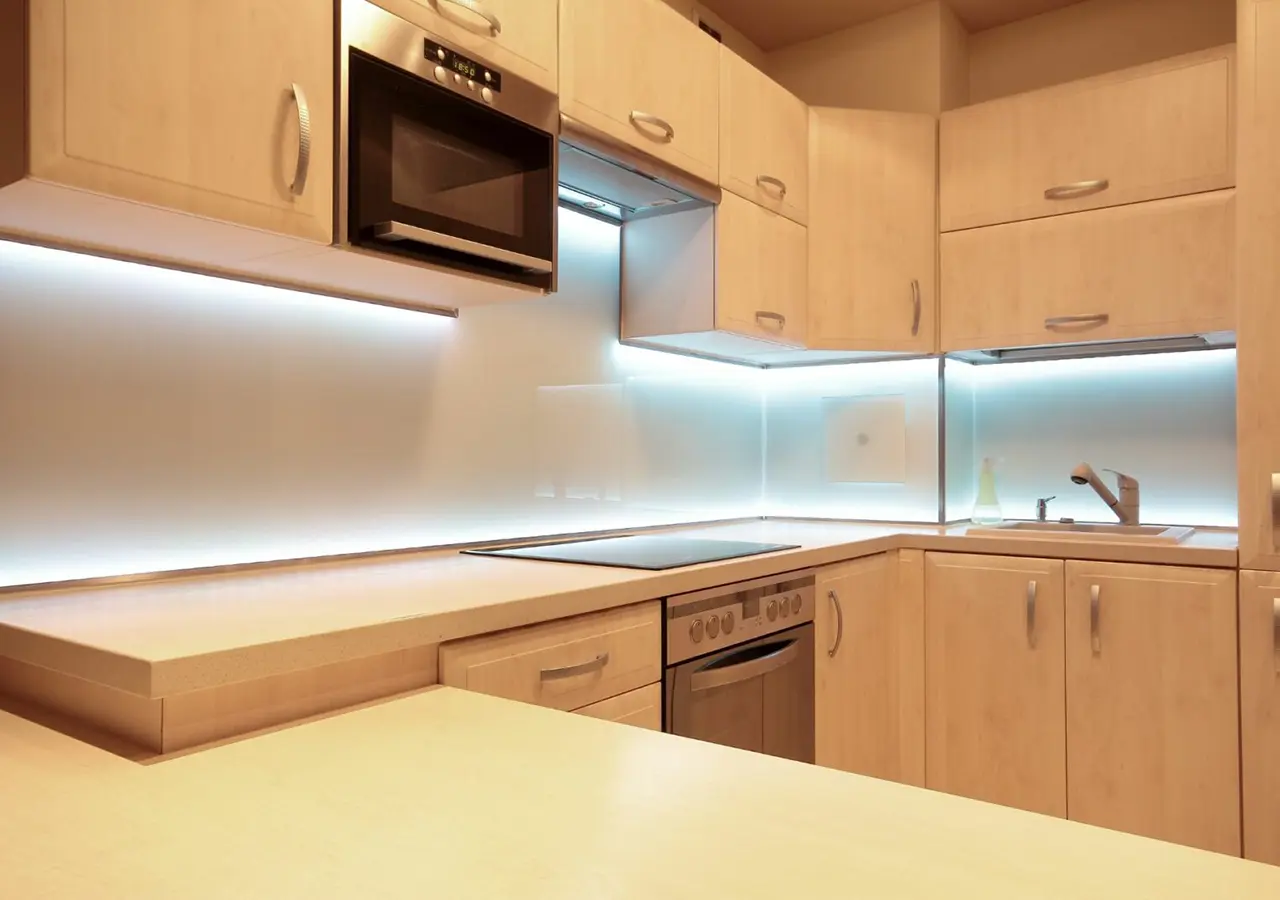
Under Cabinet LED Strips
Under-cabinet lighting adds functionality and style to any kitchen or workspace.
Selection of Adhesives: Different materials might require specific adhesive tapes. Selection based on cabinet material ensures a strong bond.
Additional Support: Depending on the cabinet’s underside surface, extra support, like clips or brackets, may be necessary.
Wiring Considerations: Neatly concealed wiring adds to the professional appearance of the installation.
Common Mistakes to Avoid
Improper installation of LED strip lights can make it hard to enhance your home’s different areas. Here are some common mistakes that can occur and how you can avoid them.
Ignoring Manufacturer Instructions
Manufacturers provide detailed guidelines to ensure proper installation and long-lasting performance. Ignoring these instructions is a common mistake with consequences.
Проблемы совместимости: Not all LED strips are created equal, and using them in ways not intended by the manufacturer can lead to compatibility issues.
Potential Damage: Failure to follow the instructions may cause the LED strips to malfunction or even become irreparably damaged.
Warranty Concerns: Many manufacturers require adherence to their guidelines to maintain the warranty on the product. Failure to comply may void the warranty, leading to potential loss.
Rushing the Installation Process
In our fast-paced world, taking the time to do things properly can sometimes be overlooked. But, if you put in LED strip lights too fast, you might make mistakes that affect how long they last and how they look.
Importance of Planning: A proper layout plan ensures you know precisely where the strips must be placed before installation. Skipping this step can lead to alignment issues.
Allowing Time to Dry: If adhesive is used, it requires sufficient time to dry and bond properly. Rushing this step can lead to the strips falling off later.
Checking Connections: Hastily connecting wires and not thoroughly checking connections can result in malfunctions.
Tools and Preparations: Having all necessary tools and preparations done before beginning the installation avoids interruptions and ensures a smooth process.
Frequently Asked Questions (FAQ)
Why Do My LED Strip Lights Keep Falling Off?
LED strip lights falling can be frustrating. It’s often caused by dust, moisture, overheating, or adhesive issues. To prevent this issue, properly prepare the surface and follow the manufacturer’s instructions.
Can You Use Tape to Hold Up LED Lights?
Specialized tape products designed for LED strips can be an effective solution. Regular tape might lack the required hold, leading to detachment over time.
Which type of glue should you use for LED strips?
Choosing suitable glue requires considering the surface material and environmental conditions. To make sure the LED strips stick well, use a special adhesive made for them.
Can I Staple LED Strip Lights?
Stapling is generally not recommended, as it can cause damage to the LED strips. Using the recommended adhesives, clips, or brackets is best to avoid unnecessary harm.
Will LED Strip Lights Catch Fire?
Improper installation or usage can rarely cause overheating and fire hazards. To avoid this, follow the instructions from the manufacturer. You can also use fans or heat sinks to help cool it down.
Can You Hot Glue LED Strips?
Yes, hot glue can be a temporary solution for decorative setups. For long-lasting stickiness, it’s best to use 3M adhesive tape made for LED strips.
How Do I Prevent Overheating of LED Strip Lights?
To prevent overheating, you can use cooling solutions such as spacing, fans, or heat sinks. Following proper installation guidelines also ensure a safe and functional setup.
What Are Some Professional Mounting Techniques for LED Strips?
Techniques like aluminum extrusion or U Channel Diffuser can provide professional-looking results. They ensure your LED strips stay firmly in place, adding an elegant touch to your setup.
Can You Put Thumbtacks on LED Strips?
While it might seem like a quick solution, thumbtacks can cause damage to the LED strips. Instead, opt for specialized clips, brackets, or adhesives to hold LED strips securely.
Will Leaving My LED Strip Lights on All Night Cause Them to Fall Off?
Typically, leaving LED strip lights on all night won’t cause them to fall off. If you use it for a long time without following instructions, it may overheat and damage the bond. Following proper guidelines ensures the longevity and stability of your LED lights.
Заключение
LED strip lights, when installed correctly, can be a stunning addition to any space. This guide explains why your LED lights falling down and how to prepare the surface. It also covers the installation process and offers tips and expert recommendations. Follow this guide, and those falling LED strip lights will be a problem of the past. Please share your success stories, comments, or questions below. Let’s brighten our lives together!
Unitop is your go-to source for top-quality Светодиодные ленты и Светодиодный неоновый флекс in China. We’ve built our reputation by delivering reliable, attractive lighting solutions for every need. If you need LED lights for your home or work, we have what you need and can help. Have questions or special requirements? Don’t hesitate to свяжитесь с нами. At Unitop, we’re here to help you make your lighting ideas shine.
Похожие статьи:

В настоящее время Том является менеджером по продажам в Юнитоп (Китай) Ко, Лимитед. Он был в Светодиодное освещение промышленности с 2005 года. Он является экспертом в области продаж и маркетинга, а также управления производством. Он любит бодибилдинг, а также является безумным фанатом Apple! Он трудолюбивый парень и любит учиться и пробовать новое.
Электронная почта: tom@unitopledstrip.com WhatsApp: +86-18680307140




Ответить
Хотите присоединиться к обсуждению?Не стесняйтесь вносить свой вклад!