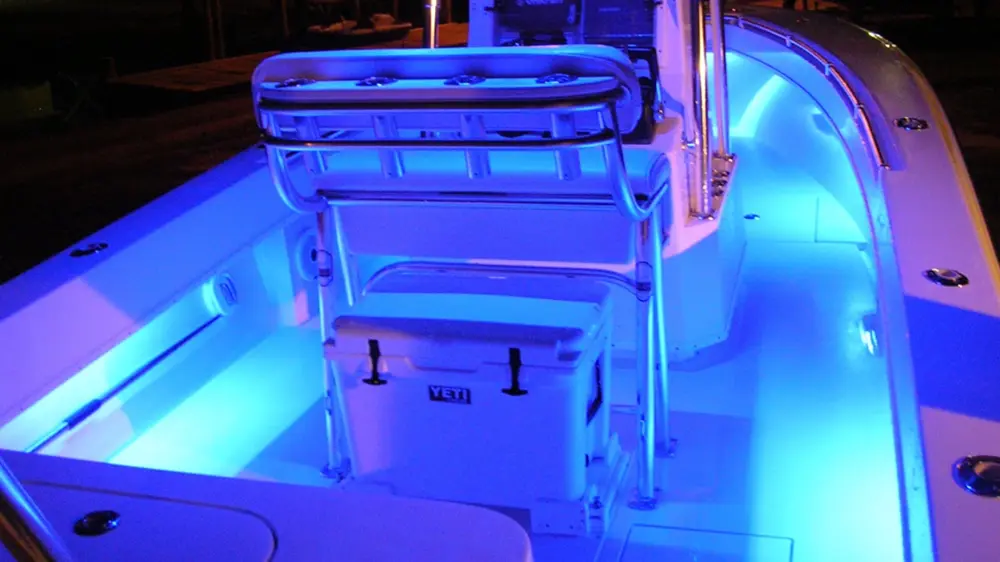
LED lights are crucial for boat safety. They also enhance your boating experience. This guide will show you how to install LED strip lights on your boat. It covers the tools you need and the steps to follow.
LEDs use less energy, last longer, and often give brighter light than regular bulbs. This is important when you are away from land and depend on a battery.
Before you buy, let’s explore the different types and advantages and disadvantages of each. We’ll also provide a thorough how-to guide on installation.
Quick overview of steps involved
1. Pre-installation planning
2. Surface preparation
3. Installation
4. Testing
Advantages and Disadvantages of LED Boat Lighting
Advantages of LED Strips for Boat Lighting
Energy Efficiency: Less Drain on Your Boat’s Battery
The energy efficiency of LED lighting is a boon for marine enthusiasts. When you’re on the water, regular lights can drain your boat’s battery fast. LED lights use less energy, so your battery lasts longer for trips or emergencies.
Durability: Resistant to Shocks, Vibrations, and External Impacts
Boating conditions can be rough. In the ocean, the rough movement makes it hard for delicate lights to work well. LED lights are great for boats because they can handle shocks, vibrations, and impacts. They offer a level of robustness that incandescent and halogen lights can’t match.
Longevity: Can Last Up to 25,000 Hours or More
Picture this: you’re miles offshore, and your light goes out, leaving you navigating through a pitch-black sea. With LED strip lights, scenarios like this are far less likely. These lights can last for 25,000 hours or more, so you don’t have to replace them often. They are a reliable, long-lasting lighting option.
Disadvantages of LED Strips for Boat Lighting
Cost: Initial Investment is Higher than Traditional Lighting
LED strip lights have many advantages, but they cost more at first than regular lights. While they may be more expensive at first, energy-efficient models can actually save you money in the long run. Still, the initial price can be a hurdle for some boat owners.
Complexity: Installation Can Be Intricate, Requiring Specialized Tools
Installing LED lighting systems can be complicated. You may need special tools or professional help. Moreover, aspects like waterproofing and secure wiring necessitate careful attention to detail. If you’re not good at fixing things, it might be harder for you to learn or you might need to pay someone to install it.
What You Need to Know Before You Start
IP Rating: Understanding Water and Dust Resistance
The IP rating is a global system that measures how well electrical enclosures keep things out. For marine applications, IP68-rated LED strips are your go-to. These are made to keep out dust and can be submerged in water, which is important for water trips.
Please read this article: LED şerit ışıklar için IP Derecelendirmeleri nelerdir?
LED Density, Voltage, and Color Options
LED density is the number of LED units per meter in a strip. It affects brightness and heat dissipation. Higher density usually means brighter light. However, it can also create more heat, which may need extra cooling. Voltage options often range from 12V to 24V. For most boating needs, 12V LEDs are enough and work well with boat electrical systems.
Power Source: AC vs. DC and Voltage Regulators
Boats typically operate on Direct Current (DC) power. LEDs for home use typically run on AC, so you’ll need a converter to use them on your boat. Additionally, variations in your boat’s power supply can affect LED performance. To make your LED strip lights work consistently, install a voltage regulator. It will handle small changes in power supply.
Warranty and Lifespan: What to Look For
LEDs usually last a long time, but it’s a good idea to choose brands with a two-year warranty. The warranty serves as a safety net against premature failure and manufacturer defects. It’s also important to read customer reviews to learn about how long the product lasts and how well it works. Be careful with products that get lots of complaints for not lasting or being durable.
What You’ll Need for Installation
Essential Tools
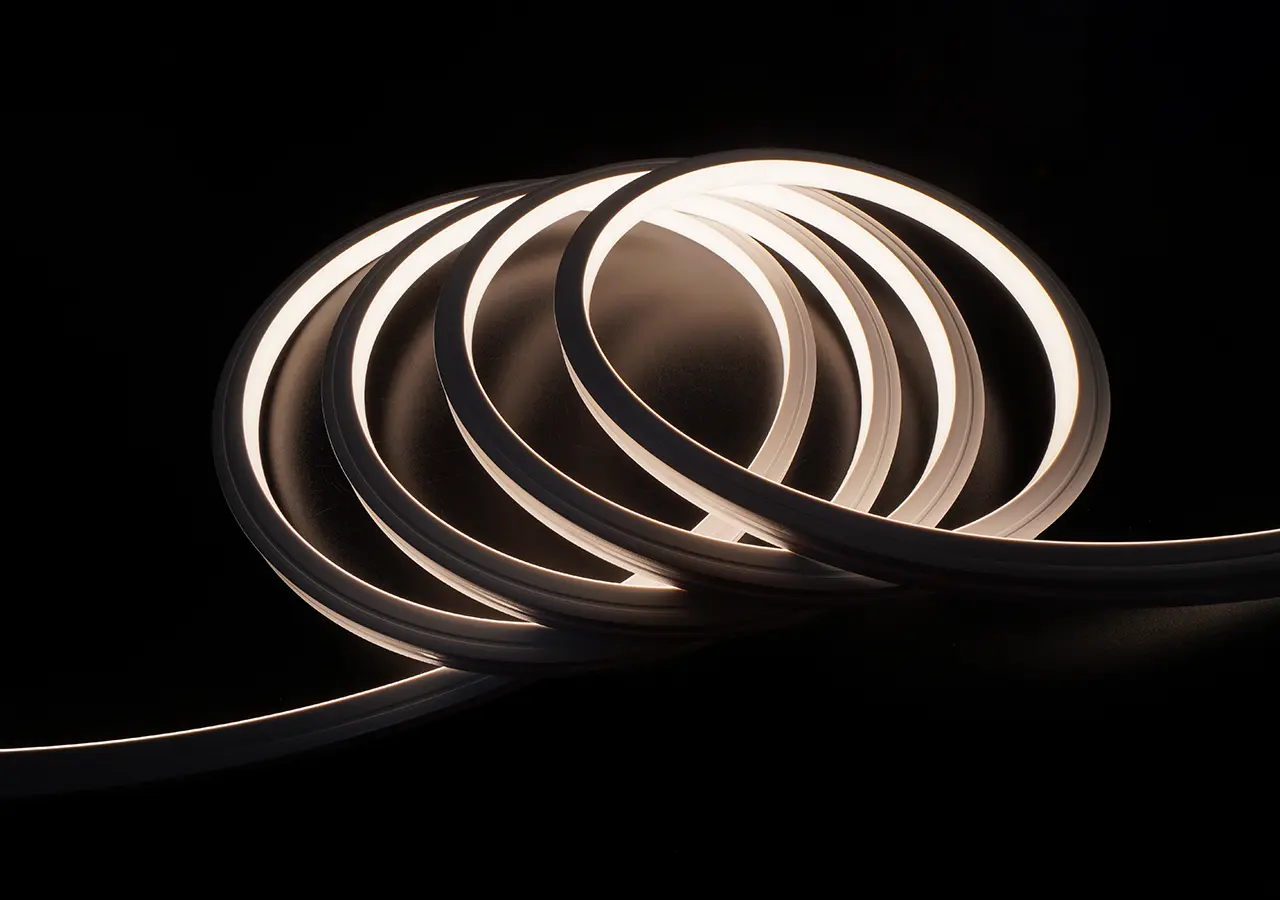
LED Strip Lights
LED strip lights are the basis of your setup. They come in various lengths, densities, and colors. Choose marine-grade strips with a reliable IP rating to withstand harsh water conditions.
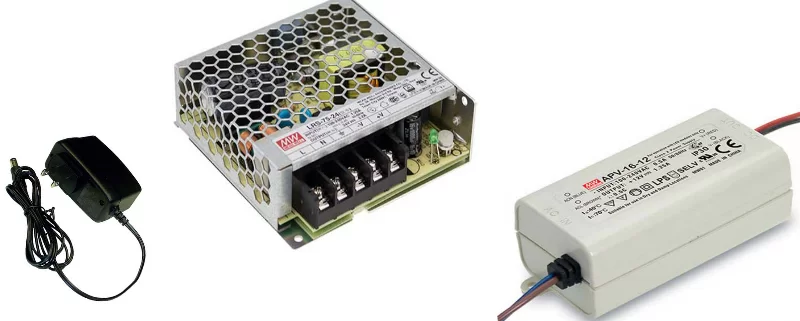
Güç Kaynağı
Make sure your power supply matches the voltage and current of your LED strip lights. A marine-grade, waterproof power supply is preferable to withstand the marine environment.
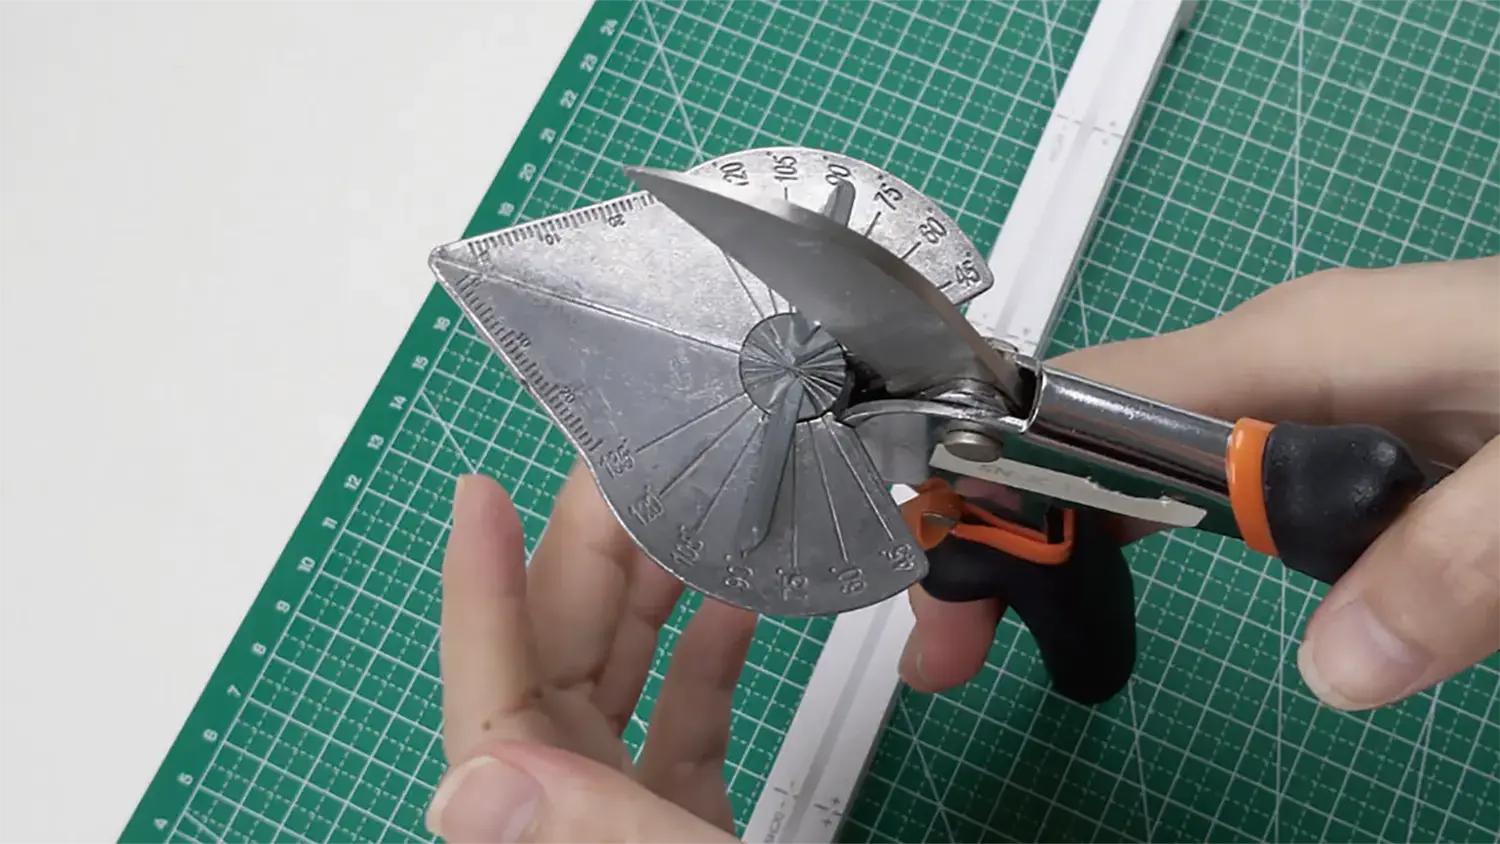
Wire Cutters/Strippers
To have a reliable electrical setup, you need good wire cutters and strippers. These tools cleanly cut the LED strips and prepare the wires for connections.
Soldering Iron
You can use a soldering iron to make permanent connections. These connections can be between LED strips or between strips and power wires. Opt for one with adjustable temperature controls for the best results.
Heat Shrink Tubing
We use heat shrink tubing to insulate soldered joints. It creates a strong, water-resistant seal to prevent rust and electrical problems.
Electrical Tape
You can use electrical tape for quick repairs or added insulation, as it insulates.
Types of LED Strips and Accessories
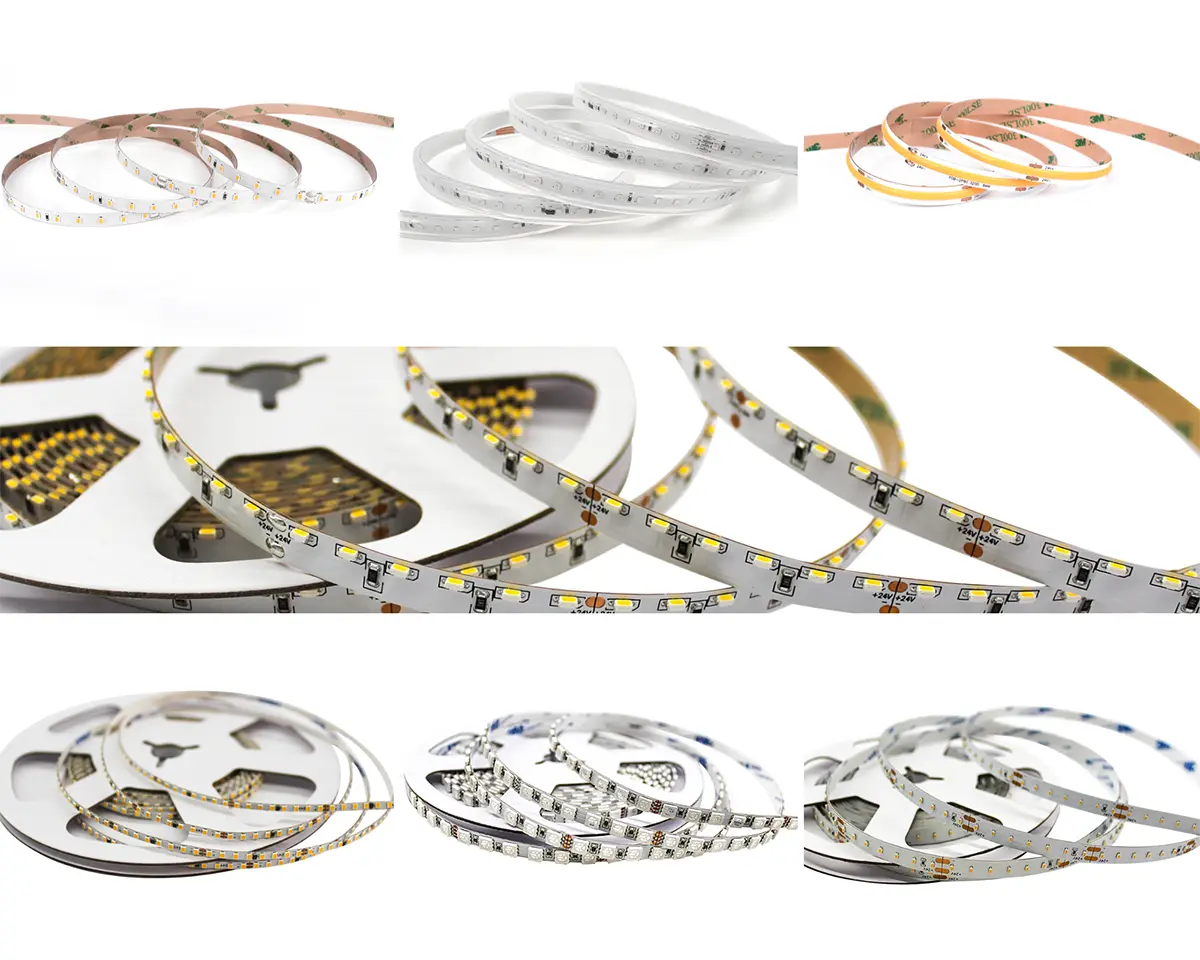
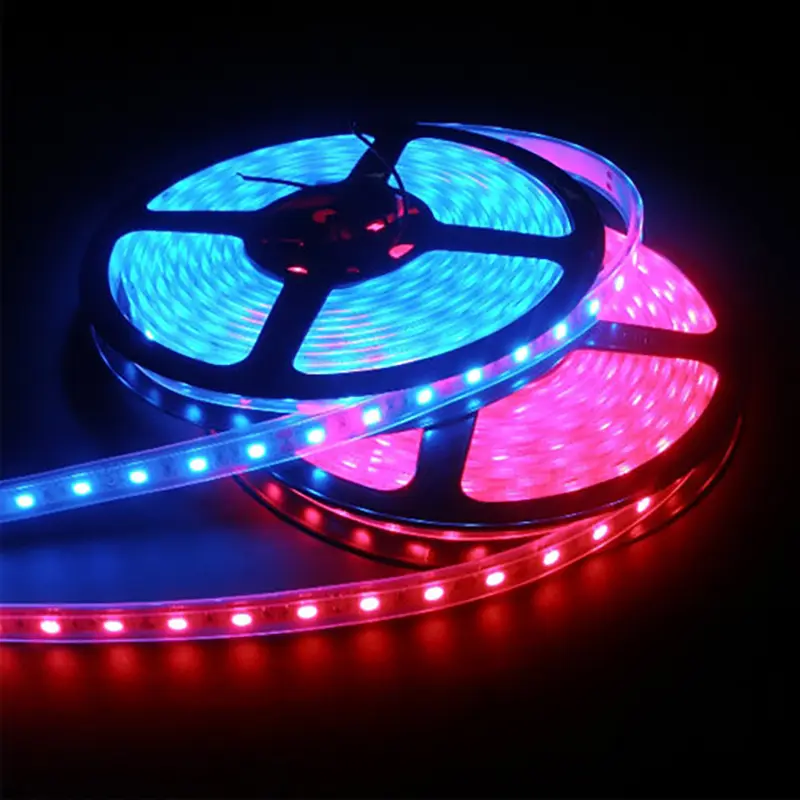
LED strips come in various types: single-color, multi-color, waterproof, and marine-grade. Marine-grade LED strips are made for boats and have high IP ratings to be dust and waterproof.
Measuring and Sizing Your LED Strips
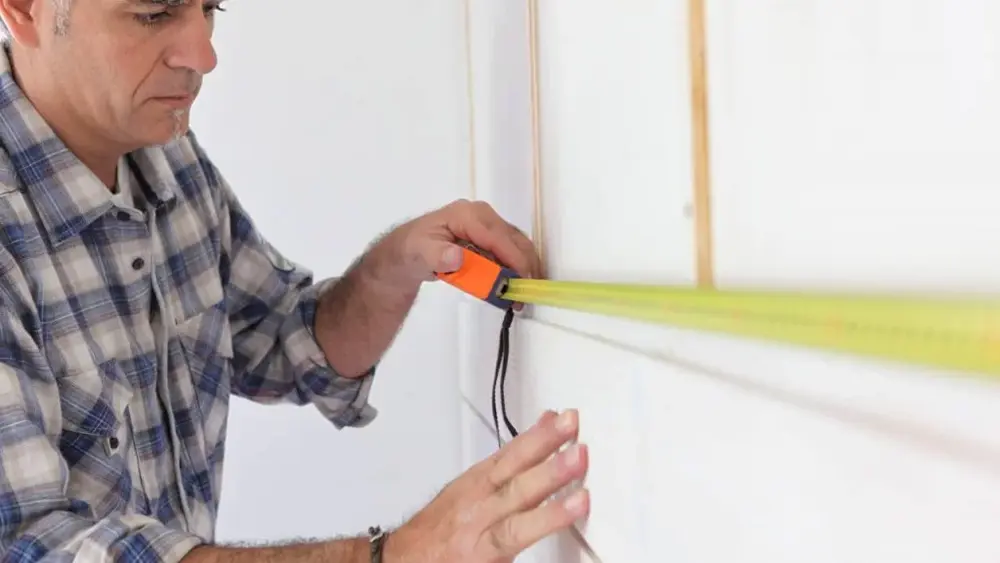
Careful measurement is a non-negotiable step. Using a measuring tape, obtain the length and breadth of each area where you plan to install the strips. Calculate the total LED meters needed, then add an error margin of about 10%. This helps you avoid running out and having to reorder, which slows down your project.
Preparing Your Boat for LED Installation
Safety First: Disconnecting Power
Before you start, safety is paramount. Make sure to turn off and disconnect all electrical systems from their power sources. This measure is necessary to prevent accidents and fires, not just a precaution.
Cleaning and Preparing the Installation Surface
Before sticking your LED strips, make sure to clean the surface first to ensure good adhesion. Alcohol wipes work wonders for this purpose. These products remove dirt and oil and dry fast, leaving a clean surface for adhesion.
Designing Your LED Layout: Where to Place Them
Regarding placement, the sky—or, in this case, the boat—is your limit. If you want better visibility, put LED lights in the cabin. For a cozy feeling, install them under cabinets. And if you love fishing, you can even use them underwater to attract marine life. Keep in mind that various areas may need various LED strips, so plan accordingly.
Step-By-Step Guide to Installing LED Strip Lights
Cutting and Soldering the LED Strips
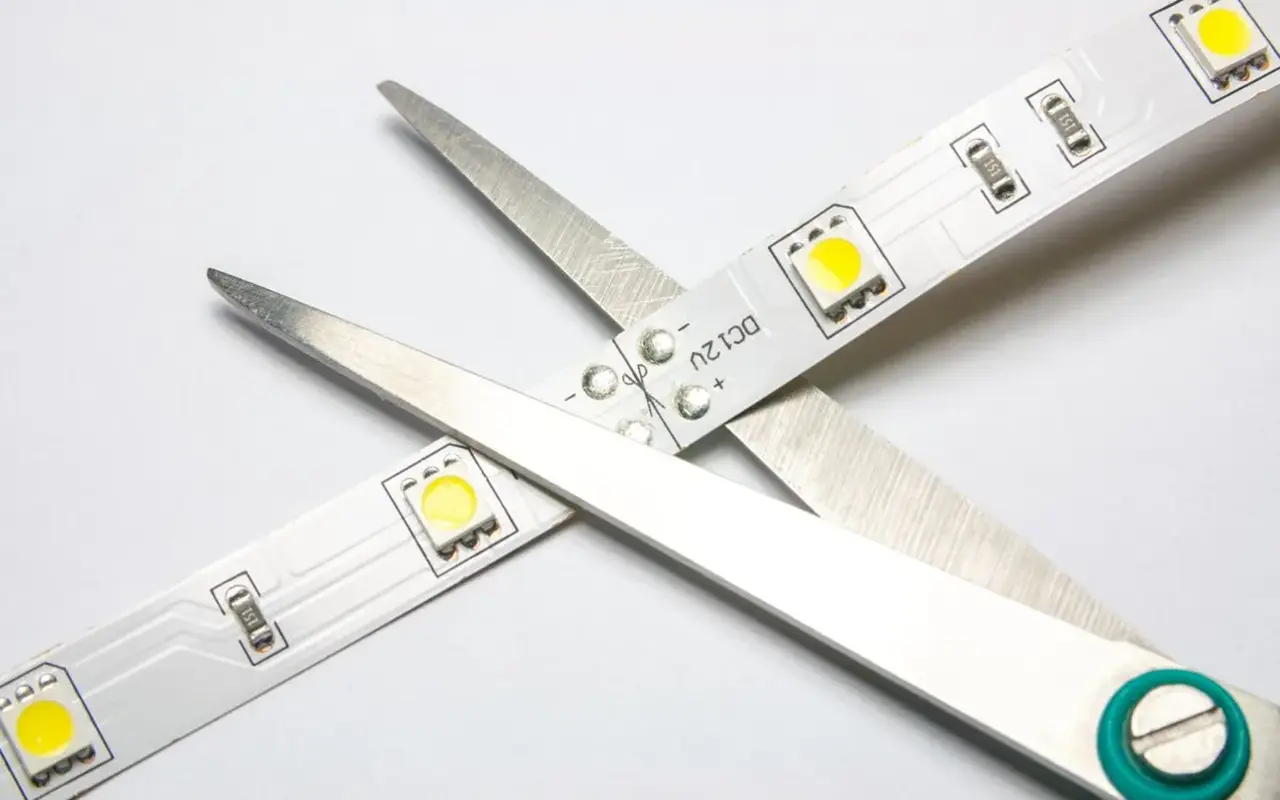
Your first task is to cut the LED strips according to your measurements. Precision here is vital for an efficient and visually pleasing setup. Use your wire cutters for a clean cut, and then proceed to solder the wires at both ends. Be sure to match the polarity. Look for color-coded wires or markings on the strip. To make the LEDs work, the electrical current must flow in the correct direction.
Mounting the Strips: Adhesive and Other Methods
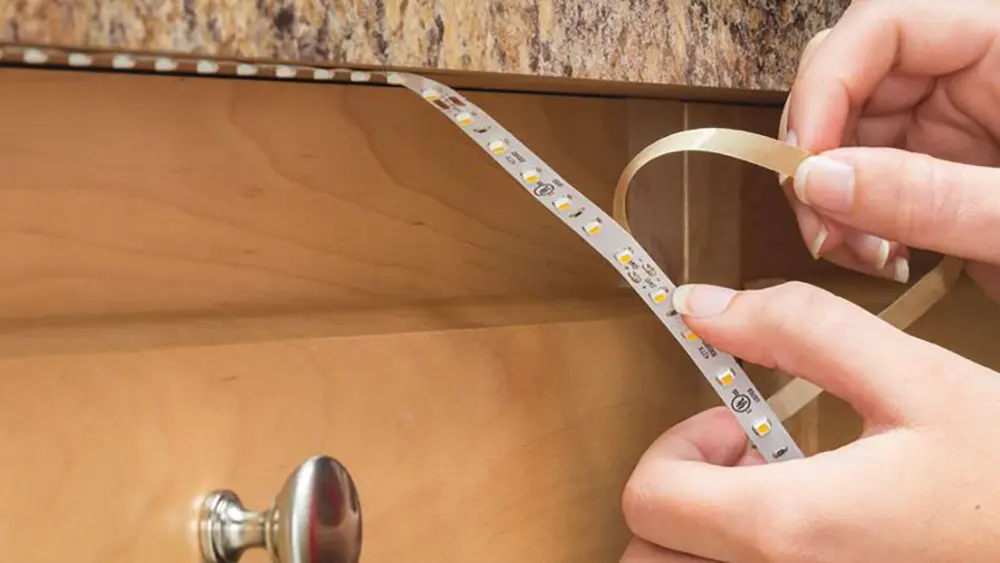
After cutting and soldering, the next step is to mount your LED strips. Most strips have adhesive, but you need extra for a strong hold, especially on boats. For extra security, consider using cable ties or specialized mounting brackets. These strips have extra grip and stay in place even during rough weather or water.
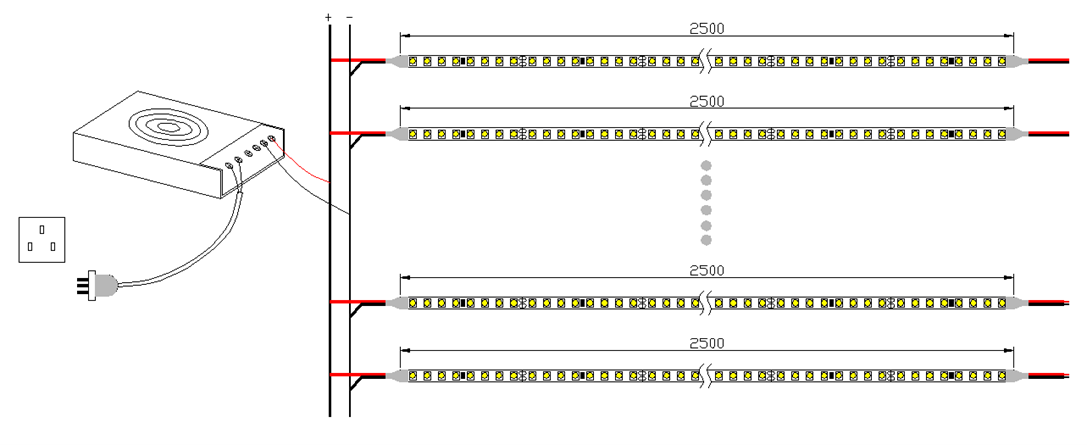
Wiring and Connections: Series vs. Parallel
Regarding wiring, you generally have two options: series and parallel connections. Series connections can be easier but risk uneven brightness across the strip. To make the LED strips equally bright, connect them in parallel. This method reduces the chance of one broken LED ruining the whole strip.
Testing and Sealing Your Installation
Before declaring the job done, you’ll want to test the LED strips to ensure they work as intended. Power them on and look for any signs of flickering or uneven brightness. Once you’re satisfied, it’s time to seal the installation. Silicone sealant is great. It protects against the weather and allows for future adjustments.
Troubleshooting and Common Issues
Resolving Flickering Lights
Flickering is a common issue often tied to voltage inconsistencies. If you notice flickering, don’t ignore it. It can indicate more serious problems down the line. By investing in a voltage regulator, you can have a steady power supply. This will prevent flickering and make your LEDs last longer.
Addressing Uneven Color and Brightness
Should you notice uneven color or brightness, the first step is to check the connections. Poorly soldered or loose connections can be a culprit. If that’s not the issue, you may have a failing LED strip that needs replacement. To keep your lighting system looking and working well, it’s best to fix it early.
Electrical Concerns and Safety Measures
Lastly, always prioritize safety. Ensure all wiring is well-insulated to prevent short circuits. To avoid problems, use heat shrink tubing and electrical tape to cover the solder joints and exposed wiring. Taking these steps will help prevent fires, making your time at sea safe and enjoyable.
Maintenance, Care, and Seasonal Checks
How to Clean Your LED Strips
Cleaning your LED strip lights not only makes them shine, but also makes them last longer. When it comes to cleaning, less is often more. A soft, damp cloth is usually all you need to remove dust or marine grime that may have settled on the strips. Avoid using harsh cleaners or scrubbers, as they can harm the LED strip and its water resistance. To clean, use a mild detergent diluted in water. Make sure it doesn’t have harsh chemicals that can damage the adhesive or strip material.
Periodic Checks for Weather and Water Resistance
LED strip lights in marine areas have to deal with special challenges. These include saltwater, weather changes, and physical impacts. Making it a routine to inspect your LED strips can save you headaches down the line. Look for damage such as loose strips, flickering lights, or changes in color brightness. These can indicate that your LED strips may need replacement or repair. Make sure to inspect it every season or before using it for a long time to ensure it works well and lasts.
If you spend some time on maintenance, your LED boat lights will last for years. Don’t forget, if you take good care of your LED lights, they will last longer during your marine adventures.
Sıkça Sorulan Sorular (SSS)
Is it legal to install LED strip lights on a boat?
It is usually okay to install LED strip lights on a boat. But, it’s important to follow the rules for navigation lights. Always refer to your jurisdiction’s boating laws for the most accurate information.
Can LED strip lights be cut and reconnected?
Absolutely. To cut and reconnect LED strip lights, you need precision and the right tools. These include a soldering iron and wire strippers. Always make sure to match the polarity when soldering the wires back together.
How do I keep my LED strips weatherproof?
For the best protection against the weather, choose marine-grade LED strips. Look for a high IP rating, like IP68. Improve your weatherproofing by using silicone sealant. Apply it to connections and exposed wiring.
What kind of waterproofing level is ideal for boat lighting?
An IP68 rating is considered ideal for boat lighting. Your LED strips are waterproof and can be submerged in water for up to 30 minutes. They can withstand depths of up to 1.5 meters, which makes them perfect for marine environments.
If you cut the LED strips, does it still remain waterproof?
Once cut, the freshly exposed ends of your LED strips are no longer waterproof. To make it waterproof again, seal the cut ends with silicone sealant or waterproof end caps.
Do you need LED lighting controllers for your boat?
LED lighting controllers are not necessary, but they allow you to control brightness, color, and patterns. Controllers are a great addition if you want to have a dynamic lighting setup on your boat.
What is the best way to power the LED Lights on my boat?
Connecting them to your boat’s DC power supply is the most straightforward method. To have a more steady current and stop flickering, it is best to use a voltage regulator.
Can you run LED strip lights in a boat?
LED strip lights work well on boats. They are energy efficient, durable, and last longer than traditional lights. Just make sure they are marine-grade and have a suitable IP rating.
What are the essential boat lights for the night?
In addition to your LED strip lights, you should also have red and green sidelights. You should also have a white stern light and a white masthead light. These are essential for navigation and safety during nighttime or reduced visibility.
What size LED strip is best for boat lighting?
The LED strip’s size or “density” measured in LEDs per meter will depend on your lighting needs. Strips with 30-60 LEDs per meter are usually enough for general lighting. Opt for up to 120 LEDs per meter for more intense lighting needs. Always measure your installation area to determine the correct size.
Sonuç
Now that you’re equipped with the know-how, it’s time to take your boating experience to the next level. Install those LED strip lights and bask in their glow on your next nautical adventure. Share your setup with us—we’d love to see how it turned out!
With the right information and good products, using LED boat lighting can be easy. If you’re looking for excellence, check out Unitop. We are a top LED şerit ışıklar ve LED neon flex Çin'de üretici. Yıllara dayanan endüstri uzmanlığımızla, LED ile ilgili her şey için başvurabileceğiniz kaynağınızız. Sorularınız veya özel gereksinimleriniz mi var? Tereddüt etmeyin Bize ulaşın Hemen. Unitop'a güvenin ve tekne deneyiminizi daha önce hiç olmadığı gibi aydınlatın.

Tom şu anda Unitop (Çin) Co, Limited. Bir süredir LED Aydınlatma 2005'ten beri sektörde. Satış & pazarlama ve fabrika yönetimi konularında uzmandır. Vücut geliştirmeyi seviyor ve aynı zamanda çılgın bir Apple Hayranı! Çalışkan bir adamdır ve yeni şeyler öğrenmeyi ve denemeyi sever.
E-posta: tom@unitopledstrip.com WhatsApp: +86-18680307140


Cevapla
Tartışmaya katılmak ister misiniz?Katkıda bulunmaktan çekinmeyin!