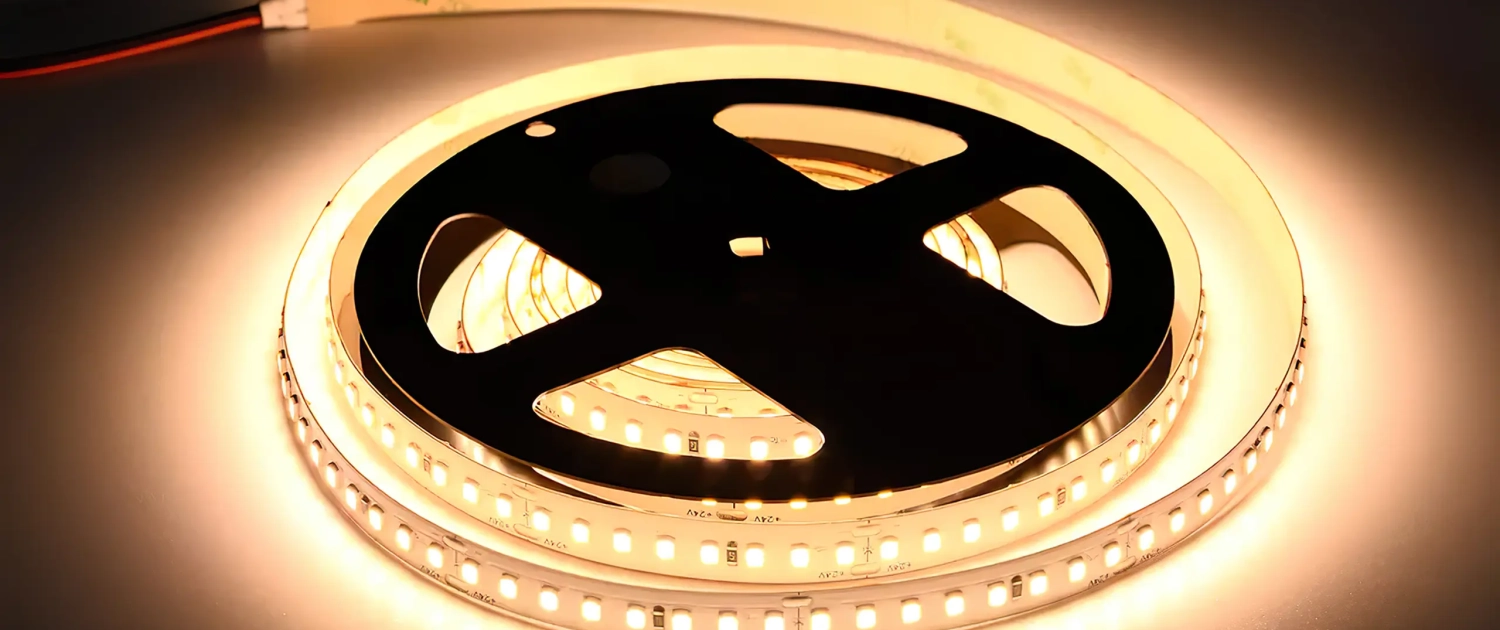
Want to give your space a dazzling makeover? Installing LED strip lights on the ceiling might be the perfect solution! These lights aren’t just eye-catching; they transform ordinary spaces into extraordinary ones. But how do you install them like a pro? That’s what we’re here to explore!
Installing LED strip lights correctly is more than just sticking them to the ceiling. You want your décor to blend well, save energy, and be safe. This guide is for you if you want to upgrade your home or create an appealing atmosphere for your business.
Allow me to introduce myself – I’m Tom. Having been in the LED lighting industry since 2005, I’ve seen and done it all. I have learned a lot about simple home installations and complex commercial projects. I am excited to share this knowledge. Let’s figure out how to install LED strip lights on your ceiling without any trouble.
Ready to light up your life? Whether you’re new to playing with LEDs or experienced, this guide is for everyone. Let’s dive right in, shall we? Everything you need, from the must-have tools to the common mistakes to avoid, is right here. Happy lighting!
Neden LED Şerit Işıkları Seçmelisiniz?
Enerji Verimliliği
LED strip lights consume less energy compared to conventional lighting solutions. They translate more energy into light rather than wasting it as heat. This not only lowers your energy bills but also helps in reducing your carbon footprint. It’s an elegant step towards a greener future.
Versatility in Design
The magic of LED strip lights lies in their versatility. You can customize them by trimming and selecting colors that match your décor. From living rooms to kitchens, they bring creativity into any space.
Güvenlikle İlgili Hususlar
LEDs are cool to the touch and run on low voltage, reducing the risk of electric shocks or burns. They come with the peace of mind that safety doesn’t have to be compromised for style.
Tools, Materials, and Pre-Requisites
Essential Tools
Installing LED strip lights is a thrilling DIY project but demands the right tools. Here’s an expanded list of tools you’ll need:
A pair of scissors: Cut the LED strips to the desired length.
Soldering iron (if required): You may need a soldering iron to securely connect different strips together.
Wire strippers: Wire strippers are necessary to remove insulation from wire ends, making connections easier.
Measuring tape: To accurately measure the area where the strip lights will be installed, ensuring a perfect fit.
Ladder: To safely reach elevated areas during installation.
Toolbox: The toolbox contains useful tools such as screwdrivers, pliers, a utility knife, and possibly a drill for brackets.
Choosing the Right LED Strip Lights
Choosing the right LED strip light is important to get the effect you want. Consider these key aspects:
Brightness Level: Consider the room’s requirements. A living room might need gentle lighting, while a workspace may need brighter lights.
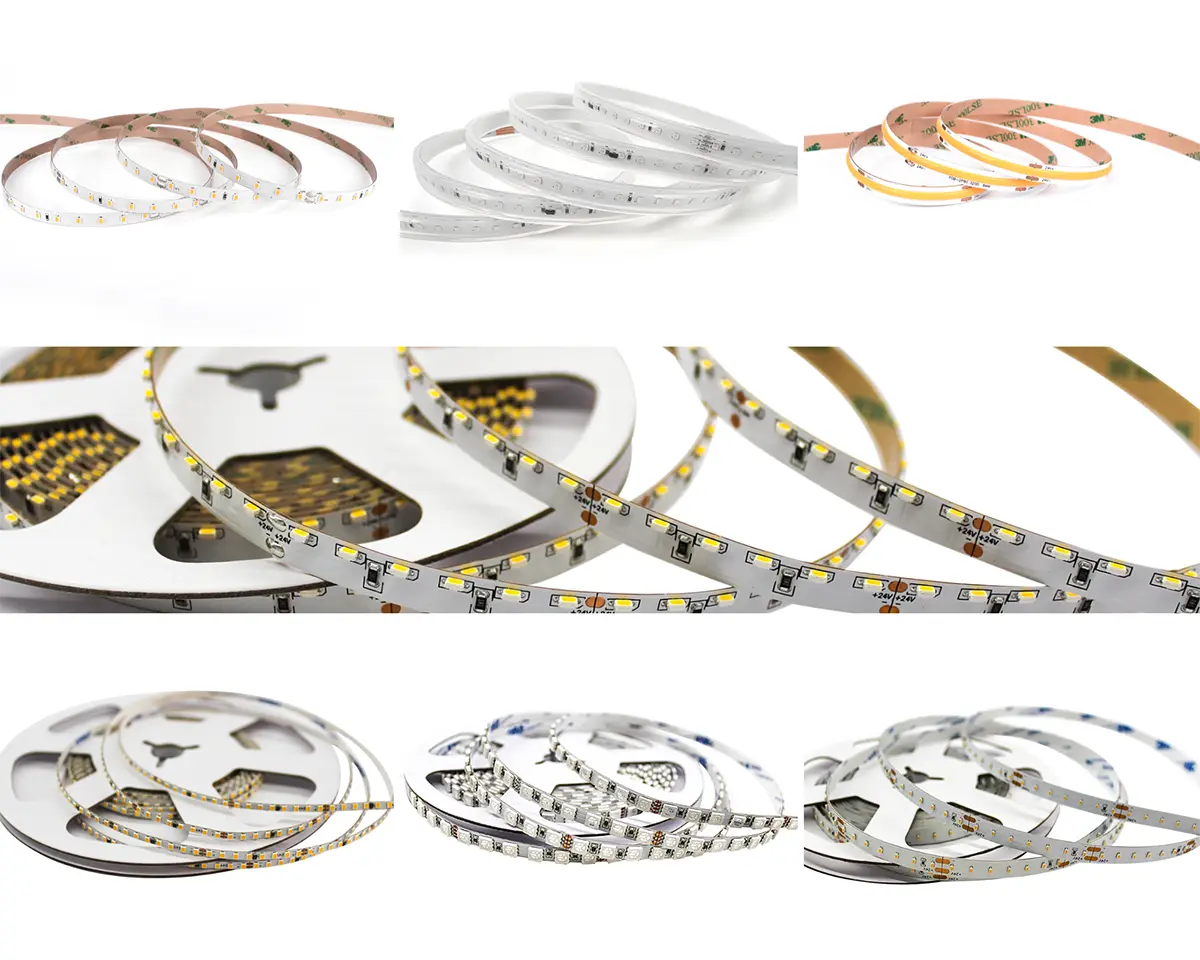
Color Spectrum: Decide between single-color or multi-color strips. Multi-color options can create dynamic effects, adding character to your space.
Water Resistance: Check the IP rating if installed in a bathroom or other humid environment. An IP67 rating ensures water resistance for areas exposed to moisture.
Length: The LED strip must be long enough to cover the desired area but can usually be cut to size.
Voltage and Power: Confirm that the power adapter matches the LED strip’s voltage to prevent overheating and other electrical issues.
Required Skills & Some Points to Ponder
You don’t need to know a lot about electricity to install LED strip lights, but knowing some basics can help. Here’s what to keep in mind:
Basic Electrical Knowledge: Understanding positive and negative connections, soldering, and how to handle simple wiring is essential.
Steady Hand and Patience: This isn’t a race. Take your time to measure, cut, and place the strips accurately.
Reading the Manual: LED strips might have unique features or installation requirements. Always refer to the product manual for specific instructions.
Trial Connection: Before finalizing the installation, test the connections and lighting to ensure everything works as intended.
Consider Professional Help if Needed: Don’t hesitate to seek professional assistance if the task seems too complex. Safety and proper installation should be paramount.
Planning and Preparing the Ceiling for Installation
Proper planning and preparation set the stage for successfully installing LED strip lights. Clean and measure carefully to ensure everything is in the right place. Also, remember to follow safety rules.
Where Should LED Strips Be Placed on a Ceiling?
Placement is a central factor in achieving the desired lighting effect. Where you place your LED strips can greatly affect how your space looks and works. Consider these essential points:
Aksan Aydınlatma: Highlighting specific artworks, architectural features, or focal points with strategically placed LED strips can enhance the visual appeal of a room.
Task Lighting: Installing LED strips in work areas, such as over a kitchen counter or a workspace, provides essential illumination for various tasks.
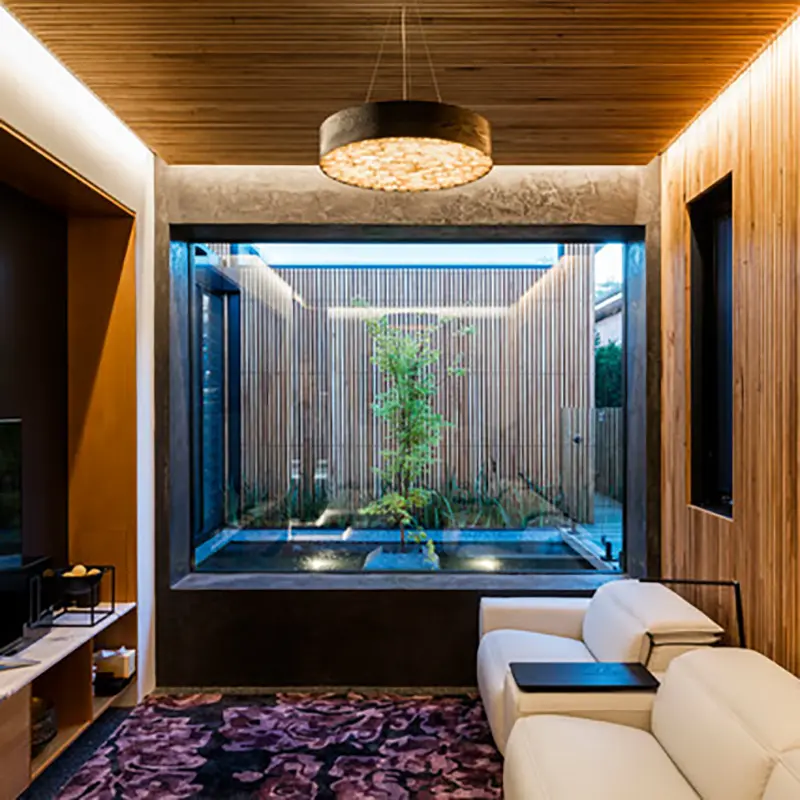
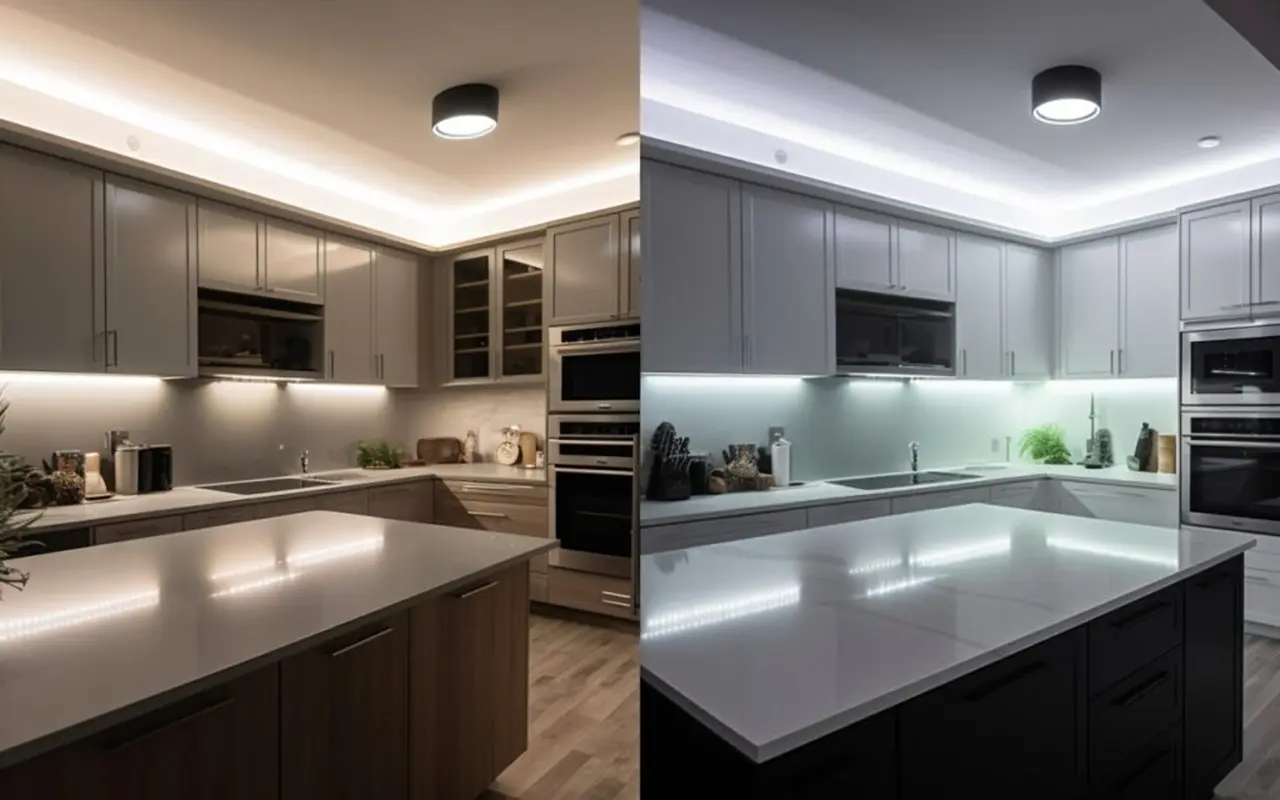
Ambient Lighting: Soft lighting around the perimeter of a room or behind fixtures creates a cozy, welcoming atmosphere that’s perfect for relaxation.
Special Features Lighting: If you have alcoves, coves, or other unique architectural features, LED strips can accentuate these details.
Cleaning and Measuring
An impeccable installation requires a clean and accurately measured area. Here’s how to proceed:
Cleaning: Ensure that the surface is clean, dust-free, and dry. This guarantees better adhesion of the adhesive backing on the LED strips. Usually, a mild cleaning solution and wiping with a dry cloth is enough.
Measuring:
1. Using a measuring tape, measure the area where the LED strips will be placed.
2. Measure the strip carefully, including corners and curves, to find the exact length you need.
3. Double-check to avoid errors that could lead to unnecessary cuts or extensions.
Güvenlik Önlemleri
Safety should always be your priority. While the installation process is generally straightforward, observing these safety precautions is crucial:
Turn Off Power While Working: Ensure that the power is turned off in the area where you are working. This minimizes the risk of accidental shocks or shorts.
Use a Stable Ladder: Use a stable and suitable ladder or step stool to reach high places. Ensure it’s placed on an even surface, and maintain proper balance.
Follow the instructions from the manufacturer: Read and follow the guidelines for installing and handling the product.
When in Doubt, Consult a Professional: If you encounter any complexities or feel uncertain about any aspect of the installation, it’s wise to consult a professional electrician. Safety and quality should never be compromised.
Step-by-Step Guide to Installing LED Strip Lights
You might think it’s hard to install LED strip lights, but it can be fun if you follow a step-by-step method. This guide will show you how to achieve a flawless finish for regular or specialized false ceiling installations.
Wiring and Mounting the Lights
Proper wiring and mounting are pivotal in the installation process. Let’s explore the various steps in detail:
Find the power source
Start by identifying a power outlet close to where the LED strip will begin. This location should provide easy access and minimize the visible wiring. If there is no outlet in the perfect place, you can ask an electrician to install a new one. This will keep the space looking nice.
Cut the strip light to size
Measure the length required and use scissors to cut the strip light at the marked areas. Always follow the designated cutting lines specifically designed to preserve the circuitry. Cutting at unmarked areas can damage the strips.
Remove the adhesive backing
Peeling off the adhesive backing requires care. Do it slowly to ensure the adhesive doesn’t come off with the backing. Proper removal ensures maximum stickiness for secure attachment.
Stick the lights to the ceiling
Press the lights firmly onto the cleaned surface, following your planned path. Applying gentle yet firm pressure helps with bonding. Regular checks prevent issues like peeling or sagging.
Connect the power supply
Finally, plug the power adaptor into the outlet and connect it to the LED strip. To look professional, use clips or conduits to keep the wiring neat and organized.
Installing LED Strip Lights in False Ceiling
Adding LED strips to a false ceiling makes it look fancy, but you have to be careful and precise.
Cut a Channel in the Ceiling: Determine the best path and cut a channel in the ceiling to lay the LED strip. This might require specialized tools and a steady hand.
Lay the LED Strip Within the Channel: Place the LED strip inside the channel, ensuring it sits flush.
Hide the Wires Behind the Ceiling: Şık ve kesintisiz bir görünüm için bağlantı kablolarını tavanın arkasına dikkatlice gizleyin.
Işıklarınızı Yerine Koyma
Kurulum sürecinde hizalama çok önemlidir. Şeridin düz olduğundan emin olmak için gözlerinizi, bir seviye aletini ve bir ölçüm bandını kullanın. Düzgün bir görünüm sağlamak için küçük ayarlamalar gerekebilir.
Tavan Köşelerine LED Şerit Işıklar Nasıl Takılır?
Virajlarda gezinmek zor olabilir, ancak doğru yaklaşımla oldukça yönetilebilir:
Kesme: LED şeritleri işaretli köşe noktalarından kesin. Bu noktalar, ışıklara zarar vermeden hassas bükme için tasarlanmıştır.
Konnektörleri Kullanın: Köşelerdeki akışı korumak için özel konektörler mevcuttur. Işıklar herhangi bir boşluk veya kesinti olmadan köşelerden sorunsuzca geçebilir.
Profesyonel Bir Son İşlem İçin İpuçları ve Püf Noktaları
LED şerit ışıklar çok yönlü ve zarif bir aydınlatma çözümü sunar. Kurulumu kolaydır, ancak dikkat ve yaratıcılık gösterdiğiniz takdirde sanat eseri gibi olabilir. Alanınızı işlevsel ve şık hale getirecek profesyonel bir kaplamayı nasıl elde edeceğinizi burada bulabilirsiniz.
Işıklarınızı Kontrol Etme
Aydınlatmanız üzerinde kontrol sahibi olmak, herhangi bir odanın ambiyansını dönüştürebilir. İşte bu kontrolü nasıl en üst düzeye çıkaracağınız:
Dimmer anahtarı kullanın
Dimmer anahtarı, ışıklarınızın yoğunluğunu zahmetsizce ayarlamanıza olanak tanır. Dimmer anahtarı, ister romantizm ister iş için daha iyi aydınlatma isteyin, ruh halinizi ayarlayabilir.
Birden fazla renk kullanın
LED şerit ışıklar çeşitli renklerde gelir. Temalar oluşturmak veya ruh halinize ya da mevsime göre ortamı değiştirmek için karıştırabilir ve eşleştirebilirsiniz.
Uzaktan kumandalı ışıklar takın
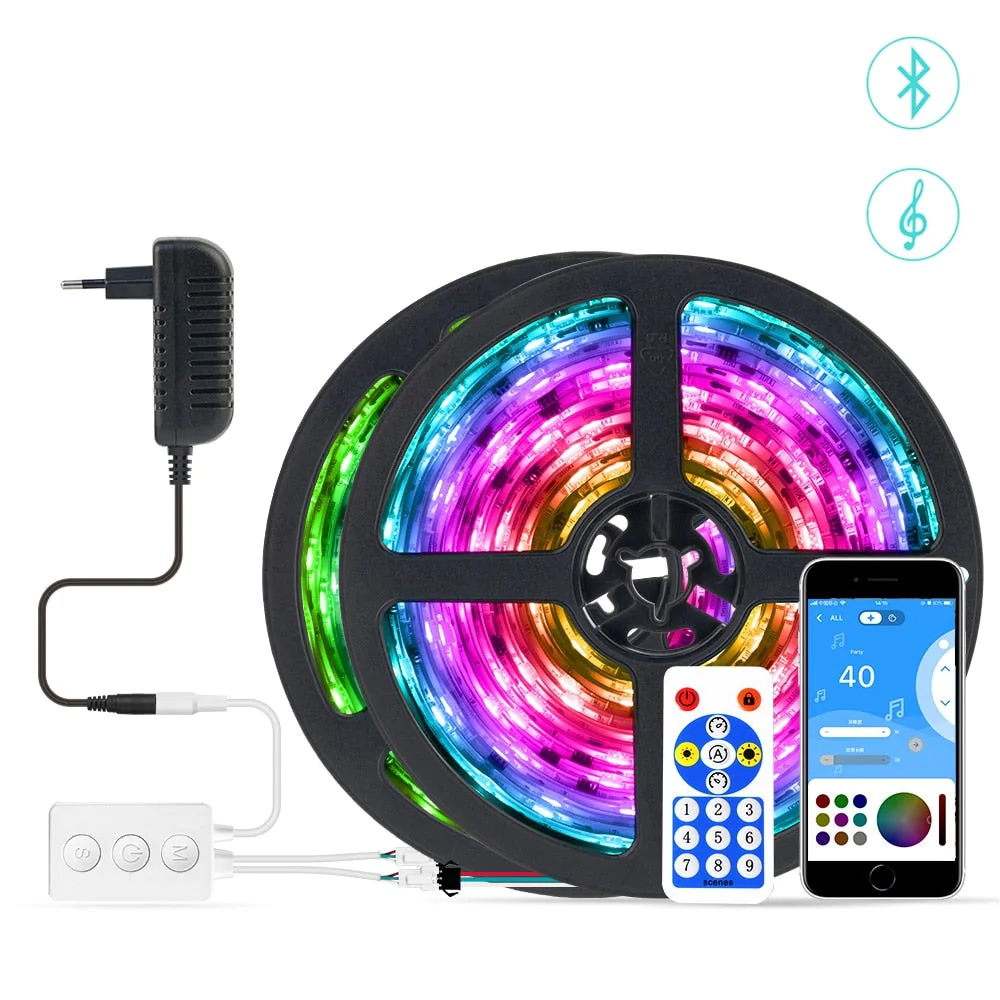
Uzaktan kumandalı LED ışıklar parmaklarınızın ucunda kolaylık sağlar. Yataktayken ışıkları kapatmak veya renklerini değiştirmek için bir uzaktan kumanda kullanabilirsiniz.
Hareket sensörlü ışıklar takın
Hareket sensörleri koridorlar ve banyolar için harikadır. Gerektiğinde ışıkları açar ve kullanılmadığında kapatırlar. Bu akıllı eklenti güvenliği artırır ve enerji tasarrufu sağlar.
Bir zamanlayıcı ekleyin
LED şerit ışıklarınıza bir zamanlayıcı eklemek enerji verimliliğine katkıda bulunabilir. Rutininize göre açılıp kapanacak şekilde programlayın ve yalnızca gerektiğinde kullanılmalarını sağlayın.
Kabloları Gizleme
Açıkta kalan kablolar LED kurulumunuzun şık görünümünü azaltabilir. İşte size bir çözüm:
LED Işık Güç Kablosu ve Konnektörleri Nasıl Gizlenir?
Duvar veya tavan renginize uygun kablo kapaklarına yatırım yapın. Kabloları duvarların içinden geçirmek de bir başka profesyonel dokunuştur. Kabloları gizlemek ve şık, gösterişli bir görünüm elde etmek için bu teknikleri kullanın.
Parlaklığı Ayarlama
Farklı alanlar farklı parlaklık seviyeleri gerektirir. Alanınıza en uygun olanı bulmak için denemeler yapmaktan çekinmeyin. Doğru parlaklık seviyesi, iyi aydınlatılmış bir mutfak veya rahat bir yatak odası gibi herhangi bir odayı huzurlu hissettirebilir.
Renk Koordinasyonu
Mükemmel rengi seçmek sanatsal bir dokunuş gerektirir. Mevcut mobilya, duvar rengi veya aksesuarlarla uyumlu renkler seçin. Kontrast veya tamamlayıcı renklerle kendinizi ifade etmekten çekinmeyin. LED ışıklar sadece işlevsel bir eklenti değil, dekorunuzun ayrılmaz bir parçası haline gelebilir.
Sık Yapılan Hatalar ve Bunlardan Nasıl Kaçınılacağı
LED şerit ışıkların kurulumu heyecan verici ancak karmaşık bir görev olabilir. Tecrübeli DIY'ciler bile yaygın tuzakları anlamak için yardıma ihtiyaç duyabilir. Sorunsuz bir kurulumun sırrı, hangi hatalara dikkat edileceğini ve bunlardan nasıl kaçınılacağını bilmektir.
Aşırı Isınma Sorunları
LED'ler geleneksel ampullere göre daha enerji tasarruflu olabilir ancak yine de ısı üretebilirler. Dikkatli olmazsanız aşırı ısınma sorunları ortaya çıkabilir:
Yalıtım Malzemelerinden Kaçının: LED'leri köpük veya ağır kumaş gibi ısıyı hapsedebilecek herhangi bir şeyle örtmeyin. Bu aşırı ısınmaya neden olabilir ve ışıklarınızın ömrünü kısaltabilir.
Uygun Havalandırma Sağlayın: LED'leri iyi havalandırılan bir alana yerleştirin veya ısıyı dağıtmak için alan sağlayın. Bu, ışıklarınızın uzun süre verimli çalışmasını sağlar.
Tutarsız Aydınlatma
Tutarsız parlaklık veya renk, LED şerit ışıklarınızın görsel etkisini bozabilir:
Kaliteli LED Şeritler Kullanın: Kalitesiyle bilinen güvenilir markaları tercih edin. Bir şeritteki tüm LED'lerin parlaklık ve renk açısından tutarlı olmasını sağlar.
Uyumluluğu Kontrol Edin: Parlaklık tutarsızlığını önlemek için güç kaynakları ve kontrolörler de dahil olmak üzere tüm bileşenlerin uyumlu olduğundan emin olun.
Güvenlik Hataları
Elektrik sistemleriyle çalışırken güvenlik asla sonradan düşünülmemelidir:
Talimatları Dikkatlice Okuyun: Her zaman üretici tarafından sağlanan yönergeleri okuyun ve izleyin.
Şüpheye Düştüğünüzde Profesyonellere Danışın: It’s wise to consult a professional if something doesn’t seem right. A simple consultation could prevent significant issues down the line.
Maintenance and Care
The journey continues once you have installed your LED strip lights. To make your LED system last longer and stay bright, take care of it regularly.
Cleaning Tips
LEDs require gentle handling:
Wipe Gently: Use a dry or slightly damp cloth to wipe the surface of your LED strip lights. Heavy or wet cleaning can damage the lights.
Avoid Harsh Chemicals: Avoid cleaning agents that might corrode or damage the LED surface.
Replacing Sections
LEDs are robust, but sometimes sections can go wrong:
Easy Replacement: Cut out the wrong section and replace it with a new one. Make sure to properly cut along the designated lines and connect the new piece.
Warranty and Support
Your LED strip lights likely come with a warranty and support package:
Keep Documents Handy: Always have your warranty and support documents accessible. In case something goes wrong, these documents can save you a lot of time and money.
Understand Your Coverage: Knowing what’s covered under the warranty helps you take the proper steps in the event of a malfunction.
SSS
LED şerit ışıklar ne kadar dayanır?
LED strip lights typically last 25,000 to 50,000 hours, depending on their quality and usage. To make them last longer, install and maintain them correctly as instructed by the manufacturer.
Can LED strip lights be repaired?
Yes, LED strip lights can often be repaired. If a section is damaged, it can usually be cut out and replaced with a new segment using connectors. However, it’s essential to ensure compatibility and follow the correct procedures.
How to install LED strip lights on the ceiling without damaging the wall?
Carefully plan and use proper mounting methods to install LED strip lights without damaging the wall. To protect your walls and ceiling, use adhesive backings, mounting clips, or brackets during installation.
How do you stick LED strips to a room?
Sticking LED strips in a room usually involves using the adhesive backing of most LED strips. First, make sure to clean the surface well. Then, peel off the protective layer. Finally, press the strips firmly onto the surface.
How do you connect LED strip lights to a power supply?
To connect LED strip lights to a power supply, follow these steps:
1. Cut the strip to the desired length.
2. Attach connectors, if necessary.
3. Connect the strip to the correct power adapter. To install safely and effectively, make sure the voltage and wattage match each other.
Where should I place LED strips on the ceiling?
Placement of LED strips on the ceiling depends on the design and lighting effect you desire. Common places for lighting include edges, coving, and specific patterns.
How to install LED strip lights in the false ceiling?
To install LED strip lights in a false ceiling, you need to create spaces in the ceiling for the lights. To achieve a seamless look, measure carefully, plan well, and maybe consult with a professional.
How can I hide LED strips on the ceiling?
You can hide LED strips on the ceiling in different ways. One way is to embed them in coving. Another way is to place them behind architectural features. You can also use specially designed channels. The goal is to create a clean and discreet lighting effect.
Are LED strips easy to install?
Generally, LED strips are considered user-friendly and suitable for DIY installation. Even beginners can easily follow a guide, use the right tools, and take their time.
Can I use double-sided tape to hang LED lights?
You can use double-sided tape to hang LED lights, but it might not be as durable as the adhesive made for LED strips. Using it as a temporary fix is okay, but it’s not advisable for permanent use.
Sonuç
LED strip lights are more than just a trend. They’re a statement of style, efficiency, and creativity. You don’t have to be a professional to install them. With this comprehensive guide, you’re well on your way to transforming your space like a pro. So go ahead, experiment, and let your lights shine bright.
Looking to take your LED lighting project to the next level? Turn to Unitop, one of China’s top LED şerit ışıklar ve LED neon flex manufacturers. We pride ourselves on quality, innovation, and customer service that’s second to none. If you’ve got more questions or need a hand with your lighting project, uzanmak. We’re here to help and can’t wait to light up your space. Unitop has your back every step of the way.
İlgili Makale

Tom şu anda Unitop (Çin) Co, Limited. Bir süredir LED Aydınlatma 2005'ten beri sektörde. Satış & pazarlama ve fabrika yönetimi konularında uzmandır. Vücut geliştirmeyi seviyor ve aynı zamanda çılgın bir Apple Hayranı! Çalışkan bir adamdır ve yeni şeyler öğrenmeyi ve denemeyi sever.
E-posta: tom@unitopledstrip.com WhatsApp: +86-18680307140



Cevapla
Tartışmaya katılmak ister misiniz?Katkıda bulunmaktan çekinmeyin!