Dive into the fascinating world of vibrant colors and dynamic lighting with our comprehensive guide on LED strip lights. This ultimate resource aims to help you unlock your creativity and transform your living spaces with the captivating allure of LED light strips. Get ready to enhance your surroundings and create an unforgettable atmosphere with the enchanting power of LEDs.
Discover the endless possibilities and applications of LED strip lights as we guide you through every aspect of LED strip connection and installation. From residential interiors to commercial spaces, these versatile lighting solutions open up a world of opportunities to elevate your environment. Learn how to connect LED strips with confidence and expertise, turning ordinary spaces into extraordinary visual experiences.
This easy-to-understand Ultimate Guide to Connecting LED Light Strips covers everything from planning and installing LED strip lights to customizing and troubleshooting them. With our expert advice and practical techniques, you’ll have all the tools and knowledge to bring your creative vision to life using LED light strips. So, get ready to embark on this enlightening journey and let your inner glow shine as you master the art of LED strip light installations.
Introduction to LED Light Strips
What are LED strip lights?
LED strip lights are flexible, versatile lighting solutions with small Light Emitting Diodes (LEDs) mounted onto a flexible circuit board. They come in various colors, brightness levels, and lengths, making them suitable for a wide range of applications such as accent lighting, under-cabinet illumination, and outdoor installations.
Advantages of using LED strip lights
LED strip lights offer numerous benefits, including energy efficiency, long lifespan, low heat output, and ease of installation. They are adaptable to different spaces and can be customized according to your specific needs, providing a stylish and functional lighting solution.
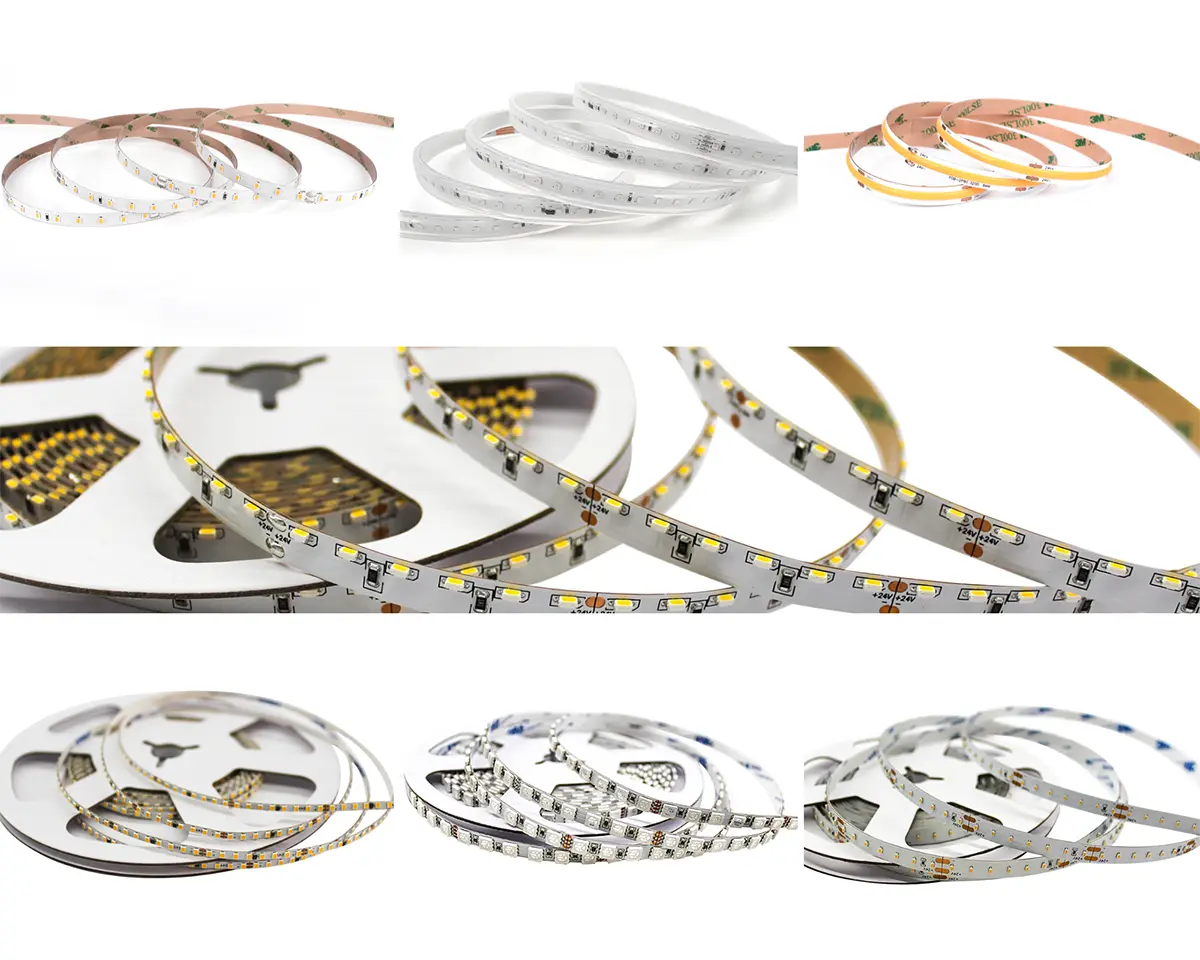
Different types of LED strip lights
There are several types of LED strip lights, each with unique features and applications:
Single-color LED strips: Emit one color, typically in various CCTs of white or a single color.
Tunable white LED strips: Allow you to adjust the color temperature from warm to cool white.
RGB LED strips: Combine red, green, and blue diodes to produce a wide range of colors.
RGBW LED strips: Add an extra white diode to RGB strips for improved color accuracy and brightness.
Addressable LED strips: Each LED can be individually controlled, enabling advanced lighting effects and animations.
Planning Your LED Strip Light Installation
Assessing the installation location
Before you begin, carefully evaluate the area where you plan to install the LED strip lights. Consider the surface type, ambient temperature, and any obstacles affecting the installation. For outdoor or damp locations, choose waterproof or water-resistant LED strips.
Surface treatment and preparation
Please ensure the surface is clean, dry, and free of dust or grease to promote better adhesion. You may need to sand or prime certain surfaces for optimal results.
Accurate measurements for the perfect fit
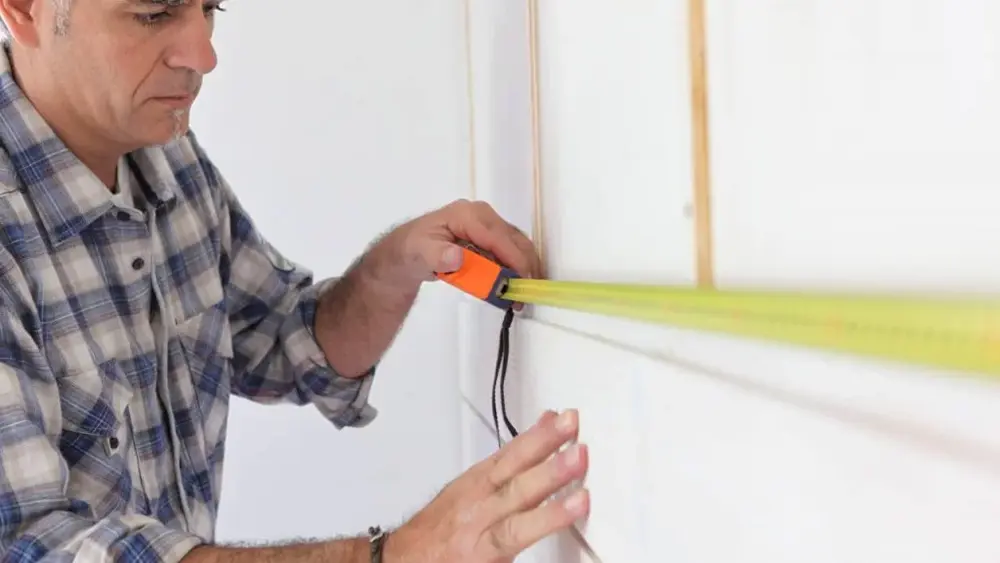
Measure the installation area and cut the LED strips accordingly. Be sure to account for any curves or corners to avoid unnecessary gaps or overlaps.
Calculating the LED strip wattage
Determine the total wattage of your LED strip lights to choose the appropriate power supply. To calculate the wattage, multiply the LED strip’s wattage per meter by the total length in meters.
Power Supply and Controllers
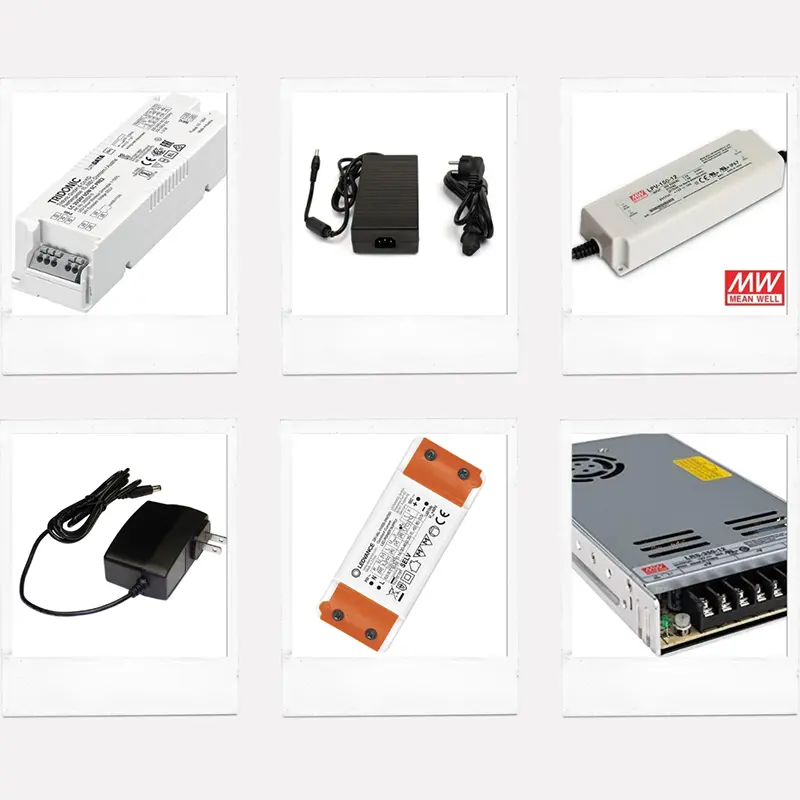
Finding a suitable power supply
Select a power supply with a wattage rating that’s 20% higher than your calculated LED strip wattage. This ensures efficient operation and prevents the power supply from overheating.
Connecting the power supply to the LED controller
Follow the manufacturer’s instructions to connect the power supply to the LED controller, ensuring correct polarity and secure connections.
Wiring the LED strips to the controller
Attach the LED strip lights to the controller, paying attention to the correct input terminals for each type of strip. Ensure all connections are tight and well-insulated.
Understanding voltage drop and parallel connection
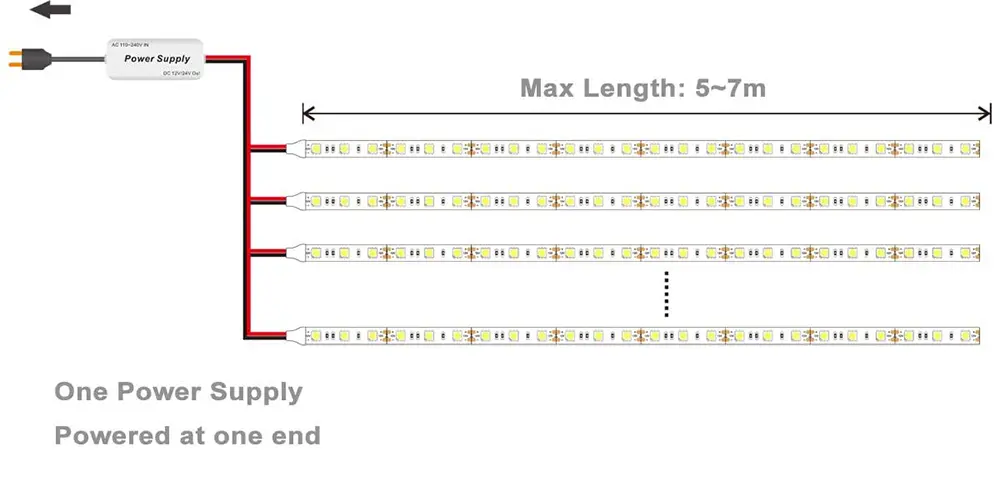
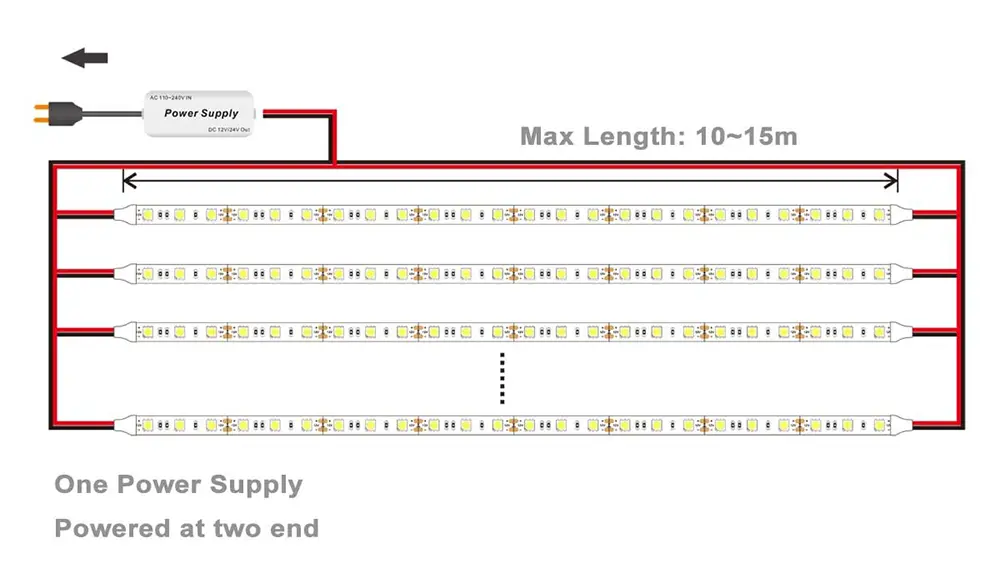
Voltage drop can cause dimming or uneven lighting in long LED strip installations. To mitigate this issue, use thicker wires, lower voltage strips, or parallel connections to distribute power more evenly.
Cutting and Connecting LED Strip Lights
How and where to cut LED strip lights
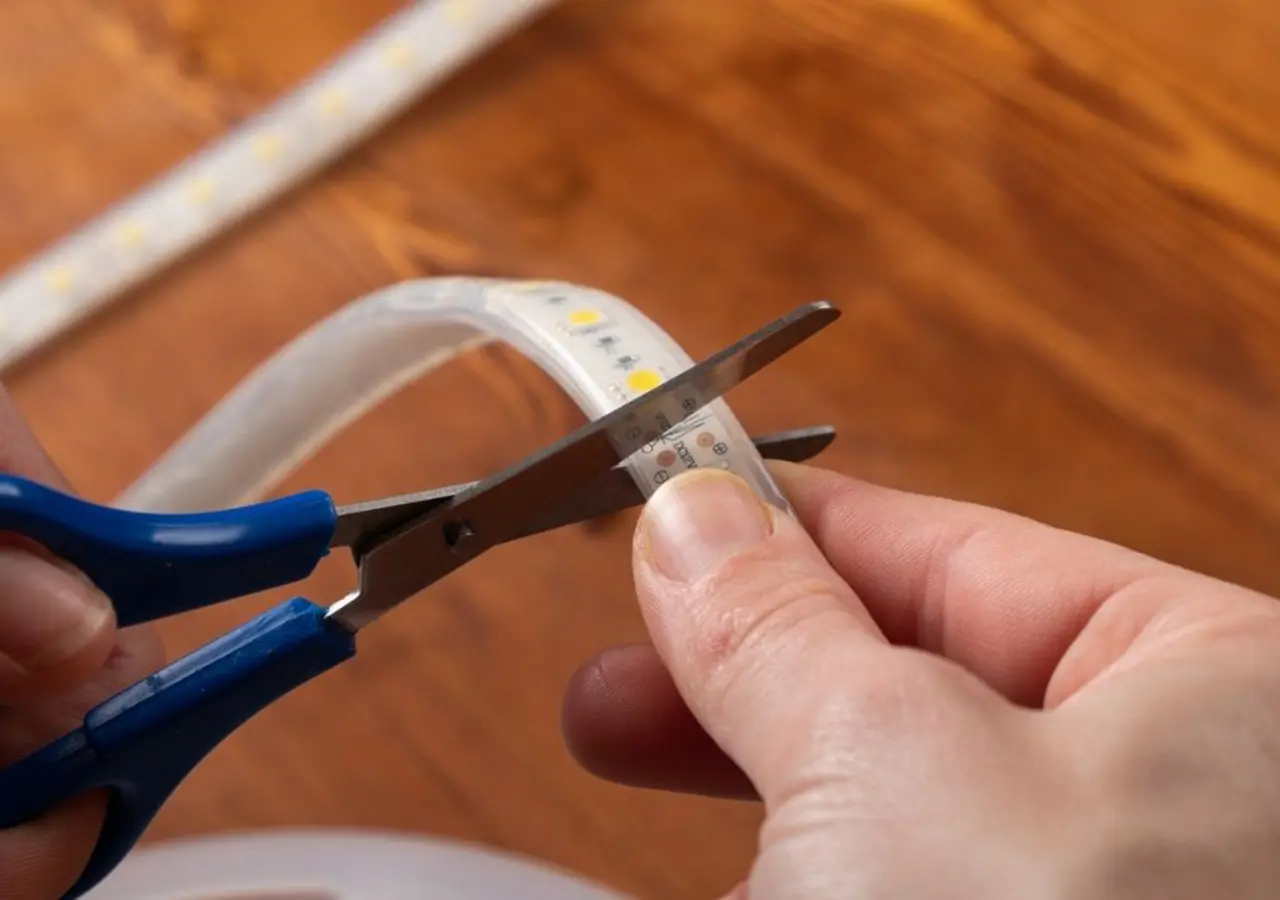
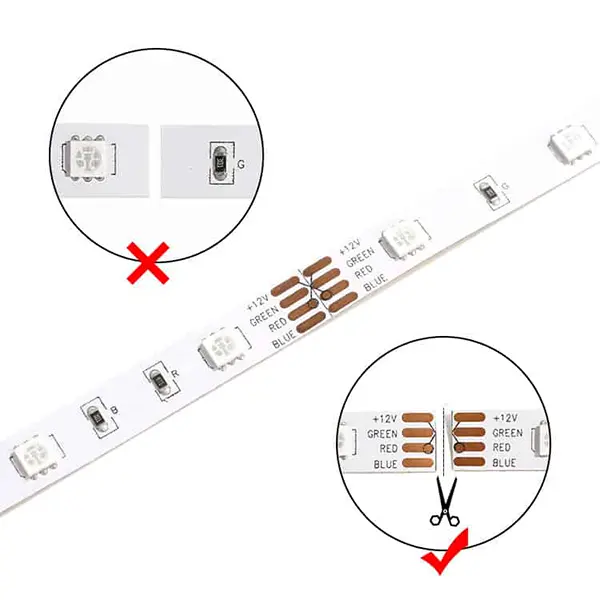
LED strips can be cut at designated cutting lines, typically marked by a scissor icon. Use a sharp pair of scissors or a utility knife to make a clean, straight cut.
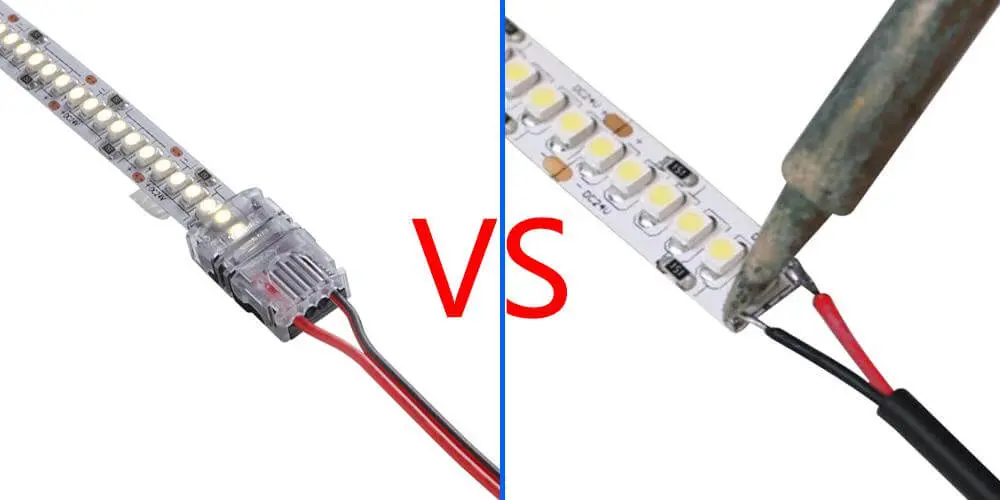
Clipping vs. soldering LED strip connections
Clipping involves using solder-free connectors to join LED strips, while soldering creates a more permanent connection using a soldering iron and solder
Soldering different types of LED strip lights
For soldering LED strip lights, follow these general steps:
- Expose the copper pads by removing any silicone coating or waterproofing material.
- Apply a small amount of solder to each pad.
- Strip and tin the ends of the connecting wires.
- Heat the solder on the pad and insert the corresponding wire, holding it in place until the solder cools and solidifies.
- The process may vary slightly depending on the LED strip type, so consult the manufacturer’s instructions.
Using solder-free connectors for various LED strip lights
Solder-free connectors are a quick and easy way to join LED strips without soldering. Simply slide the LED strip into the connector, ensuring the copper pads align with the connector’s terminals, and close the clasp to secure the connection.
Installing LED Strip Lights
Pre-installation preparation
Before starting the installation, gather all necessary tools and materials, such as a power supply, controller, connectors, mounting clips, and double-sided tape.
Mounting methods and securing LED strip lights
Various mounting options are available, including adhesive backing, mounting clips, and aluminum channels. Choose the method that best suits your installation surface and the desired appearance. Secure the LED strip lights evenly along the installation path to prevent sagging or uneven lighting.
Testing and finalizing the installation
Before finalizing the installation, test the LED strip lights to ensure proper operation and correct any issues. Once everything is functioning as expected, complete the installation by securing any loose wires and tidying up the work area.
Troubleshooting common issues
If you encounter issues with your LED strip lights, such as flickering, dimming, or color inconsistencies, check for loose connections, voltage drop, or incorrect wiring. Consult the manufacturer’s troubleshooting guide for additional assistance.
Connecting LED Strip Lights to Various Devices
Single color LED strip light wiring
Connect the positive and negative terminals of the single-color LED strip to the corresponding terminals on the controller or power supply.
Tunable white LED strip light wiring
Tunable white strips typically have separate terminals for warm and cool white diodes. Connect these to the appropriate terminals on the controller or power supply, along with a common negative terminal.
RGB and RGBW LED strip light wiring
RGB and RGBW LED strips require connections for each color channel (red, green, blue, and white, if applicable) as well as a common positive or negative terminal. Ensure each channel is correctly connected to the corresponding terminal on the controller.
Addressable LED strip light wiring
Addressable LED strips have a dedicated data line in addition to power connections. Connect the data line to the appropriate terminal on the controller, along with the positive and negative power terminals.
Customizing Your LED Strip Light Setup
Joining multiple LED strip segments
For a seamless appearance, use connectors, soldering, or specialized joining accessories to connect multiple LED strip segments.
Installing LED strip lights in different locations
LED strip lights can be installed in various locations to achieve unique lighting effects:
Under cabinets
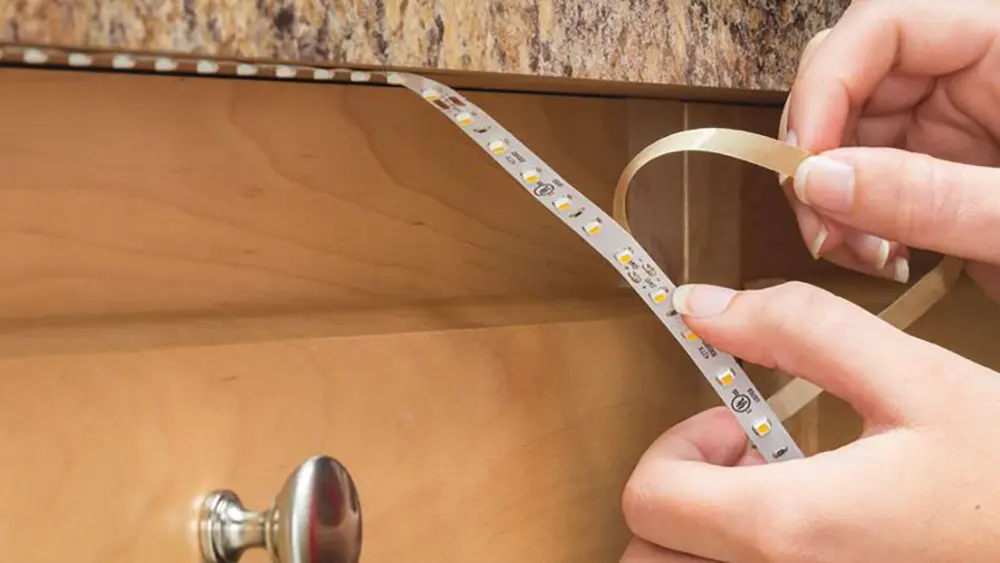
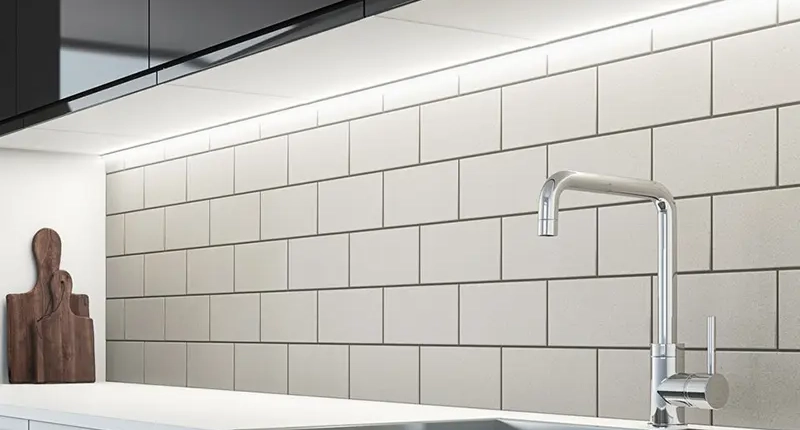
Illuminate countertops and create a warm ambiance by installing LED strip lights under kitchen cabinets.
On the ceiling
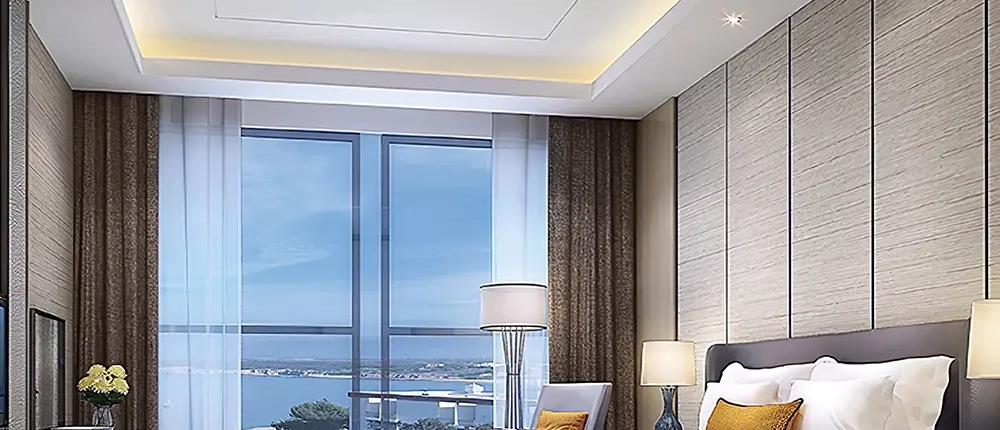
Create a modern look by using LED strip lights to accentuate architectural features or as cove lighting.
In the bedroom
Add a cozy touch to your bedroom by installing LED strip lights behind headboards, along baseboards, or around windows.
Around corners
Use flexible connectors or corner clips to navigate corners and maintain a continuous lighting effect.
On stairs
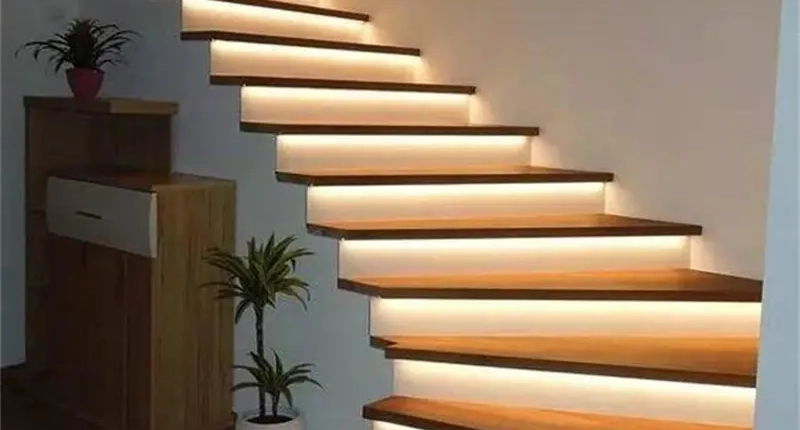
Enhance safety and aesthetics by installing LED strip lights along stair edges, under stair treads, or along handrails.
On TV
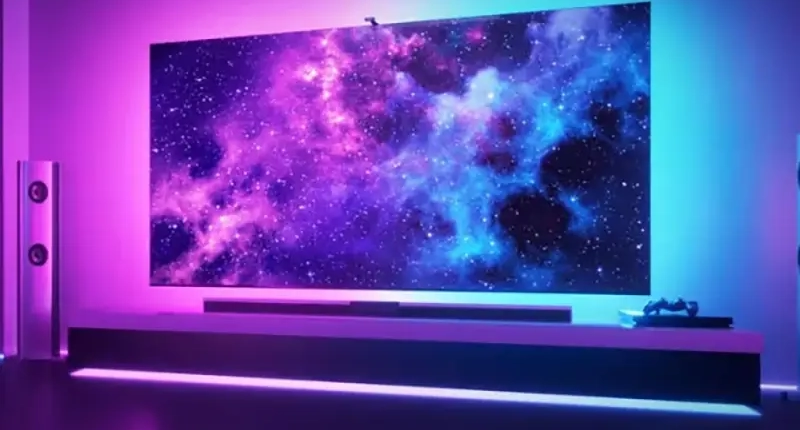
Create a dynamic home theater experience by mounting LED strip lights on the back of your TV for ambient backlighting.
In shelving units or display cases
Illuminate your collectibles, books, or other items by adding LED strip lights to shelves or display cases, creating a visually appealing and well-lit showcase.
Outdoors
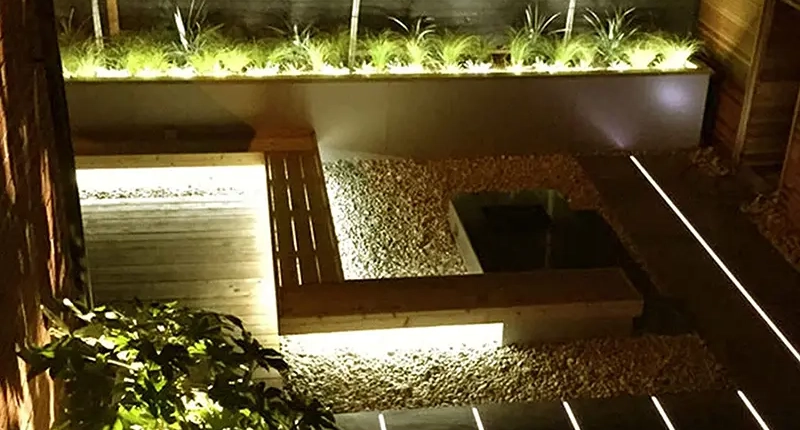
Upgrade your outdoor living spaces with LED strip lights installed around patios, decks, and garden pathways for both functional and decorative purposes.
Frequently Asked Questions (FAQs)
Can LED strip lights be dimmed?
Yes, many LED strip lights can be dimmed using compatible LED dimmer switches or controllers. Check the specifications of your LED strip lights to ensure they are dimmable before purchasing a dimmer.
How long do LED strip lights last?
LED strip lights typically have a lifespan of 50,000 to 80,000 hours, depending on the quality of the LEDs and other factors such as ambient temperature and usage patterns. With proper installation and care, LED strip lights can provide many years of reliable service.
Can LED strip lights be controlled with a smartphone or smart home system?
Yes, some LED strip lights can be controlled using a smartphone or integrated into a smart home system through compatible controllers, apps, or hubs. This lets you control your lights remotely, set schedules, or create custom scenes and automation.
How do I waterproof my LED strip light installation?
For installations in wet or damp areas, use waterproof or water-resistant LED strip lights. These strips typically have an IP (Ingress Protection) rating indicating their level of water and dust resistance. You can also use silicone sealant or waterproof enclosures to protect the connections and power supply.
What are the best practices for outdoor LED strip light installations?
When installing LED strip lights outdoors, follow these best practices:
- Choose waterproof or water-resistant LED strips with an appropriate IP rating.
- Use weatherproof connectors and enclosures to protect the connections and power supply.
- Ensure the power supply and controller are rated for outdoor use.
- Secure the LED strip lights to prevent them from being dislodged by wind or other environmental factors.
- Regularly inspect and maintain the installation to address any wear or damage.
Conclusion
LED strip lights are a versatile and customizable lighting solution that can enhance the ambiance and functionality of various spaces. From planning the installation to connecting LED strips to different devices, following the proper techniques and guidelines ensures a successful and long-lasting lighting project.
With endless possibilities for customization and a wide range of applications, LED strip lights offer a unique opportunity to express your creativity and transform your living spaces. So, go ahead and unleash your glow by diving into the exciting world of LED strip lights!
Discover the captivating world of LED strip lights with Unitop, a professional and reliable manufacturer in China, offering top-notch LED light strips for your creative projects. For expert advice and personalized support, feel free to reach out to Unitop as your trusted partner in transforming your living spaces and unleashing your glow with innovative LED lighting solutions.
Leave a Reply
Want to join the discussion?Feel free to contribute!
Leave a Reply

Tom is now the Sales Manager of Unitop (China) Co., Limited. He has been in the LED Lighting industry ever since 2005. He is an expert in sales & marketing, and factory management. He likes bodybuilding, and he is also a crazy Apple Fan! He is a hard-working guy and loves to learn and try new things.
Email: tom@unitopledstrip.com WhatsApp: +86-18680307140





Awesome guide.
We zijn op zoek om een project uit te werken voor ledverlichting achter natuursteen te verwerken.
Hebben jullie interesse?
Mvg Steve.
Stone-Design
Quite interested, could you please send details to tom@unitopledstrip.com?